Updated - April 26, 2024
Contributors
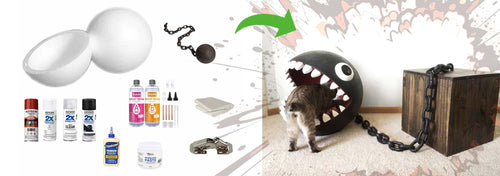
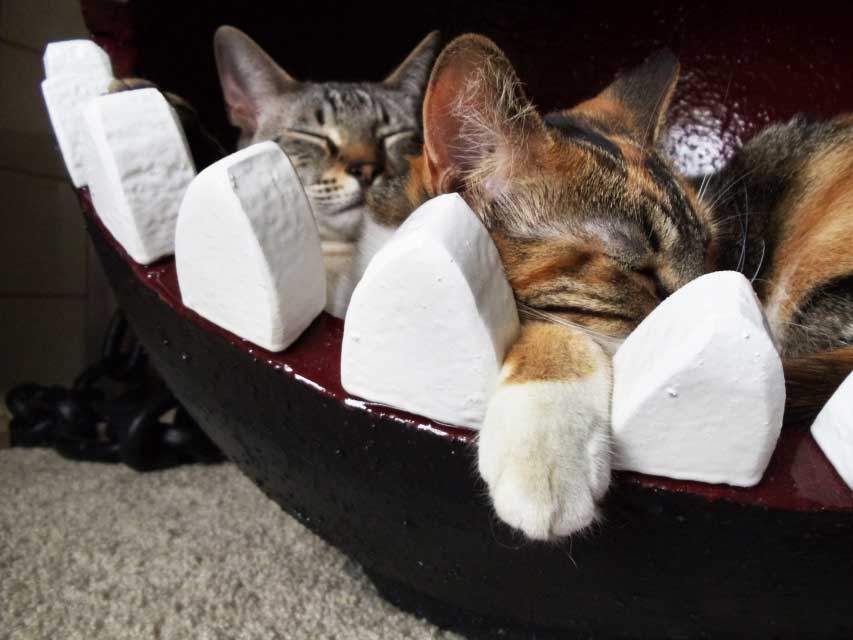
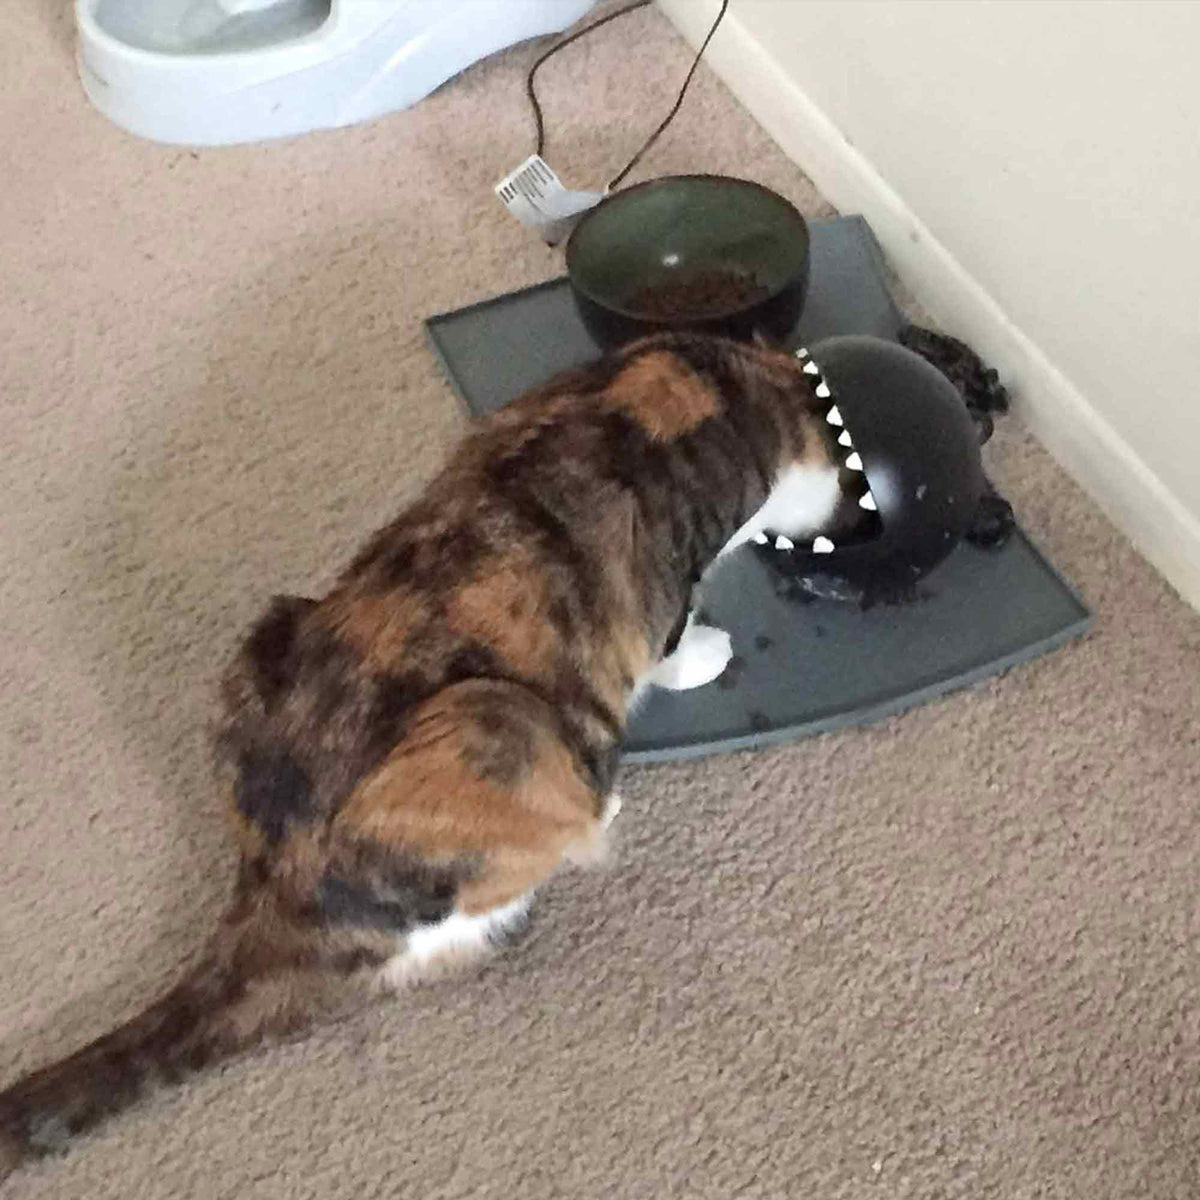
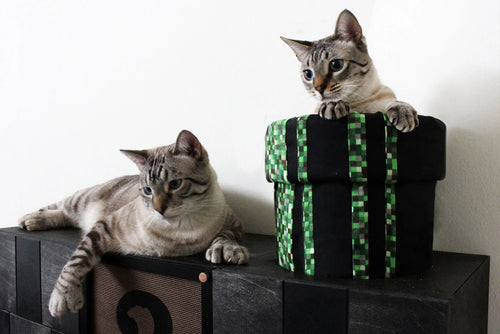
This DIY cat bed is chained up to a cat toy storage box to create an epic, Mario-inspired Chain Chomp Cat Bed. We’re huge fans of Super Mario Bros and thought it would be fun to create a multifunctional piece of furniture that adds a fun twist to the room.
Please keep in mind that this was built in 2015 and the exact details are hard to recall, but I’ll do the best I can in this blog.
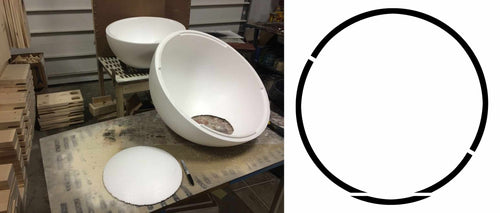
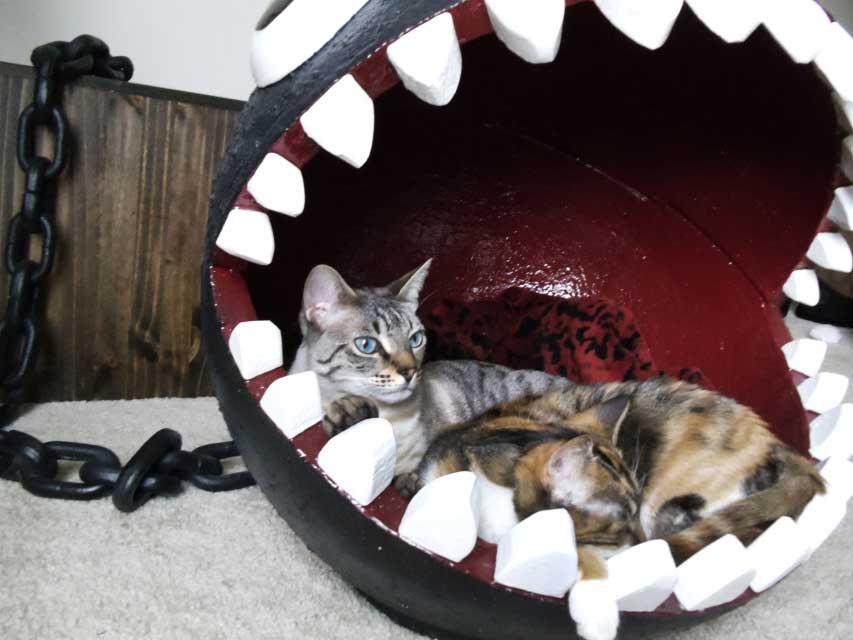
Cut a circular hole about 12” wide offset as shown in the picture. Keep in mind that the location you cut is important because this will be the bottom of the cat bed and will effect how the mouth is angled for the cat to walk in. I cut the circle at an angle rather than a 90-degree cut through the foam so that the cut portion sits relatively flat on the ground.
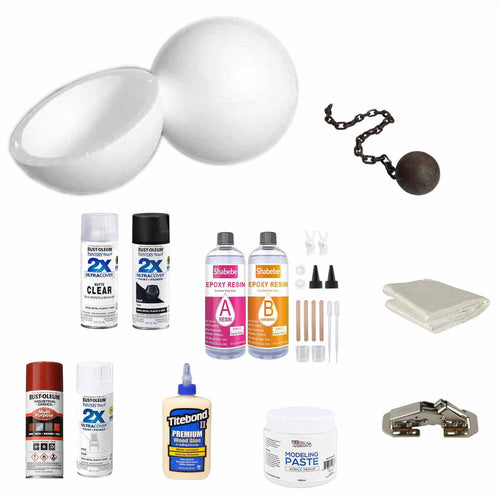
Next, cut either a flat piece of styrofoam or a wooden circle of the same size as the area removed from the bottom, then glue it to the bottom. I think I used hot glue, which doesn’t work well because it melts the styrofoam if it’s too hot. I looked up a video that recommended Tightbond 2 for adhering styrofoam together. Although it says it’s wood glue, it worked well in the video. Keep in mind that this will be reinforced in a later stage. It just needs to hold together for now.
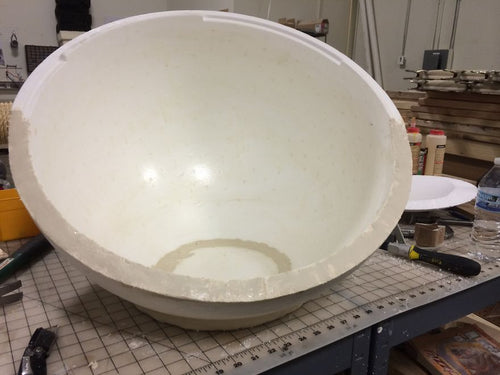
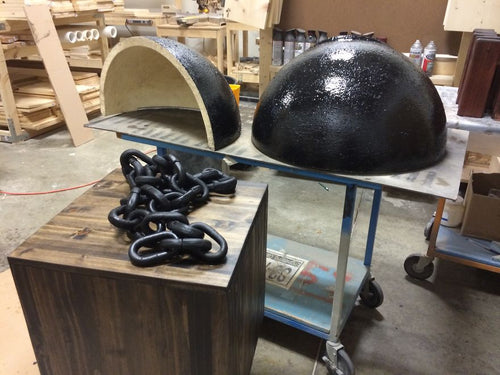
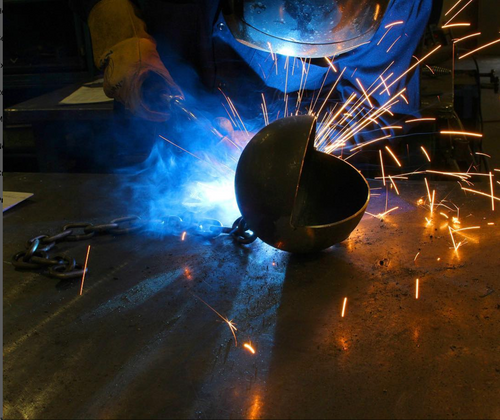
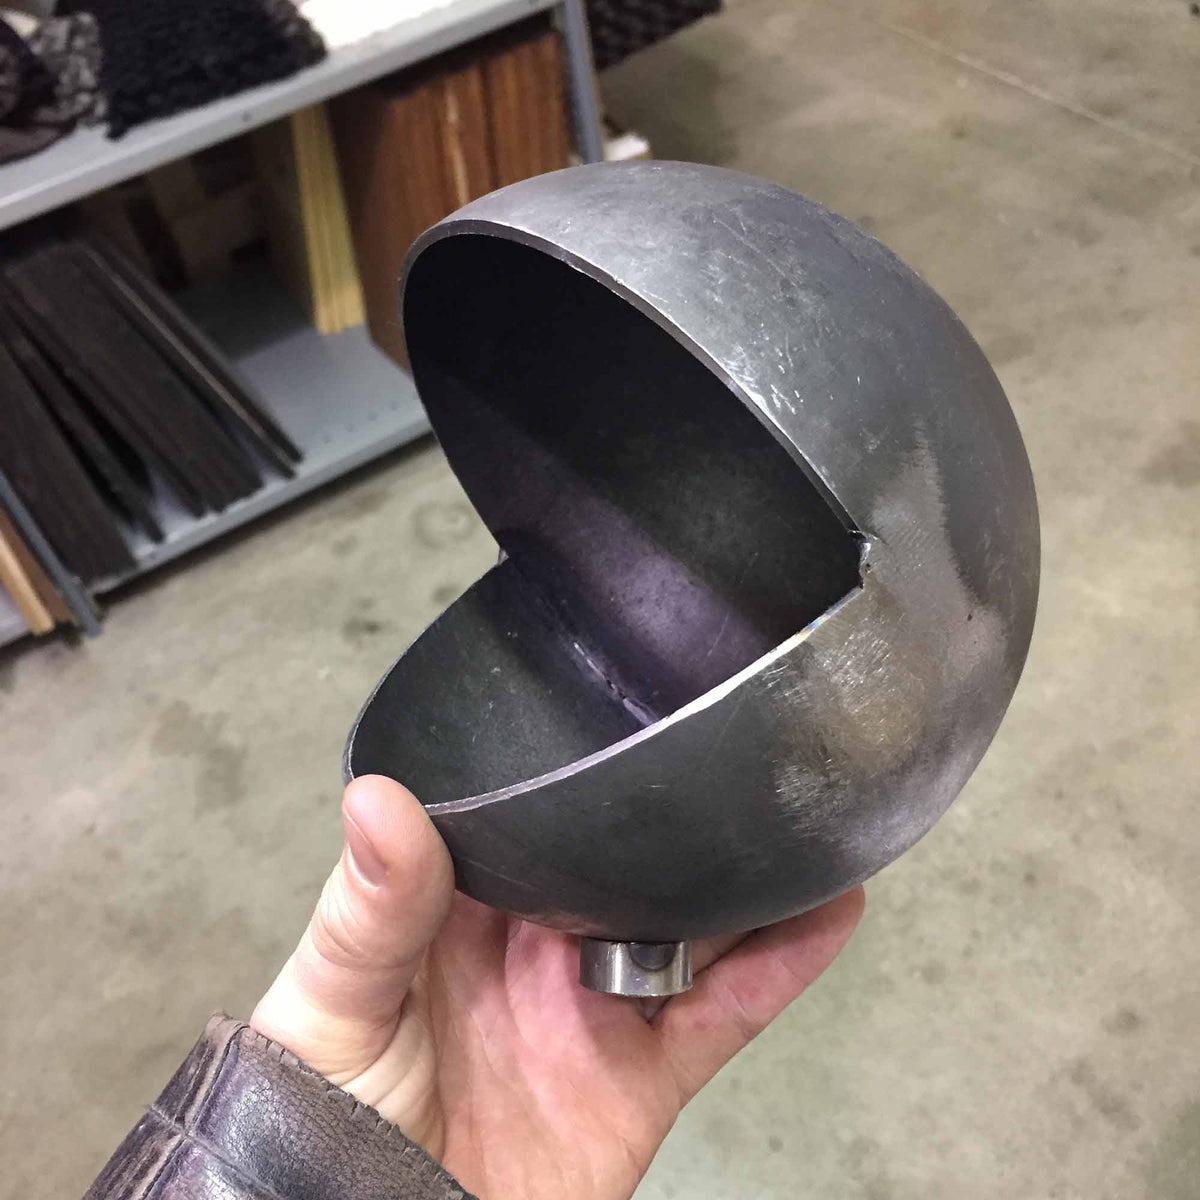
The hollow sphere has sections cut out so that the two halves fit into each other. The bottom half of the section is going to be the bottom jaw of the Chain Chomp, so those should be cut flat, but be sure to leave the top half so you can secure the top in a later step.
I also added the molding paste, but I’m not really sure this was necessary at this point. I think either I was excited about how much it made the styrofoam look like iron, or it was prior to me realizing I needed to use fiberglass cloth to help strengthen it.

Cut the second half of the styrofoam sphere in half so that it fits together to create the top jaw of the Chain Chomp. I think I may have taken an orbital sander to the “mouth” area to help flatten it out. I also added more of the molding paste, but if you do this, it will get covered up by the fiberglass later on, so it’s probably not necessary.
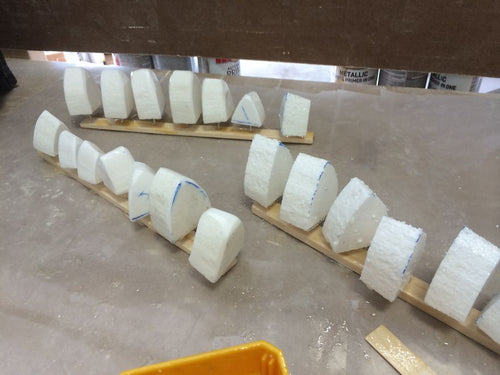
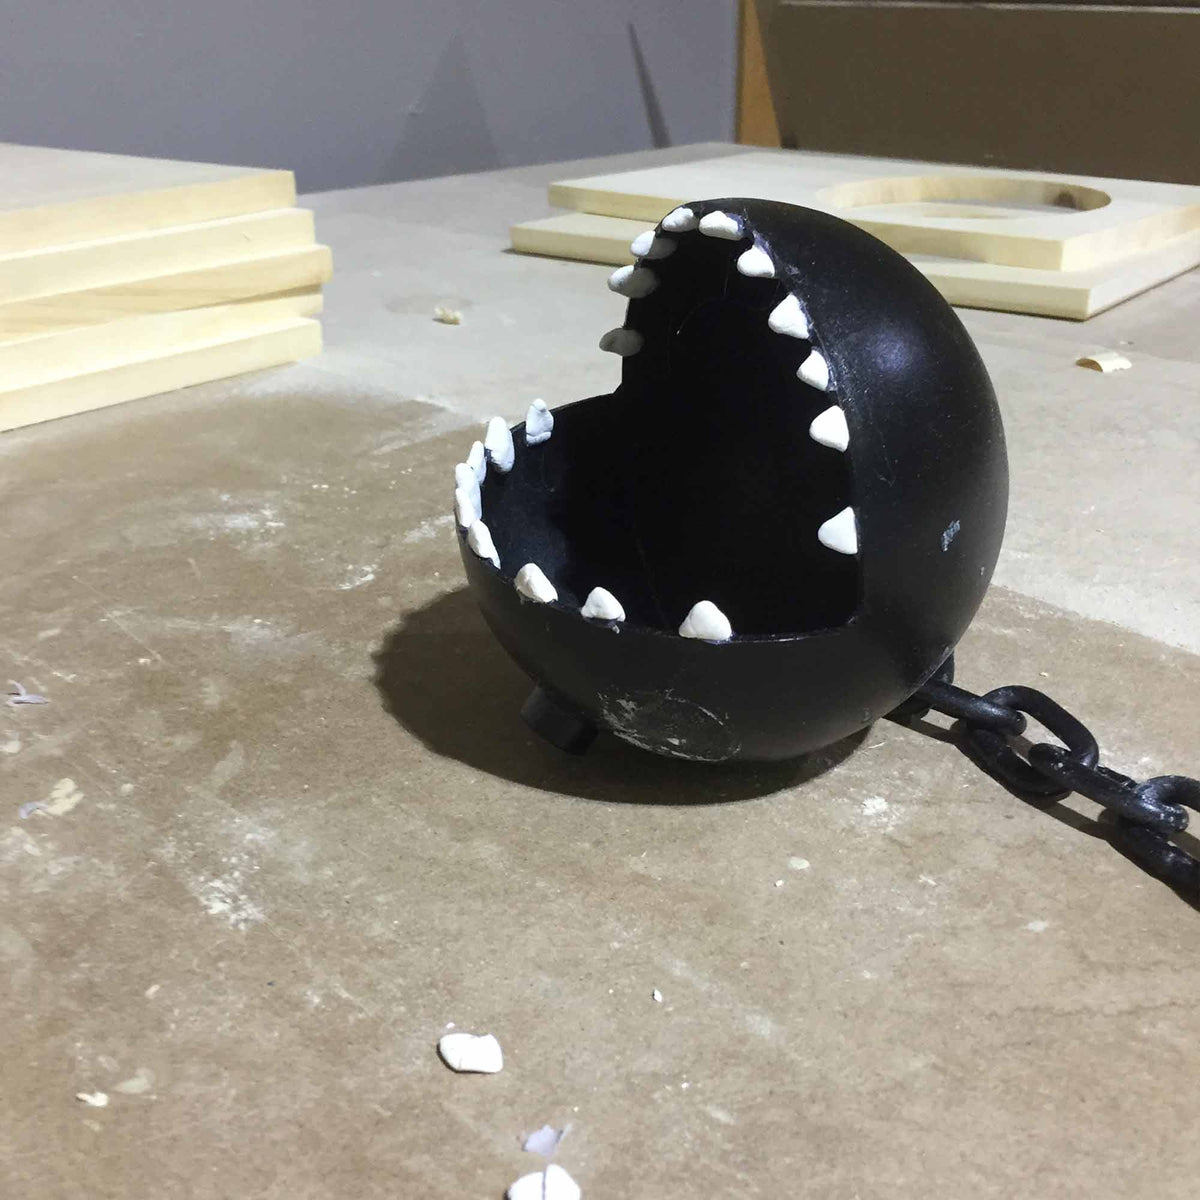
Next, I cut the teeth from the ¼ piece of the large sphere we cut off to create the mouth opening. This worked really well because they ended up slightly curved to match the rest of the chomp body.
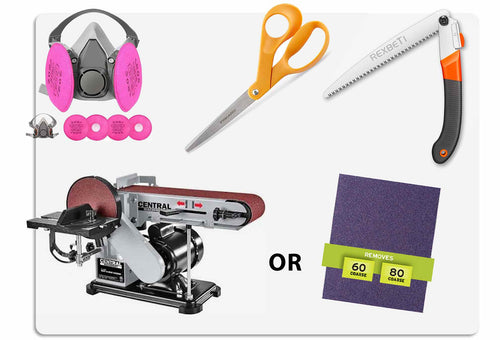
I cut the teeth in a few different sizes to avoid them looking fake then used a sander to smooth them out. If you don’t have a sander, you could also use 80 grit sandpaper. Then spray paint the teeth glossy white.
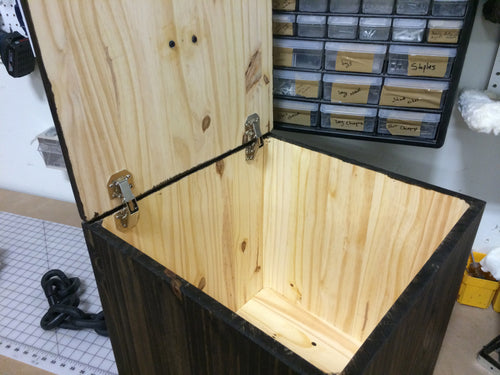
Like I mentioned, this was in 2015 and at the time I had no idea this concept would be so popular or I would have taken more photos of the process. I don’t have any images explaining how I made the wooden box, but I found this picture with the top open to show the hinges, which were from Home Depot. The outside of the box was stained with Ebony wood stain.
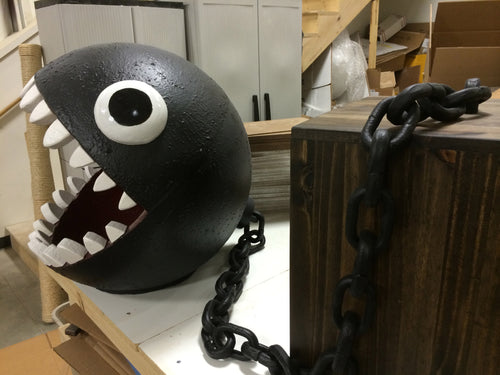
I removed the foam chain from the ball it came with by cutting one of the links then spray-painted it matte black to match the outside of the Chain Chomp. Then fastened it to the box using a wooden loop which was cut in half, then screwed it in from the inside of the box. I think this was from Home Depot, but to give you an idea of what I’m explaining, here’s a link to a bunch of different sizes on Amazon. If I were to do this today, I would use a metal bracket and found this one that looks like it would work well.
At one point, I spray-painted the outside of the body and this is the only proof I have that this was done. I think the picture was supposed to be showing the wet paint.
Unfortunately I can’t quite remember how I made the eyes. From looking at this picture and how the eye is slightly uneven, I think I took more of the scrapped ¼ sphere I cut off to make the mouth and sanded the edges down so they bulged out more. Then I spray painted white, painted the black pupil, and added a few layers of high gloss clear coat.
As far as attaching the chain to the back of the Chain Chomp, that’s another mystery. We used to build our Cat Scratching Poles out of PVC and looking at the size, it may have been a 3” PVC cap because we had large boxes of them at the time. I know they sell them at Home Depot as singles.
If I were to build this today, I would use wood instead. I’m not sure how the PVC was held onto the Chain Chomp, but using solid wood with the same brackets I shared earlier would work better. I’m picturing screwing into the wood from the inside of the Chomp’s mouth and maybe using washers and tightening the screw so that it slightly sinks into the styrofoam.
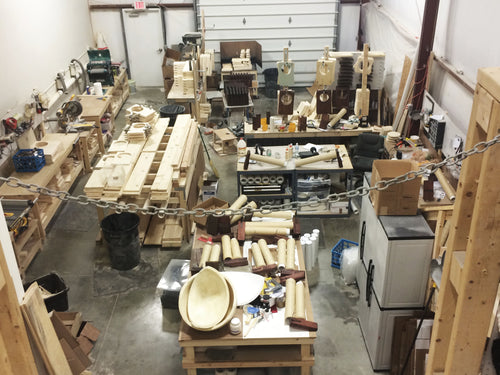
When I built the bed, our whole cat furniture workshop was in one big warehouse. Not having the woodshop in a separate room caused issues with sawdust being everywhere. This was a big problem with working with epoxy because the drying time was about 12-24 hours, which made this a portion of the project that could only be done on the weekends.

We started building cat furniture concepts in 2013 and one of the first things we built was the Super Mario Cat Complex. It was a really fun concept to build and video of the cats warping through the pipes was priceless.
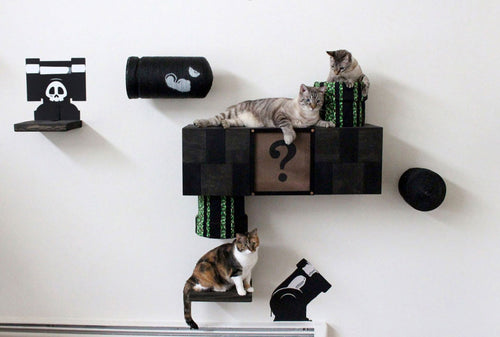

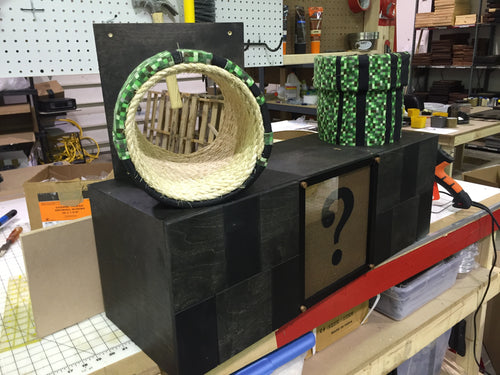
After a few years of building this and enjoying the photos being shared from customers we had to discontinue the product. After it received a lot of attention online, we quickly fell behind in fulfilling orders. The issue was that the pipes took a considerable amount of time to create.
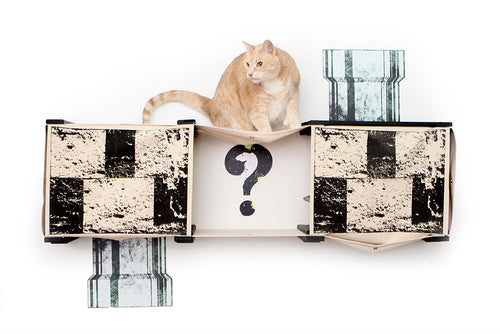
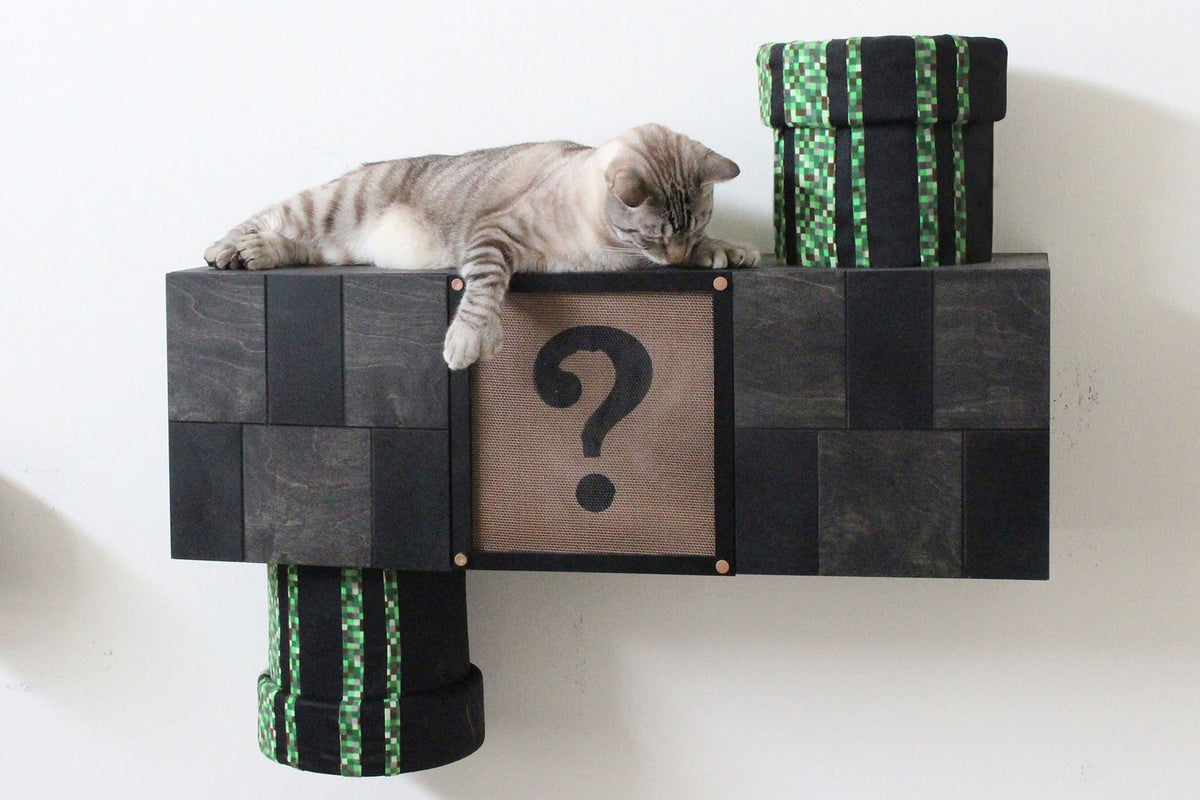
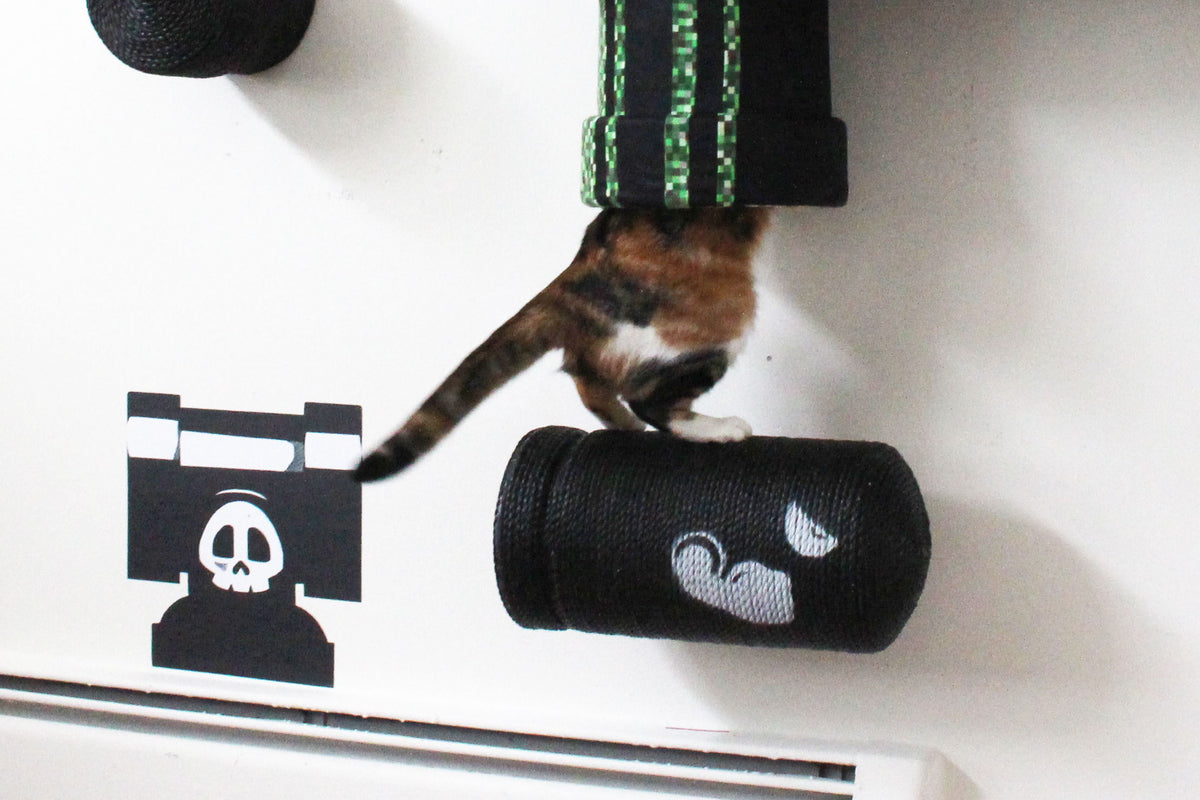
We ended up changing the design to make it more manageable. I still prefer the old warp pipes better (because they were almost real), but it was a lot of work to build and also included sewing, which became a lot of work among our small team of 5 at the time. The new version uses wall vinyls as pipes and an empty space with vinyl to create the question mark box. We use Escape Hatch Shelves in the top of cat condo and cats are still able to jump into the condo from each portal area.
This idea was born out of wishing our cats would look like they were being extra daring each time they ate out a chain chomp's mouth. It turned out to be a questionable product to launch due to the claw spiky teeth looking dangerous for a cat to place their head through. I made them more rounded, but still struggled with somebody accidentally bumping it with their foot and hurting the cat.
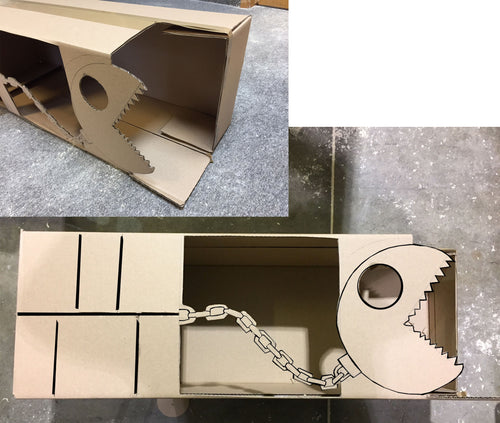
This was an idea that we put on hold, but have secured patents on and are planning to revisit in the future. It’s a shipping box that can be converted into a pet enclosure. Our thinking is that customers could receive their order in a box with perforated walls which could be knocked out to create a bonus space for their cat to play. I’m still interested in doing an enclosed litter box using a similar design as the box.
2013
This was shortly after we started building cat furniture and as you can these sisal lined portals created an extra layer of complexity to a game of fetch.
Updated - April 26, 2024