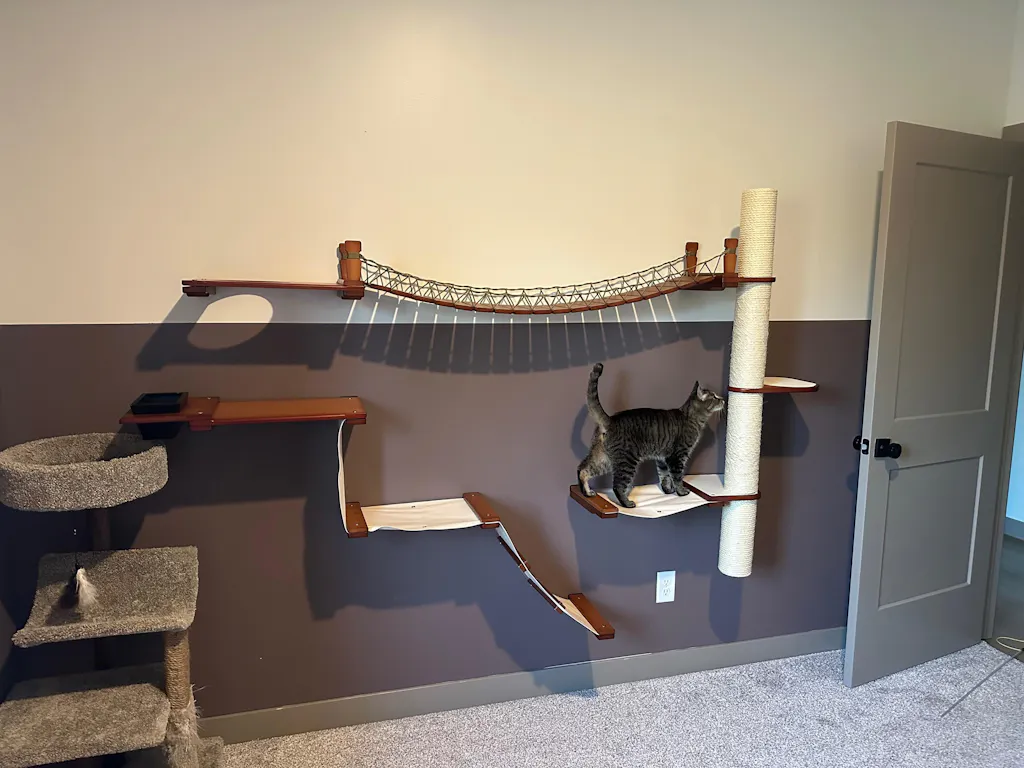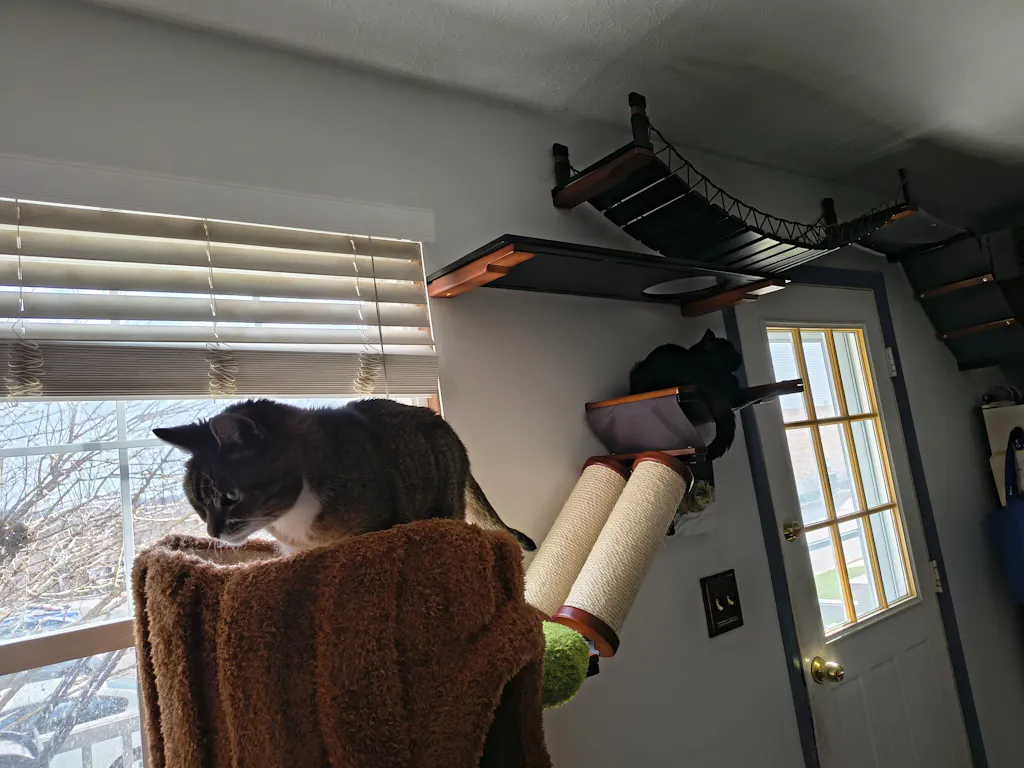

Over the years, we’ve heard feedback from some people who are concerned they may damage their walls after installing our furniture. We recently updated the furniture we had hung up on our walls at home and recorded the process of us taking down the furniture to show how to repair the holes. This is something that can come in handy when moving from an apartment complex or moving your cat furniture to another location in your home.
 |
 |
| BEFORE | AFTER |
Worried about Mounting in an Apartment?
Megan and I rented apartments for the first five years of the business and our walls have always been filled with furniture so that we could try out ideas with our cats and take photos. During those years, we moved four times and have never had to pay anything out of our security deposits due to wall damage. From our experience, apartments allow small holes in your walls, typically to hang up pictures and other decorations around your home. We send the same size screws along with our furniture for installation, which leaves a small 1/8″ sized hole after taking down.
 |
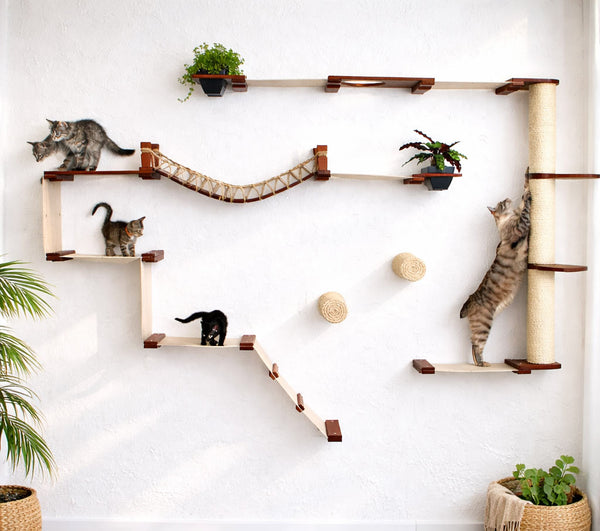
| PACMAN WALL |
If you need approval from your landlord, we suggest explaining that you would like to install shelving that will leave 1/8″ holes in your wall and that you will be patching them up prior to moving out. Early on, we asked our maintenance person if we were able to “install cat furniture on our walls” and they seemed confused by the idea. Wall-mounted furniture is still a relatively new concept and without explaining the installation process, some may think it would leave major holes in the walls. After we explained that we would only leave small holes behind, they were perfectly fine with the furniture going up. Installing a TV on the wall uses much larger bolts, requiring bigger holes. If your landlord allows people to install TVs on the wall, the wall-mounted cat furniture should also be fine.
So here are some tips we’ve put together to repair the drywall after removing or switching the location of your wall furniture.
Things you will need:

Step 1 - Locate and Scrape Down Any Holes
Without any compound on your putty knife, scrape your drywall around where the holes are to even out the surface you are working with. I’ve made the mistake in the past of adding putty while there is drywall protruding out and having small pieces coming off the wall and mixing with the mud. This creates problems when trying to get a smooth finish.
|
| HOLES FROM MOUNTING PLANK |
To mount the furniture we use small #8 screws, so the holes they leave in the drywall are very small holes that are easy to patch up. (Pictured: 3 holes, before and after scraping)
 |
| SCRAPE HOLES |
Joint Compound vs Spackle
I prefer using a joint compound rather than spackle. This material is what’s used to cover seams when installing drywall, it dries very hard, and I find it easier to work with after it’s dried, allowing for a nicer finish on the wall. The downside to using the joint compound is that it takes longer to dry and shrinks more than spackle, but I just do two coats, sanding in between, and it turns out really nice. For years I used spackle and have never been able to make the holes completely disappear. With the quick-drying spackle, it doesn’t harden all the way either, staying flexible, whereas the joint compound dries to the same hardness as the rest of the drywall.

Step 2 - Patch with Very Thin Layers
It is important to patch your walls with a thin layer, using your putty knife. In the past, I’ve done thicker coats, thinking that I could sand it down after it dried to be even with the wall. I’ve decided this is pretty much impossible and adds a lot of extra work. After applying your compound, let it dry for five hours.
 |
| THIN LAYER OF JOINT COMPOUND |
Step 3 - Sand using long strokes
Next, use a foam sanding block and sand in long strokes to ensure a more even finish. Use your fingers to feel if it’s smooth or not. If you can feel where the layers get thicker, you’re probably going to see them after the paint is applied.
 |
| SAND AREA AFTER IT'S DRY |
Step 4 - Repeat
Repeat steps 2 and 3 until the hole is completely gone.
Since the joint compound shrinks down a little as it dries, after the first coat dries there will be a small indentation in some of the holes. Do another thin coat over these to even the area out completely. We have found that two layers of the compound are sufficient for the 1/8″ holes.
Step 5 - Paint
We’ve found that matte paint is the best for repainting your wall and hiding any possible imperfections. I first got a more expensive type called Infinity from Lowe’s. I later found out that although this paint is made to be easier to clean, its matte finish has a semi-gloss shine to it. Now I’ve been getting the next type of paint down in price, which was called Showcase. Both are by Sherwin Williams and available at Lowe’s.
If you look closely at the side by side pictures below, you can see there is a slight smoother area in the center of the picture. I’m fine with this, because it’s difficult to notice unless you get very close and are looking for imperfections.
|
|
| BEFORE | AFTER |
A more extreme example - Our retired mounting wall
A couple of years ago, we bought our first home and wanted to continue using our living room to do photo shoots. Since that meant installing and removing furniture once a week, we decided to install plywood panels to create a mounting wall. Since then, the business has moved into a new commercial space which has a cat room with mounting walls, so these are pictures from us taking our living room back.
 |
| TAKING DOWN MOUNTING WALL |
 |
| PATCHING WALL |
 |
| FINISHED WITH MATTE PAINT |
 |
| DONE |