How to Install Cat Shelves & Wall-Mounted Cat Furniture
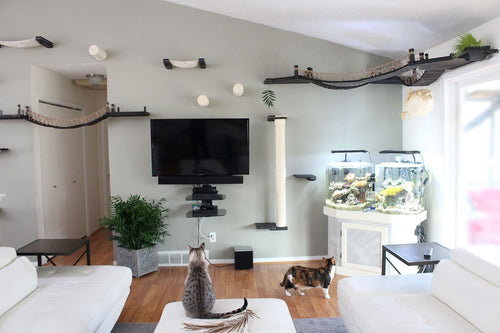
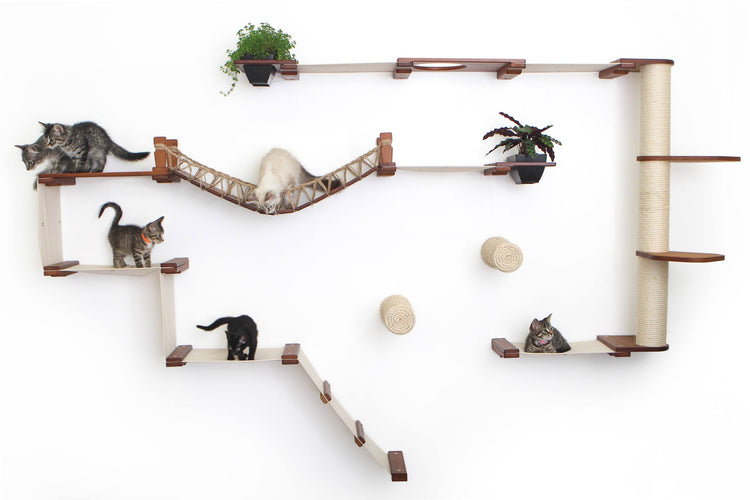
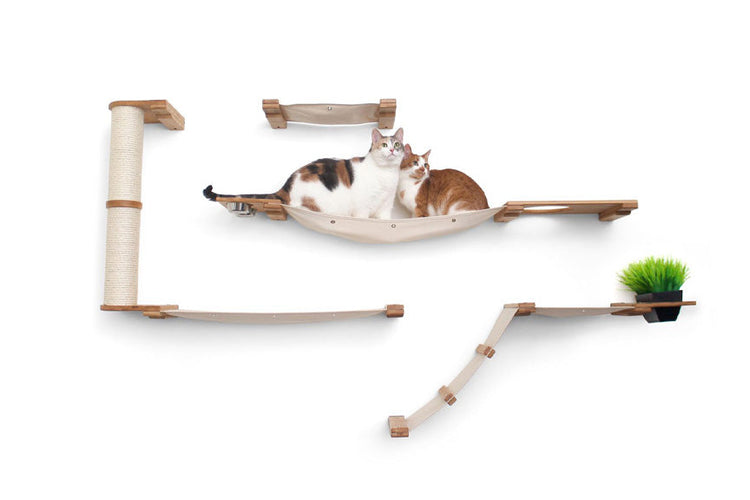
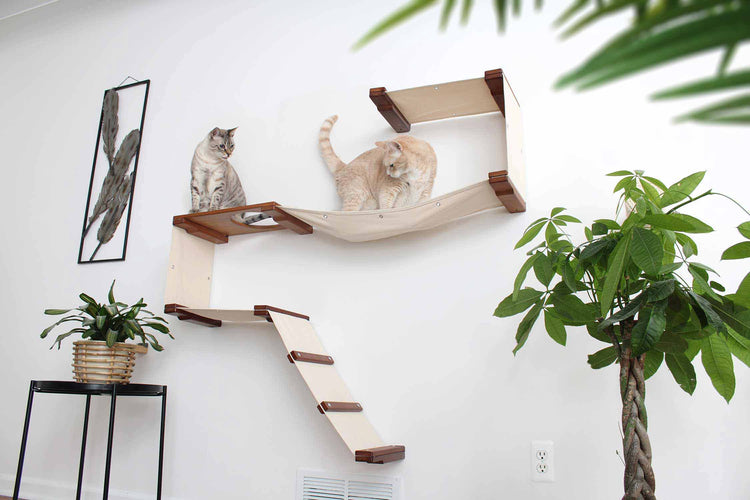
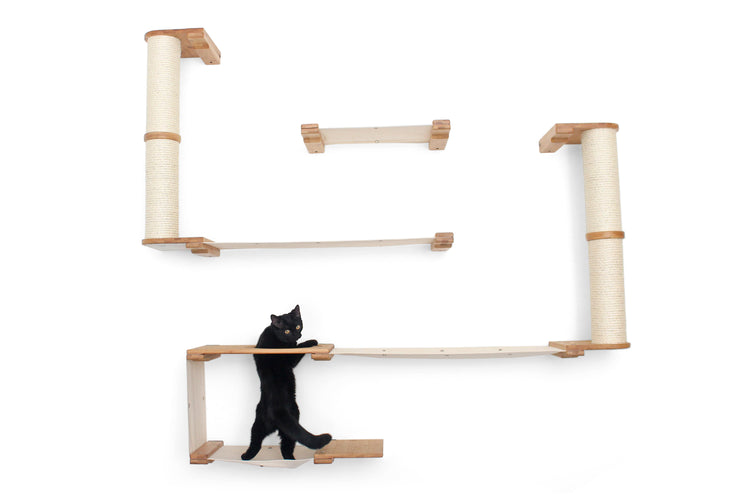
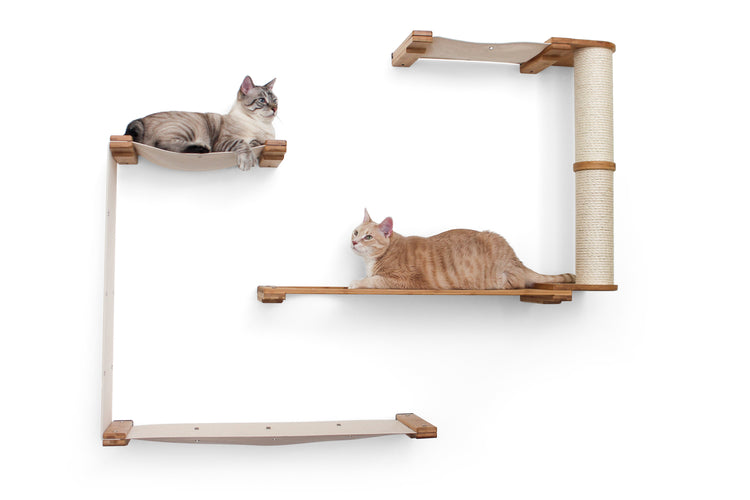
This section covers a full walk-through of things to consider as you're installing your cat’s new vertical habitat. Most of our furniture is made with a modular system that entails bamboo planks that are installed into wooden or metal studs, cement, or brick. After the planks are installed, we have a variety of furniture concepts, like shelves and hammocks, that attach to the mounting planks.
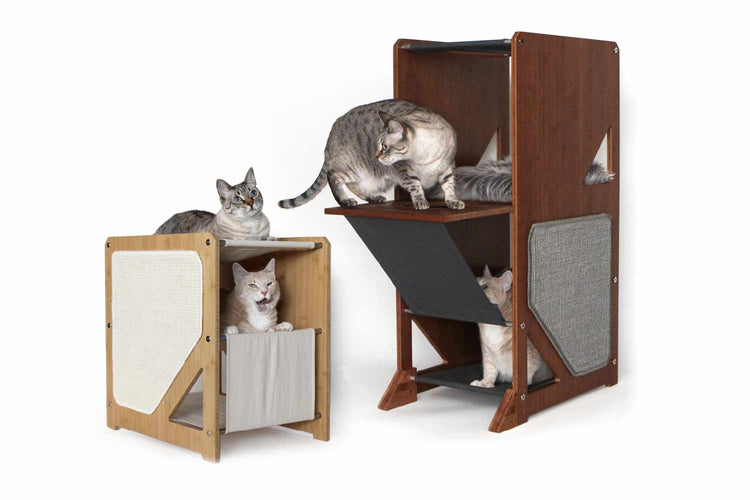
This section covers a full walk-through of things to consider as your installing your cat’s new vertical habitat. Most of our furniture is made with a modular system that entails bamboo planks that are installed into wooden or metal studs, cement, or brick. After the planks are installed, we have a variety of furniture concepts, like shelves and hammocks, that attach to the mounting planks.
*Please note that we have included links to Amazon products, which are affiliate links. This means that we may receive a portion of the sale if one is made through the provided links.
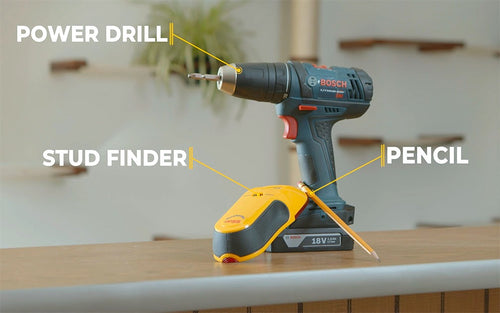
Stud finder - A stud finder is used to locate the studs in your wall. If you have drywall on the wall you’re mounting into, you will need a stud finder, because all of our wall furniture is designed to be installed into studs (or into cement or concrete).
Drill - All of our cat furniture comes with drill and phillips/hex head bits, but you will need a drill to use them.
OPTIONAL TOOLS
Tape measure - This is always nice to help keep spacing consistent between pieces of furniture.
Pencil - We suggest having a pencil to mark the outsides of your studs as you locate them.
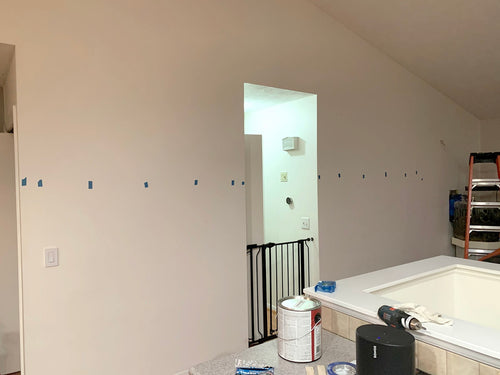
Painters tape - This can be really handy to help mark your stud locations. We suggest marking the outsides with a pencil, but sticking a piece of painter's tape in the center is really helpful to make the locations stand out, especially if you’re mounting a custom layout.
Before you choose a mounting wall, it's a good idea to consider the right room. Is your cat social? Does it prefer to hang out in rooms with you? If that's the case, we suggest mounting in a room where they're able to do that. Or if your cat prefers hanging out in a particular room by themselves, that would be a more appropriate location.
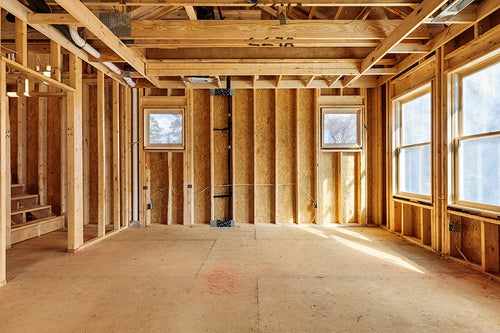
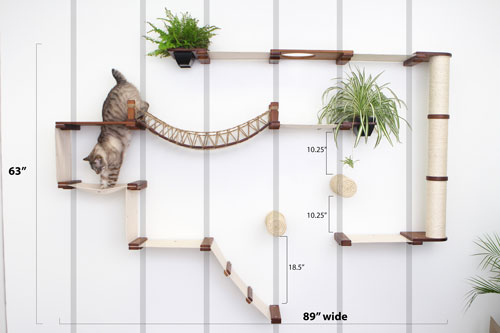
Most construction in the US is made up of drywall over wall studs, which are wooden or metal 2x4s that act as the frame of the wall and are what the drywall is attached to. Because these studs are very sturdy, we’ve designed the furniture to be installed into them. They’re typically spaced out at 16” from center to center, so that’s what we’ve designed the furniture to accommodate.
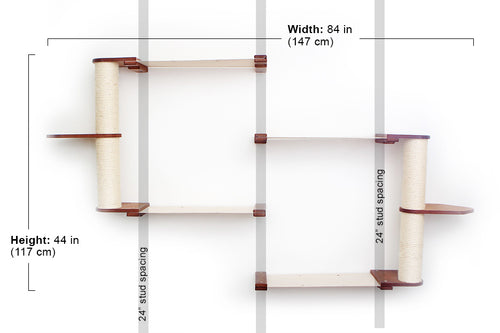
If you have other spacing between your studs, like 24”, we have custom options for those as well. Our hammocks have grommets placed every 8” to work with both of these types. For situations like this, we also suggest incorporating furniture options that only utilize a single stud, so that spacing between them isn’t an issue.
What surface are you mounting into?
Here's a video which covers installing the furniture planks into wooden studs, metal studs and concrete.
For metal studs, we suggest mounting the furniture using #8 x 2" flat Phillips-head tek screws. If you leave a comment in your order, we can send these out instead of our standard wood screws.
Stud spacing will often change near doorways and windows. But keep in mind that all the doors, corners and windows will be framed out with 2"x4"s, providing additional mounting points.
SINGLE STUD SOLUTIONS
Browse productsMULTIPLE STUD LAYOUTS
Browse products24" STUD SPACING
Browse productsDrywall Repair Tips
For the first five years of the business, we lived in five different apartments and were doing all of our photoshoots from our various living rooms. So we've had a lot of experience with bringing walls back to new.
We highly suggest first locating and marking the outside edges of each stud, then marking the centers with painter's tape. Steps for locating your studs are shown in the video above.
If you aren't sure about how many studs your layout uses, you can find this information in the product listing or at the beginning of your paper instructional booklet.
If you have other spacing between your studs, like 24”, we have custom options for those as well. Our hammocks have grommets placed every 8” to work with both of these types. For situations like this, we also suggest incorporating furniture options that only utilize a single stud, so that spacing between them isn’t an issue.
Do you learn better from watching the process? We've put together some really nice videos that cover the installation of individual pieces of furniture.
Mounting plank
Quick tips
- Mount initial plank directly into center of wall stud.
- Angle drill slightly downward to avoid metal mounting post.
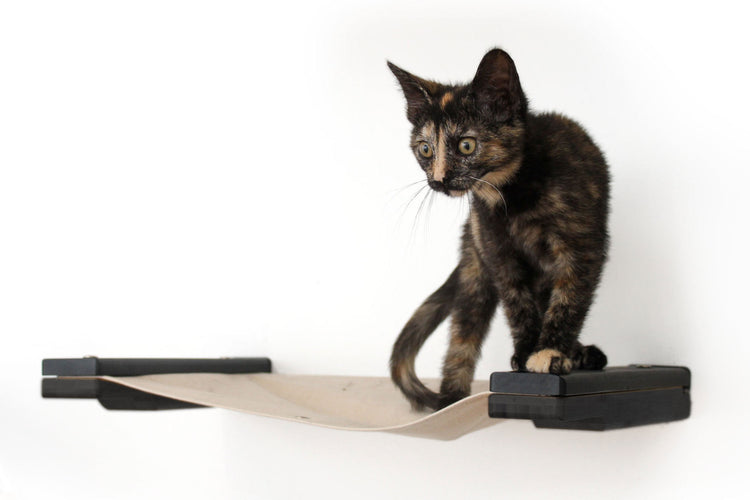
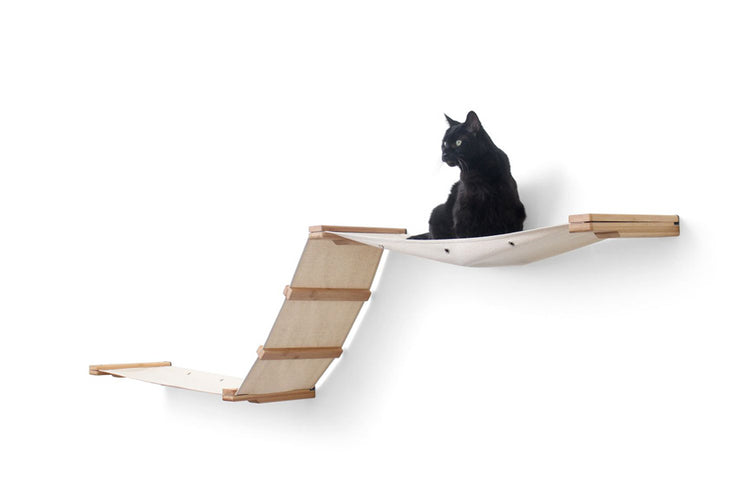
Hammocks
Quick tips
- Use low-speed drill setting to attach plank top & tighten until fabric is clamped firmly.
- Be sure fabric hammock sections are pulled taught.
Shelves
Quick tips
- Escape Hatch shelves can be rotated to position hole right or left.
- Use low-speed drill setting to attach shelf top to plank bottoms.
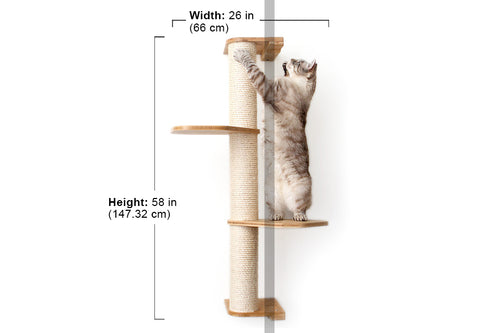
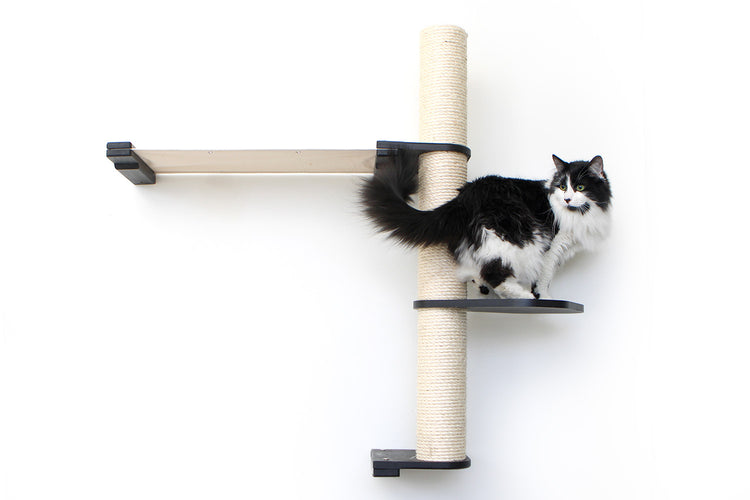
Sisal Poles
Quick tips
- Use hard floor surface to lay pole down and line up shelves before tightening.
- Do no over-tighten sisal pole sections. It can pull the nut out of the plastic end cap.
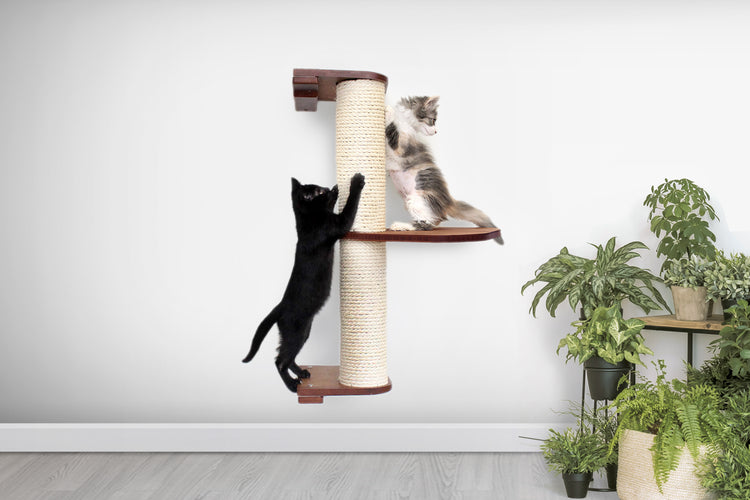
Sisal Post
Quick tips
- Mount the metal bracket holes vertically, lined up with stud.
- Do no over-tighten sisal post. It can pull the nut out of the plastic end cap.
Ladders
Quick tips
- Use low-speed drill setting to attach the ladder top.
- Do not over-tighten furniture screws.
The Grotto
Quick tips
- When pulling the fabric tight, its best to pull down from a standing position.
- Our grey fabric is stretchier and may appear to be too short until pulled tight.
The Overlook
Quick tips
- When pulling the fabric tight, its best to pull down from a standing position.
- Our grey fabric is stretchier and may appear to be too short until pulled tight.
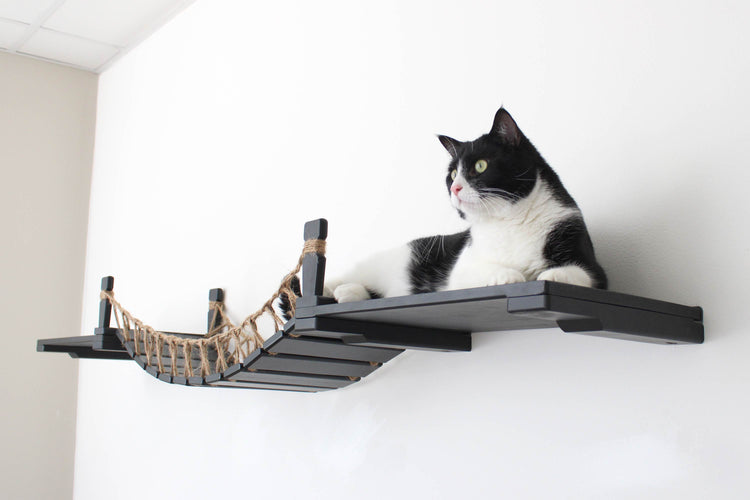
Cat Bridge
Quick tips
- After installation, look under bridge slats and unhook any paracord that's out of place.
- Measure from floor to bottom of plank to ensure each are level.
Cubby
Quick tips
- Install the bottom mounting screw underneath the Bottom Plank first, then install the Plank Tops.
- Use a slow drill speed when installing the furniture bolts to avoid potential damage to the bracket.
Nest Cat Bed
Quick tips
- Position pad so that curves slighly up the wall to create a comfortable "U" shape.
- Cat's typically prefer bed to be mounted at highest point of their cat wall.
Building a custom layout?
Watch a video made by an experienced contractor and owner of McMillion Concrete LLC, Nicholas McMillon. He does a great job walking us through the process, explaining important things to consider and including some tips of his own.
If you're interested in checking out the page we put together with our suggestions, please see our custom layout tips!
In most cases, we've heard very positive feedback about their cats adapting quickly to the furniture. But there are those cats that are a bit more cautious. If your cat falls into this category, you may want to ease them onto the cat furniture using these tips.
Now that your cat’s new furniture is up, you want to give your cat positive reinforcements, so they will relate the area to good things. We highly suggest incorporating things like catnip, playtime or giving them treats from their new furniture.
Any time we get treats out, our cat Heisenberg jumps onto a wall complex, because that's where we always feed him treats.