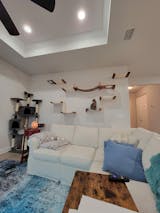
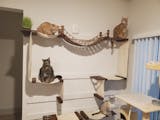
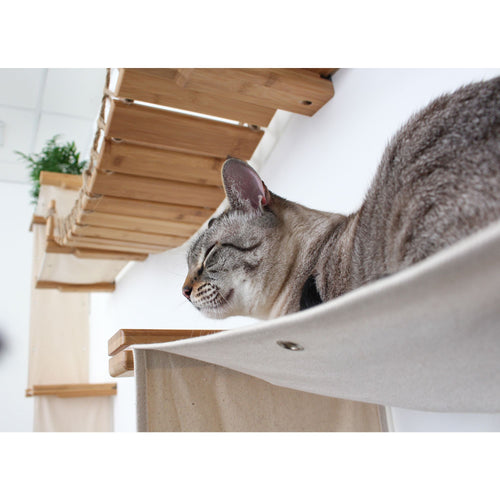
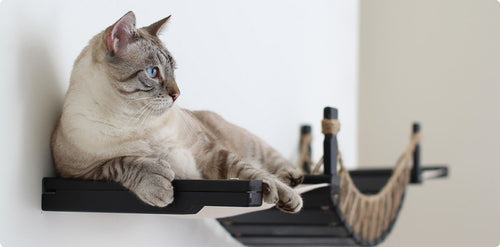
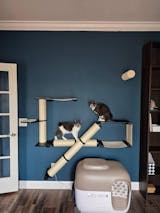
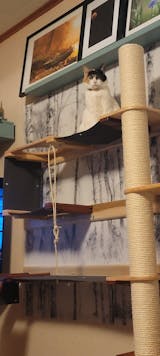
I absolutely love how beautiful this piece is, it's elegant but more importantly it's sturdy! This feels very safe and my wild boys love it. I cannot wait to get more pieces!
Hi Katey!
We are so happy to hear that your cats are loving The Crossroads! We take great pride in creating not only beautiful pieces, but also ones that are sturdy and safe for your cats. We can't wait for you to add more pieces to your collection! Thanks for sharing your experience with us. - Alexandria
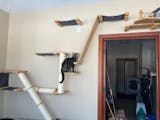
Our cats are in love with every single thing we installed, they’re on it every day
Thank you for your review! We are so delighted to hear that your cats are enjoying our Angled Cat Scratcher Lounge. It's always a pleasure to know that our products are making a positive impact in the lives of our furry friends. Your setup looks great! Thank you for choosing our brand and for your support! -Elexis
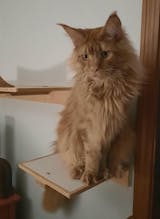
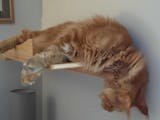
Purchased the cat perch for my Maine Coon as a step up to the shelf. He weighs in at 20 pounds. After a few months of use I can report that I feel the perch is stable. He actually bounds up the perch to the shelf. It does give a little, but that's probably a good thing. I did reinforce with a 1x4 board and longer screws to reach through to the stud. Not saying it's necessary. But because of his weight I felt it couldn't hurt. I love the shelf and the design. Very good quality. Easy to install!
Hi Rocco! Thank you so much for your kind review. We're thrilled to hear that your Maine Coon is loving the new perch and that it's able to support his weight. We're glad you're enjoying the design and quality of the product. Thanks for choosing our cat perch! -Elexis
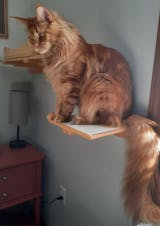
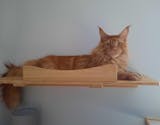
Purchased the cat nest bed for my Maine Coon. He is currently weighing in at 20 pounds and 14 months old. I had my reservations about the shelf because of his size. After a few months of use my concerns are gone. The quality of the shelf is great. The design is unique and thoughtful. The slotted shelf makes it easy to install if your studs aren't perfectly even. I was able to install them myself with no issues. The shelf appears to be very stable. I will add that I added a 1x4 to the wall across the length of the shelf. I feel that would add extra strength to the shelf. And then I used longer screws so it could reach through to the studs. I love the shelf and would order again.
Hi Rocco! Thank you so much for taking the time to leave a review for our Cat Nest Bed. We're so happy to hear that your Maine Coon is loving it and that it's able to support his size. He is adorable! We take great pride in the quality and design of our product, and it's wonderful to know that it's meeting your expectations We truly appreciate your support and hope to see you again for future purchases. -Elexis
Hi Bill,
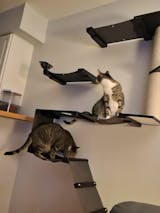
Thank you for your review! We are so glad to hear that your cats are enjoying their setup! They are adorable! Our products are designed to provide the perfect climbing and scratching experience for your furry friends. We hope they continue to have endless fun with it! -Elexis
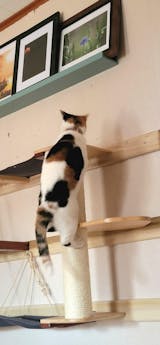
I had a play wall up, but wanted another way for my cat to get up or down. The step and a small shelf made a great 2nd path.
Hi Phillip, thank you for taking the time to leave a review! We're glad to hear that our Cat Climbing Shelf was a nice addition to your play wall. It's great that it provided another way for your cat to access different levels. They are adorable and your set up is looking great! Thank you for choosing our product. -Elexis


