


How to Build the Best Cat Playground & Jungle Gym
As our cat's guardian and best friend, we all want to give our cats the best lives possible. However, most of our cats spend their lives exclusively indoors, which can cause boredom, behavioral problems, and health issues.
On the bright side, there are solutions for giving our cats what they need indoors that make for happier, healthier companions. This article will share the benefits, what to consider, and the steps and products to build the best cat playground for your feline friend.
These tips are based on my personal experience as a cat shelf designer and the design skills I've developed to create functional and stylish cat playgrounds that blend seamlessly into your home design and style.
Why Build an Indoor Cat Playground?
Investing time and effort into creating an indoor cat playground can significantly enrich your cat's life. By providing a stimulating environment through opportunities for interactive play and observation, you not only satisfy your cat's mental and physical needs, but also strengthen your bond with them.
Benefits of a Wall Mounted Cat Playground
Burn off excess energy - Similar to a jungle gym for children, a cat wall provides your cat with an outlet for their zoomies. The extra exercise reduces health risks such as obesity.
Reduces boredom - Did you know that if your cat sleeps a lot, it might actually be a sign of boredom? Boredom may seem minor, but your cat’s mental health is just as important as their physical health. If they are stressed because they have nothing to do, they are more likely to develop behavioral issues like aggression or health issues like cystitis.
More areas for your cat to explore - By utilizing unused vertical areas, your cat has more opportunities to engage in natural behaviors such as hunting, scratching, and resting up high, which contributes to their overall happiness. An additional benefit is that it frees up more floor space in your home for you.
Not convinced? Here are some more benefits of an indoor cat playground.
Indoor Cat Playground Ideas to Consider Before You Start
Before you choose products for your cat wall playground, here are some questions to ask yourself as well as some recommendations to consider:
How many cats are going to use the playground?
One of the first things to consider is how many cats are you building for? Building a playground for one cat versus multiple cats requires different design considerations.
With multiple cats, there’s more to consider when it comes to traffic flow. Basically, how the cats will interact with each other on the wall. If your cats don’t get along with each other, you’ll want to create multiple escape routes from the playground to keep anyone from getting trapped on the wall.
How Old are your Cats?
Another factor to consider is the age of your cats. A kitten is going to need different products in their cat wall versus an adult or senior cat.
How do you make a kitten play area vs. one for older cats you might ask? Consider the below:
How Active is your Cat?
In most cases, kittens are going to have a lot more energy than an adult cat so they’ll need more room to run, jump, and scratch, whereas a senior cat might want more soft places to lounge like on a bed or a hammock.
What are Their Personalities Like?
Even some adult cats might have more energy than others, therefore it’s important to consider their personalities as well. Do they like to climb as high as they can or do they prefer to hide? Do they look for the closest scratcher or do they just want a place to lounge and sleep?
3 Easy Steps to Building a Cat Wall Jungle Gym Playground
Now that you’ve considered your cat’s preferences, follow these steps to build your cat wall playground:
Step 1: Plan & Design
Based on your cat's needs, choose a wall or walls to build your cat jungle gym. Now is the time to think about what places you want your cat to access, as well as where you don’t want them to go. Here are two things that help with this step.
Find your studs using a stud finder. This serves as your template for where you can securely place your shelves.
Once you’ve found your studs and marked them, use painter's tape to roughly sketch out the paths you want your shelves to go. Perhaps you want them to gain access to the space above the cabinets or a window, but you want to avoid them near the TV. Whatever paths you choose, just make sure to have multiple on and off points.
Step 2: Pick the Right Products
One of the most important steps is choosing the right products for your cat. Consider what products might fulfill your cat's needs for scratching, stretching, climbing, lounging, and so on.
Here are some examples: for scratching you might choose something with a sisal rope and for climbing you might choose a wall-mounted cat tree. Similarly, for lounging you might choose a hammock or longer wall shelf.
For more ideas check out this section below.
Step 3: Install & Enjoy
Now comes the most difficult step, installation. If you completed the steps above, you know where your studs are. With this information, start with the bottom left or right corner of your design and work your way up, installing each product into your wall, preferably in a stud.
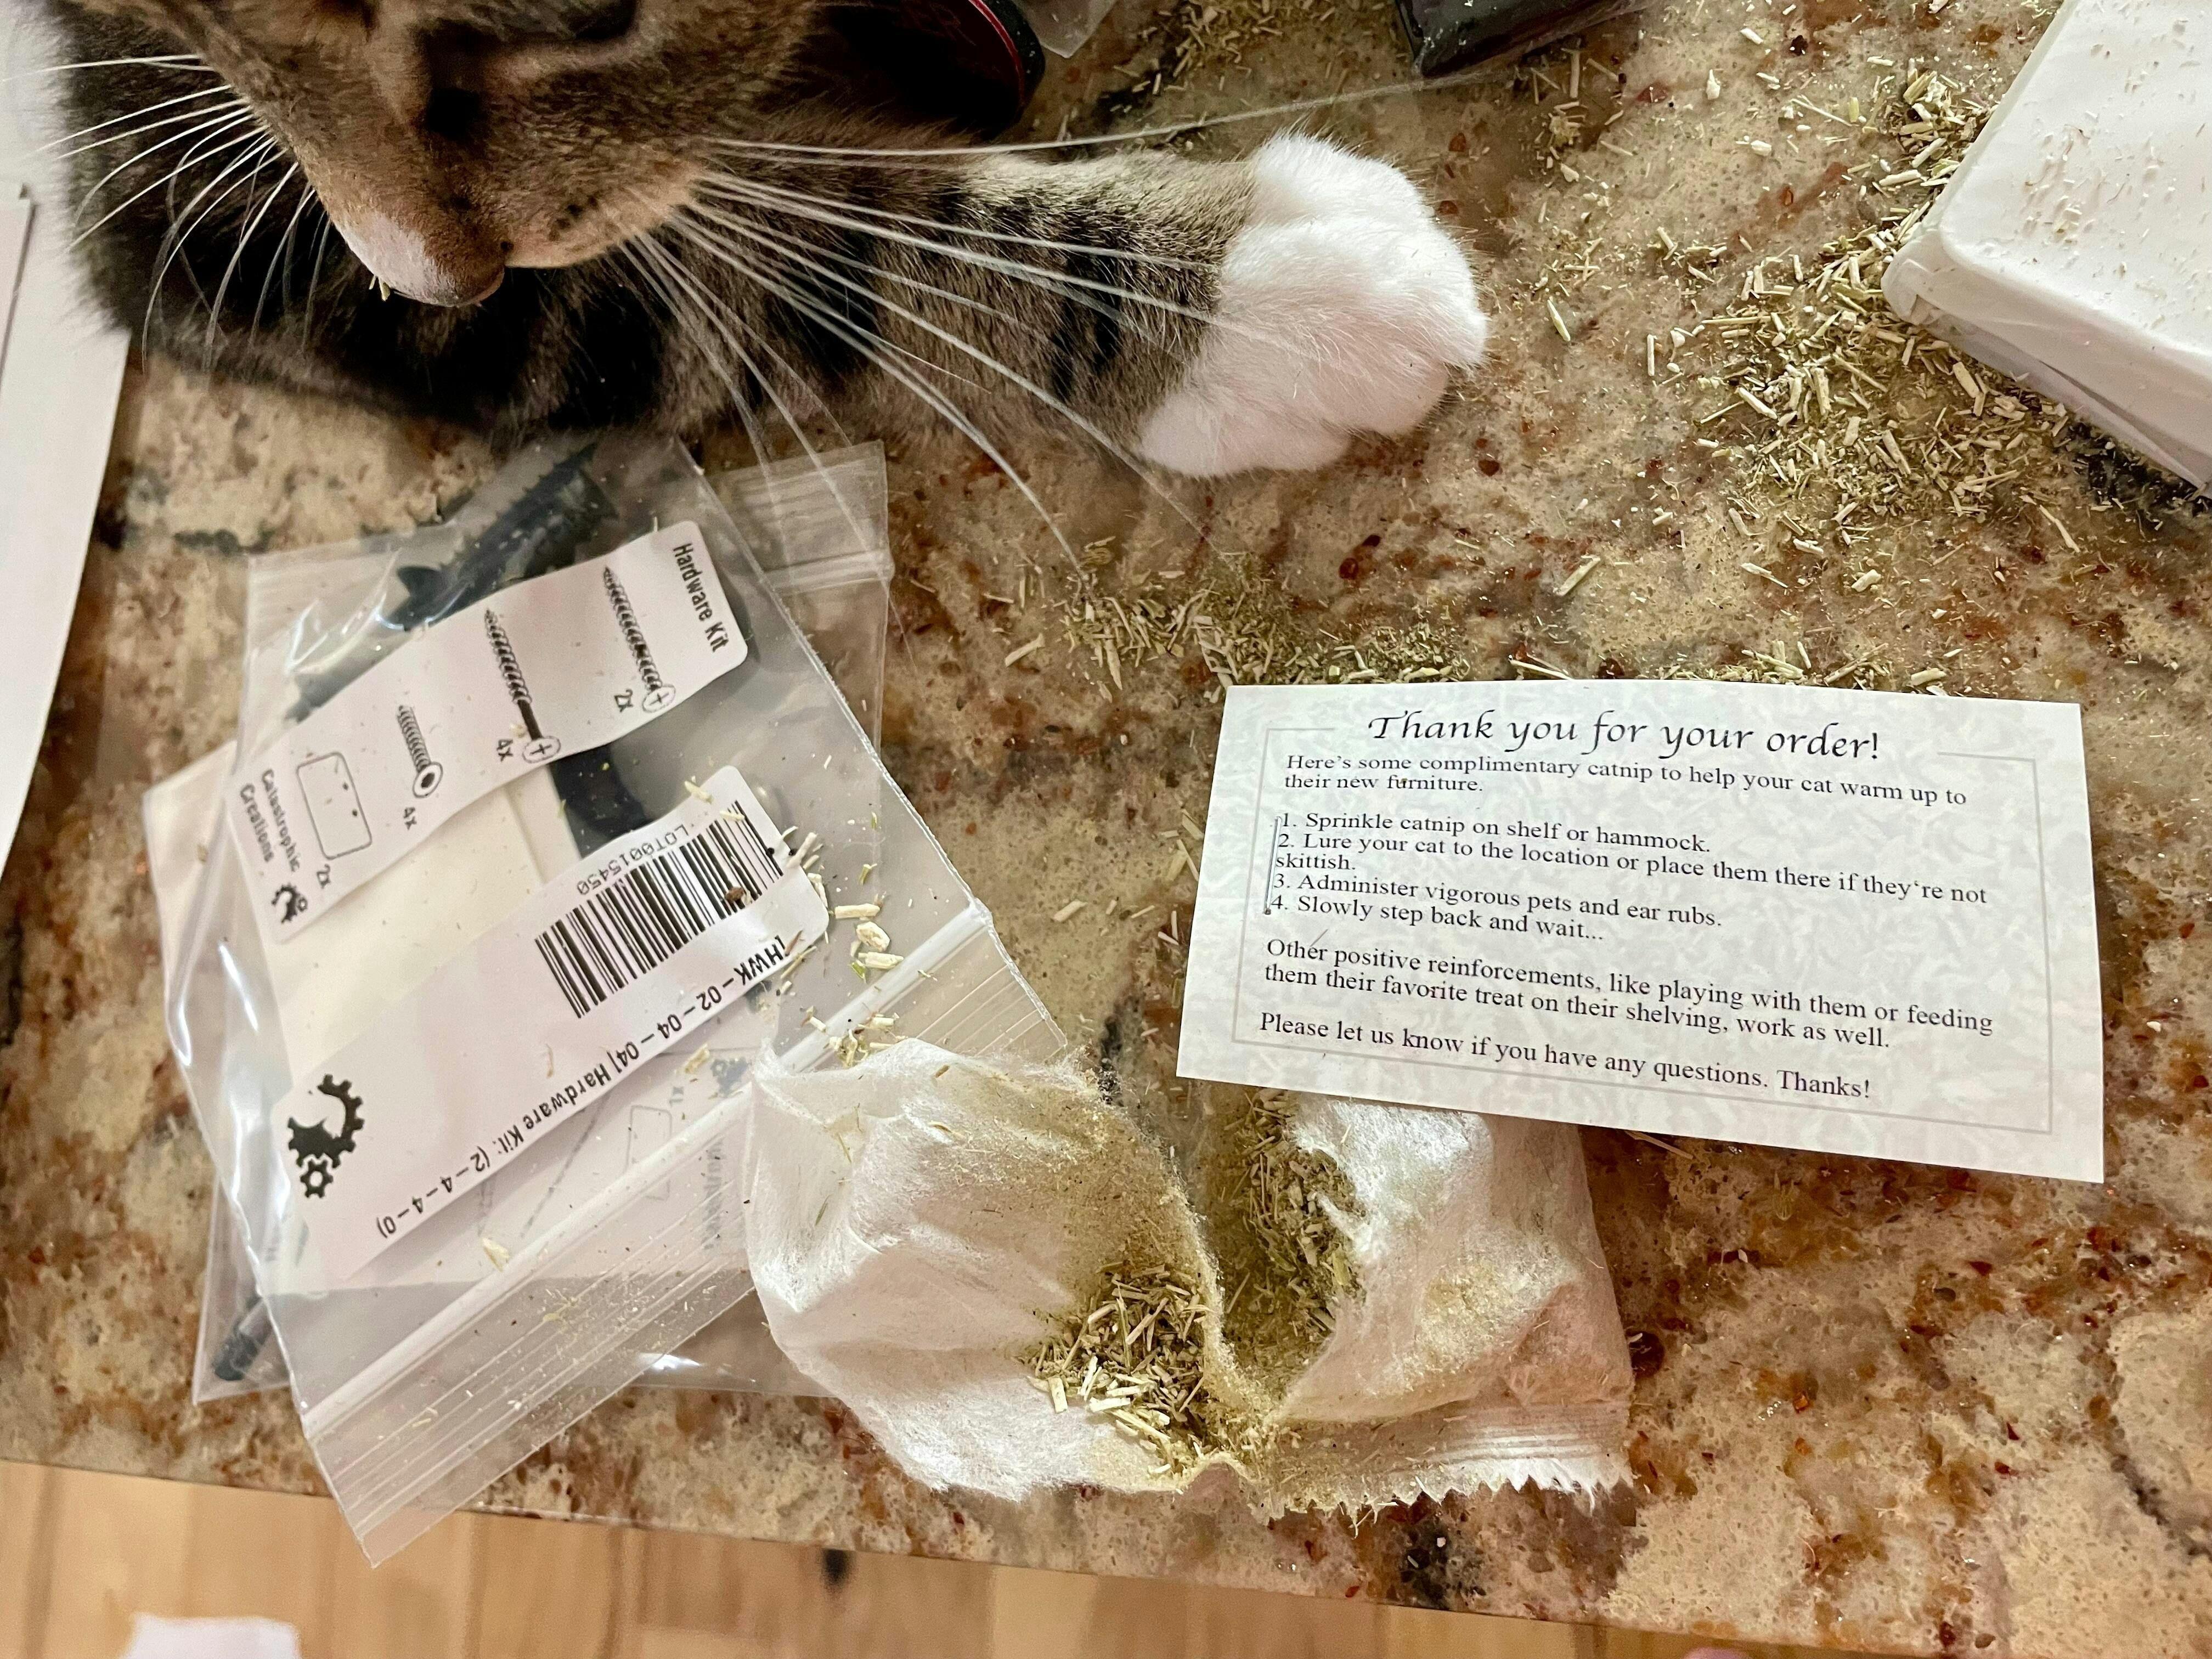
Once you’ve completed your wall, it’s time to get the cat treats and toys out to entice them to investigate their new playground. Just be patient because it may take your cats some time to explore and acclimate to their new playground.
Products to Fill Out Your Cat Jungle Gym Wall
Shop Products for Cat Scratching & Climbing
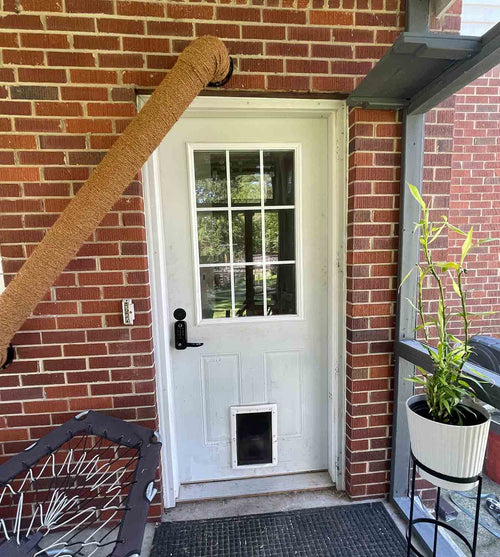
Just as humans utilize gyms for exercise, cats benefit from a range of equipment to build and stretch their muscles. Various options include wall-mounted cat trees, sisal steps, and sisal poles, which can be positioned horizontally or at an angle.
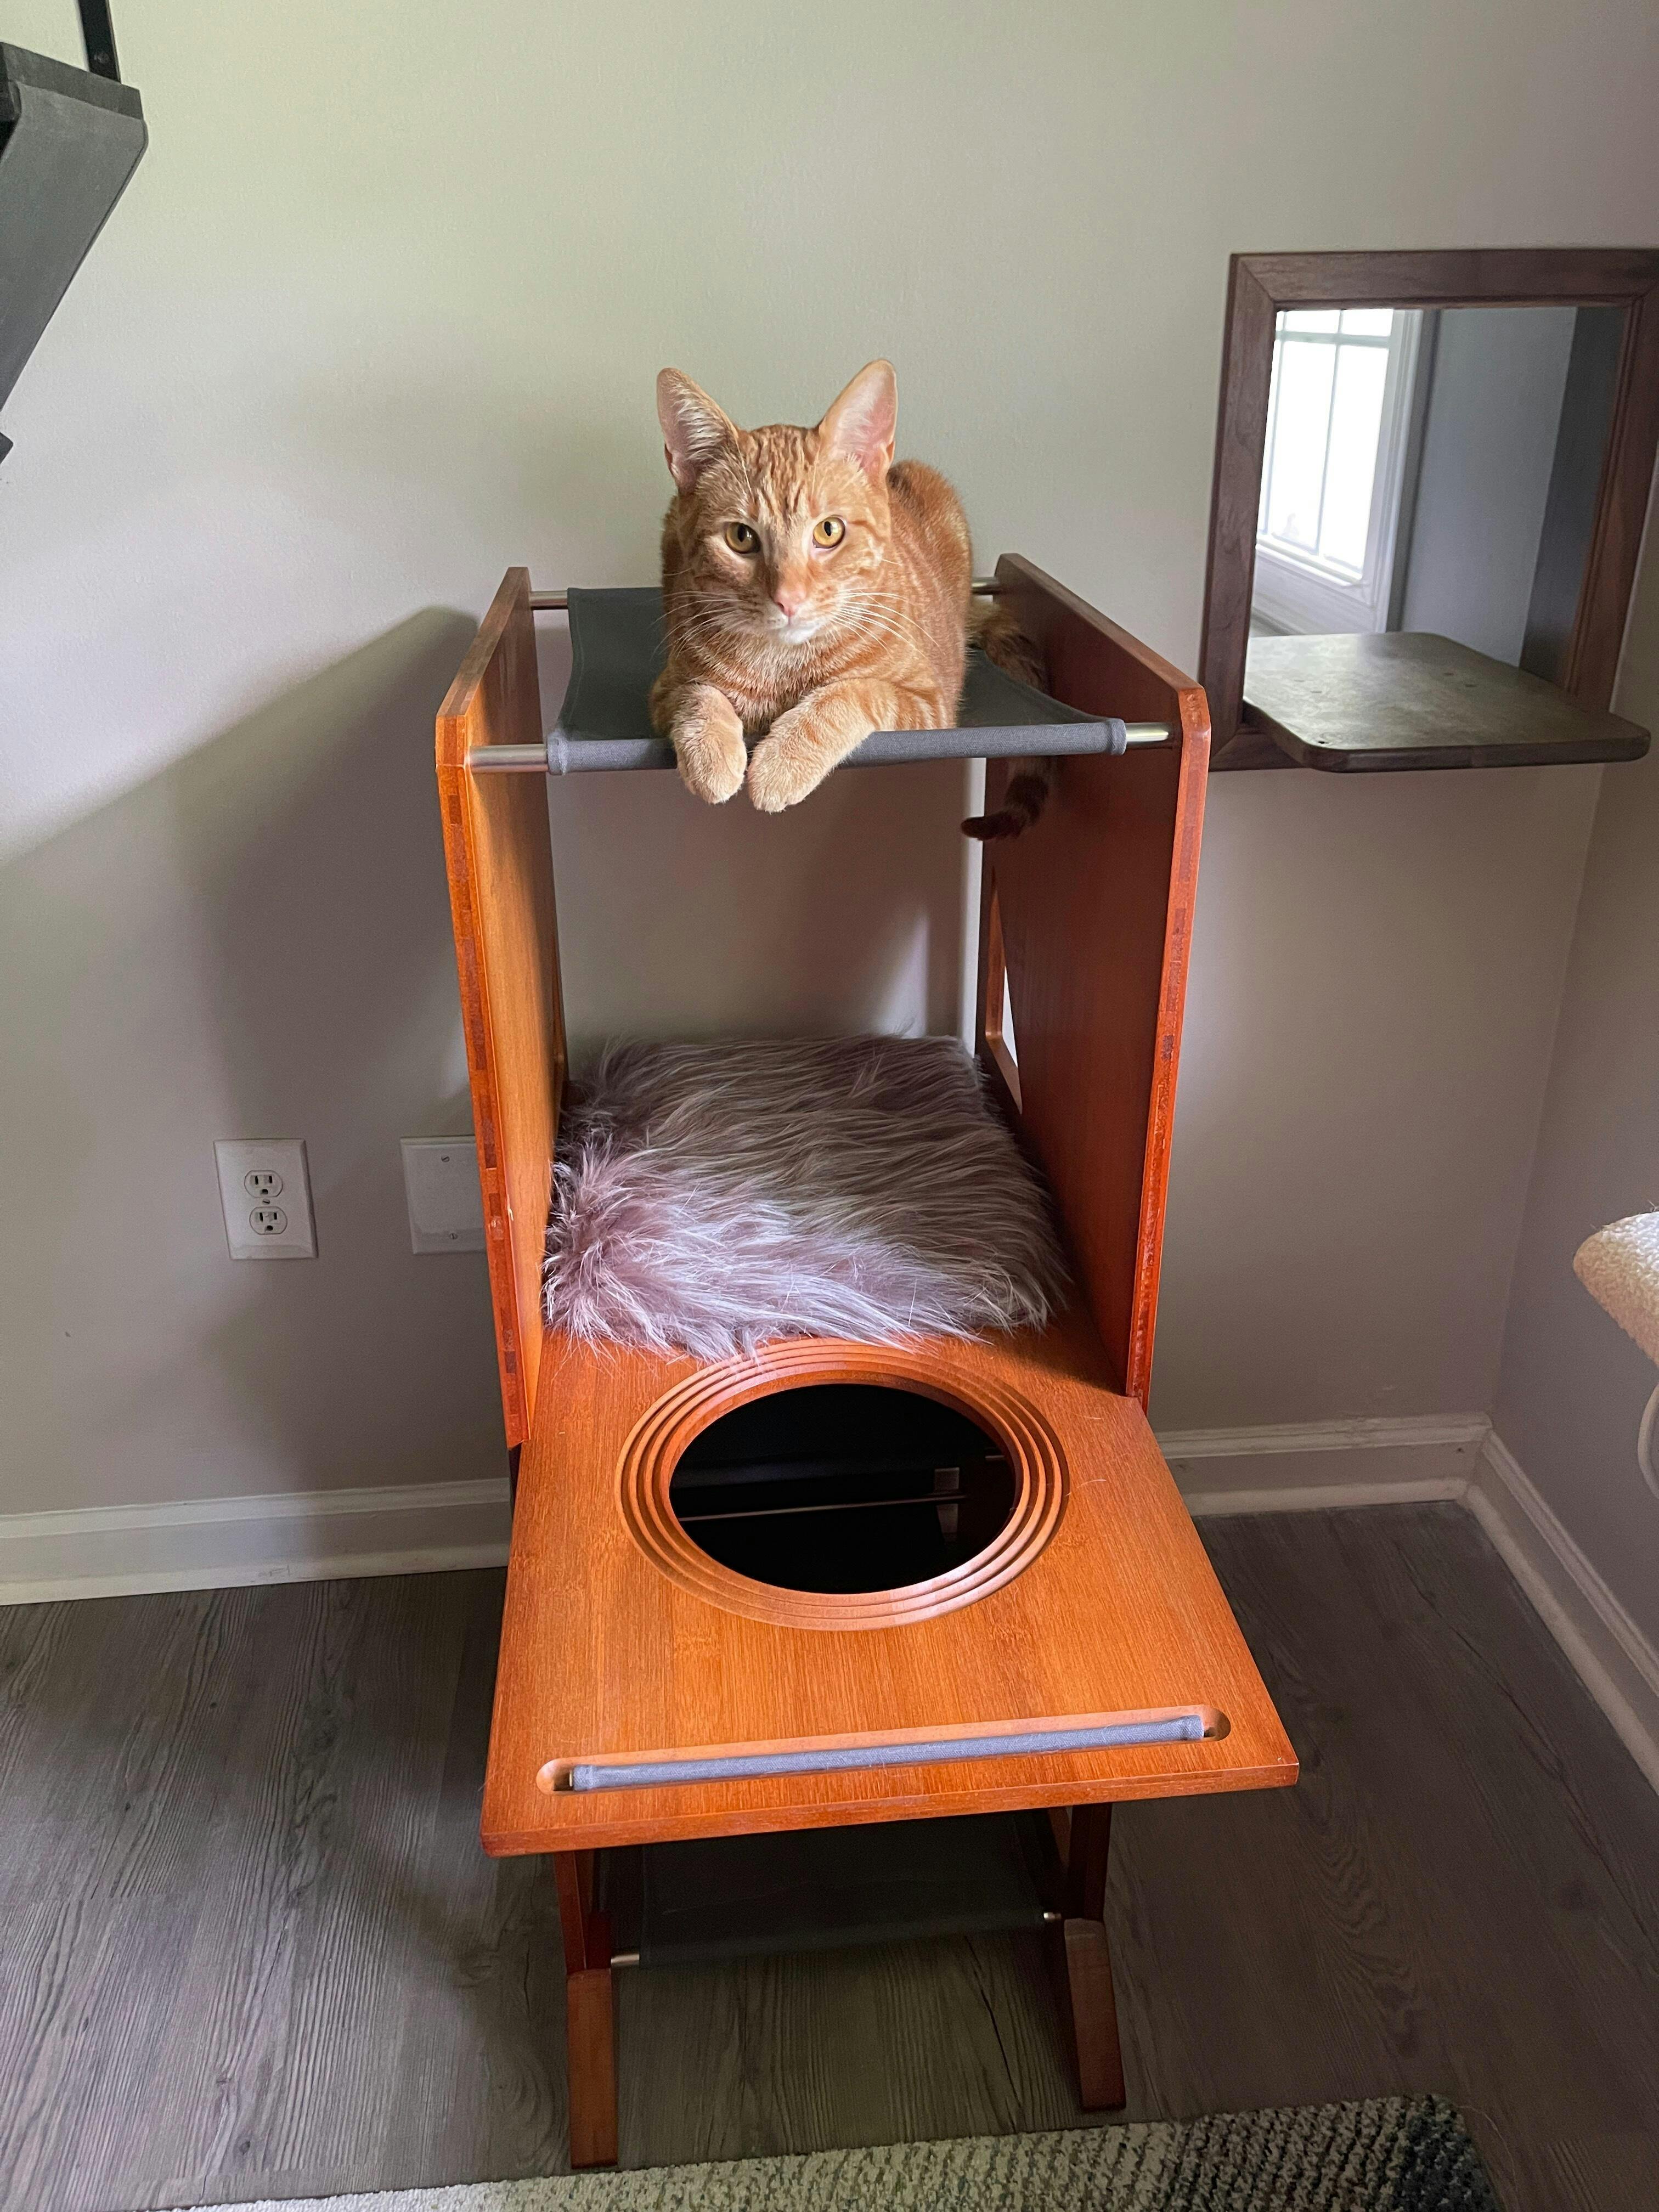
Shop Products for Cat Eating & Sleeping
After a long day of workout, we all need to eat and rest and so do cats. Why not add a built-in hammock and feeder into their jungle gym? After all, cats feel safer up high where they can be safe from predators or the dreaded vacuum in an indoor environment.
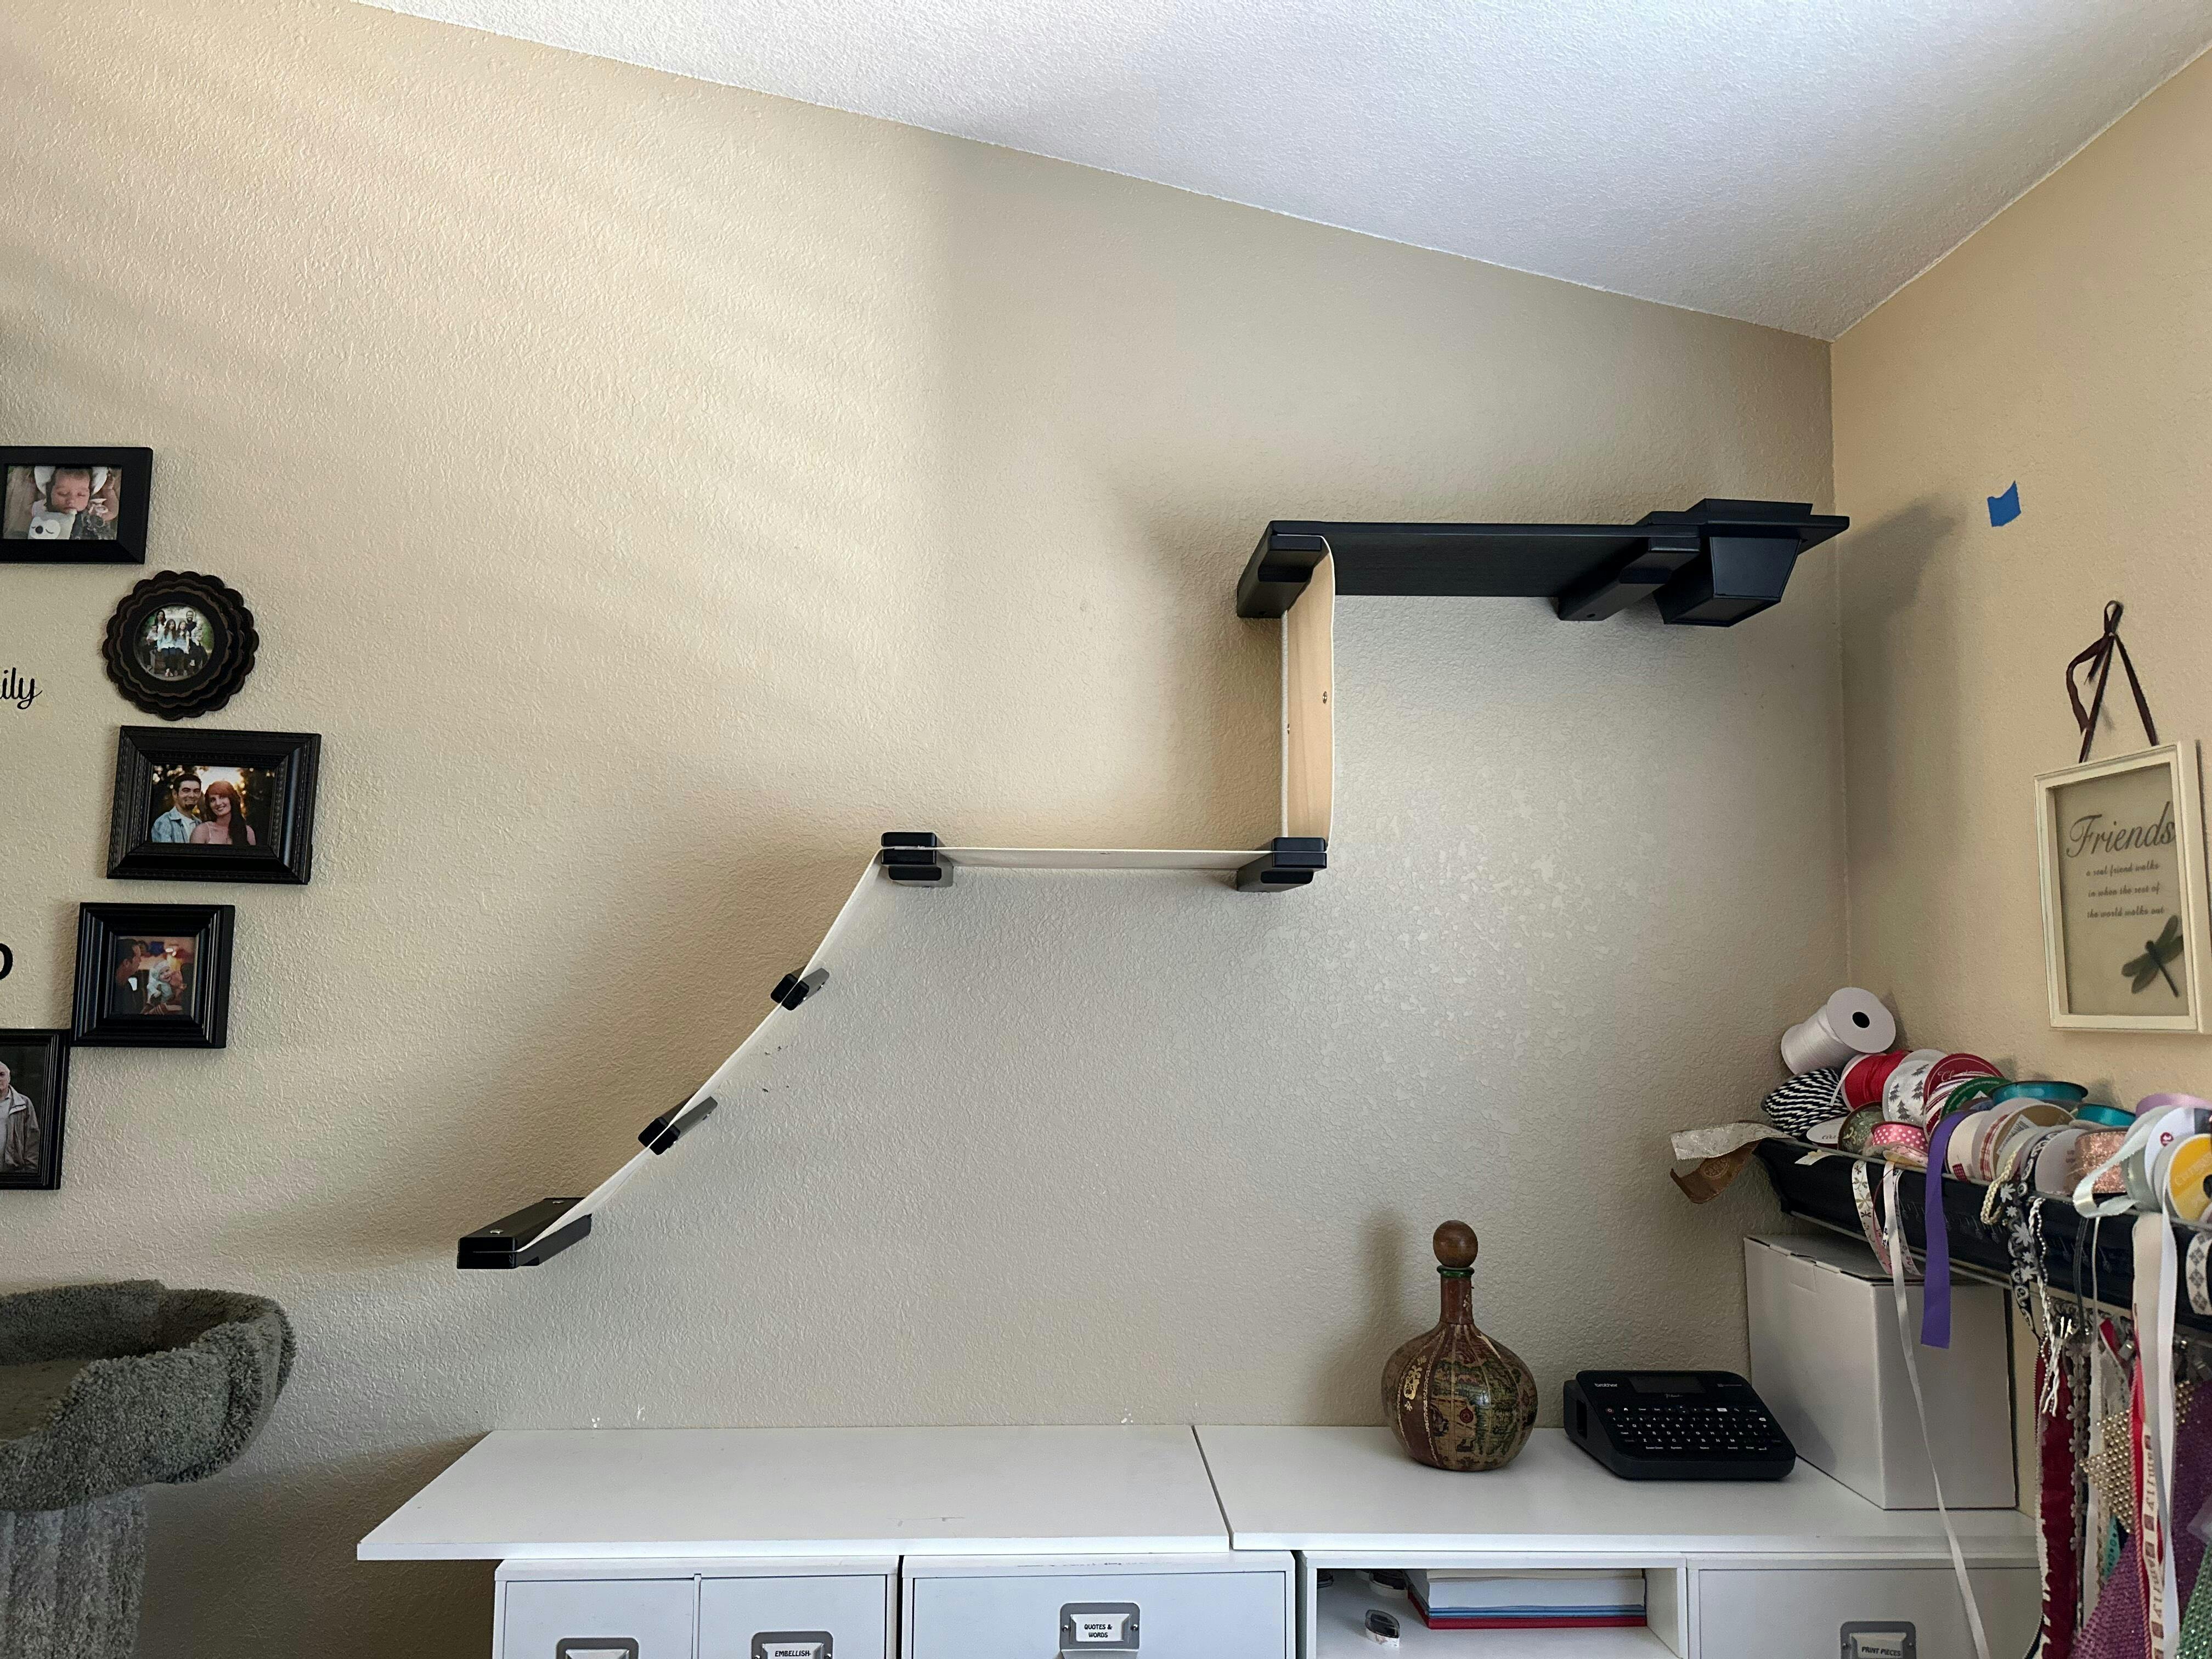
Shop Products for Connecting Paths
So we have our scratchers and our hammocks, how do we connect them all? Well, I mentioned traffic flow earlier as an important part of building a cat wall. Consider these bridges and hatch shelves to give your cats options to get from point A to point B.
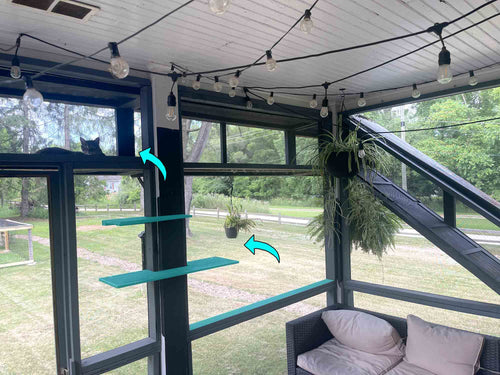
Inspiration for Your Indoor Cat Jungle Gym Build
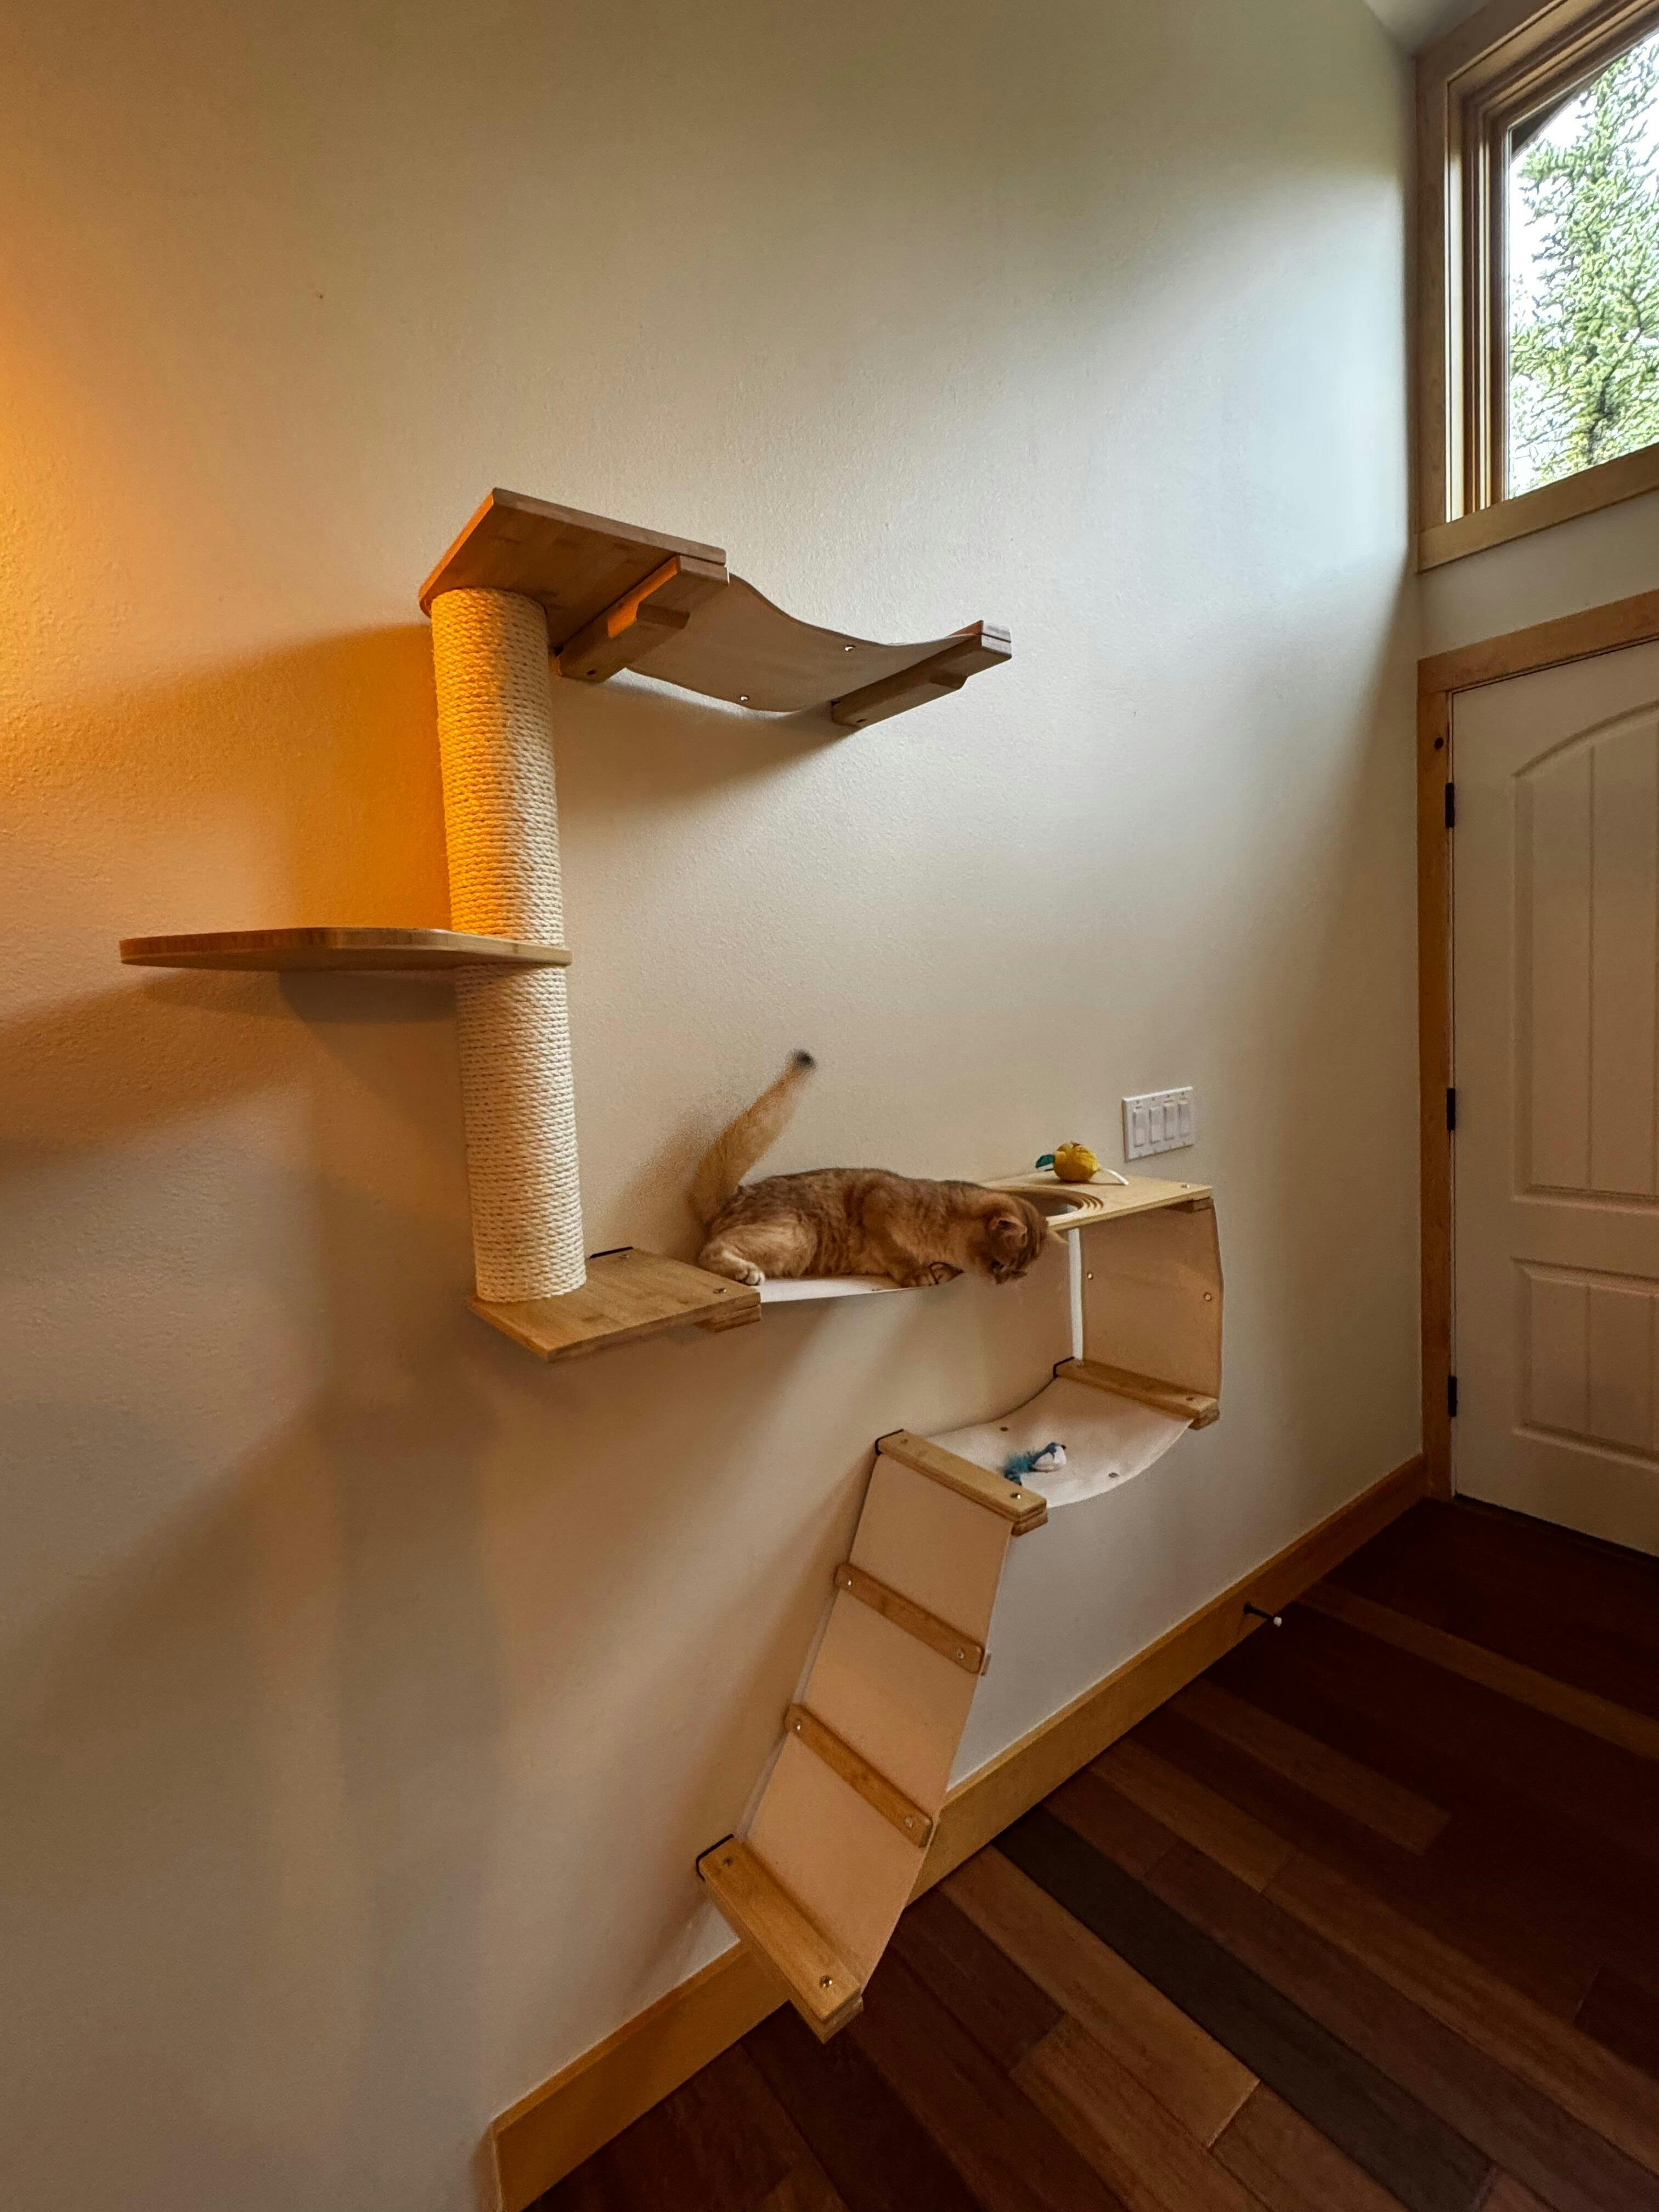
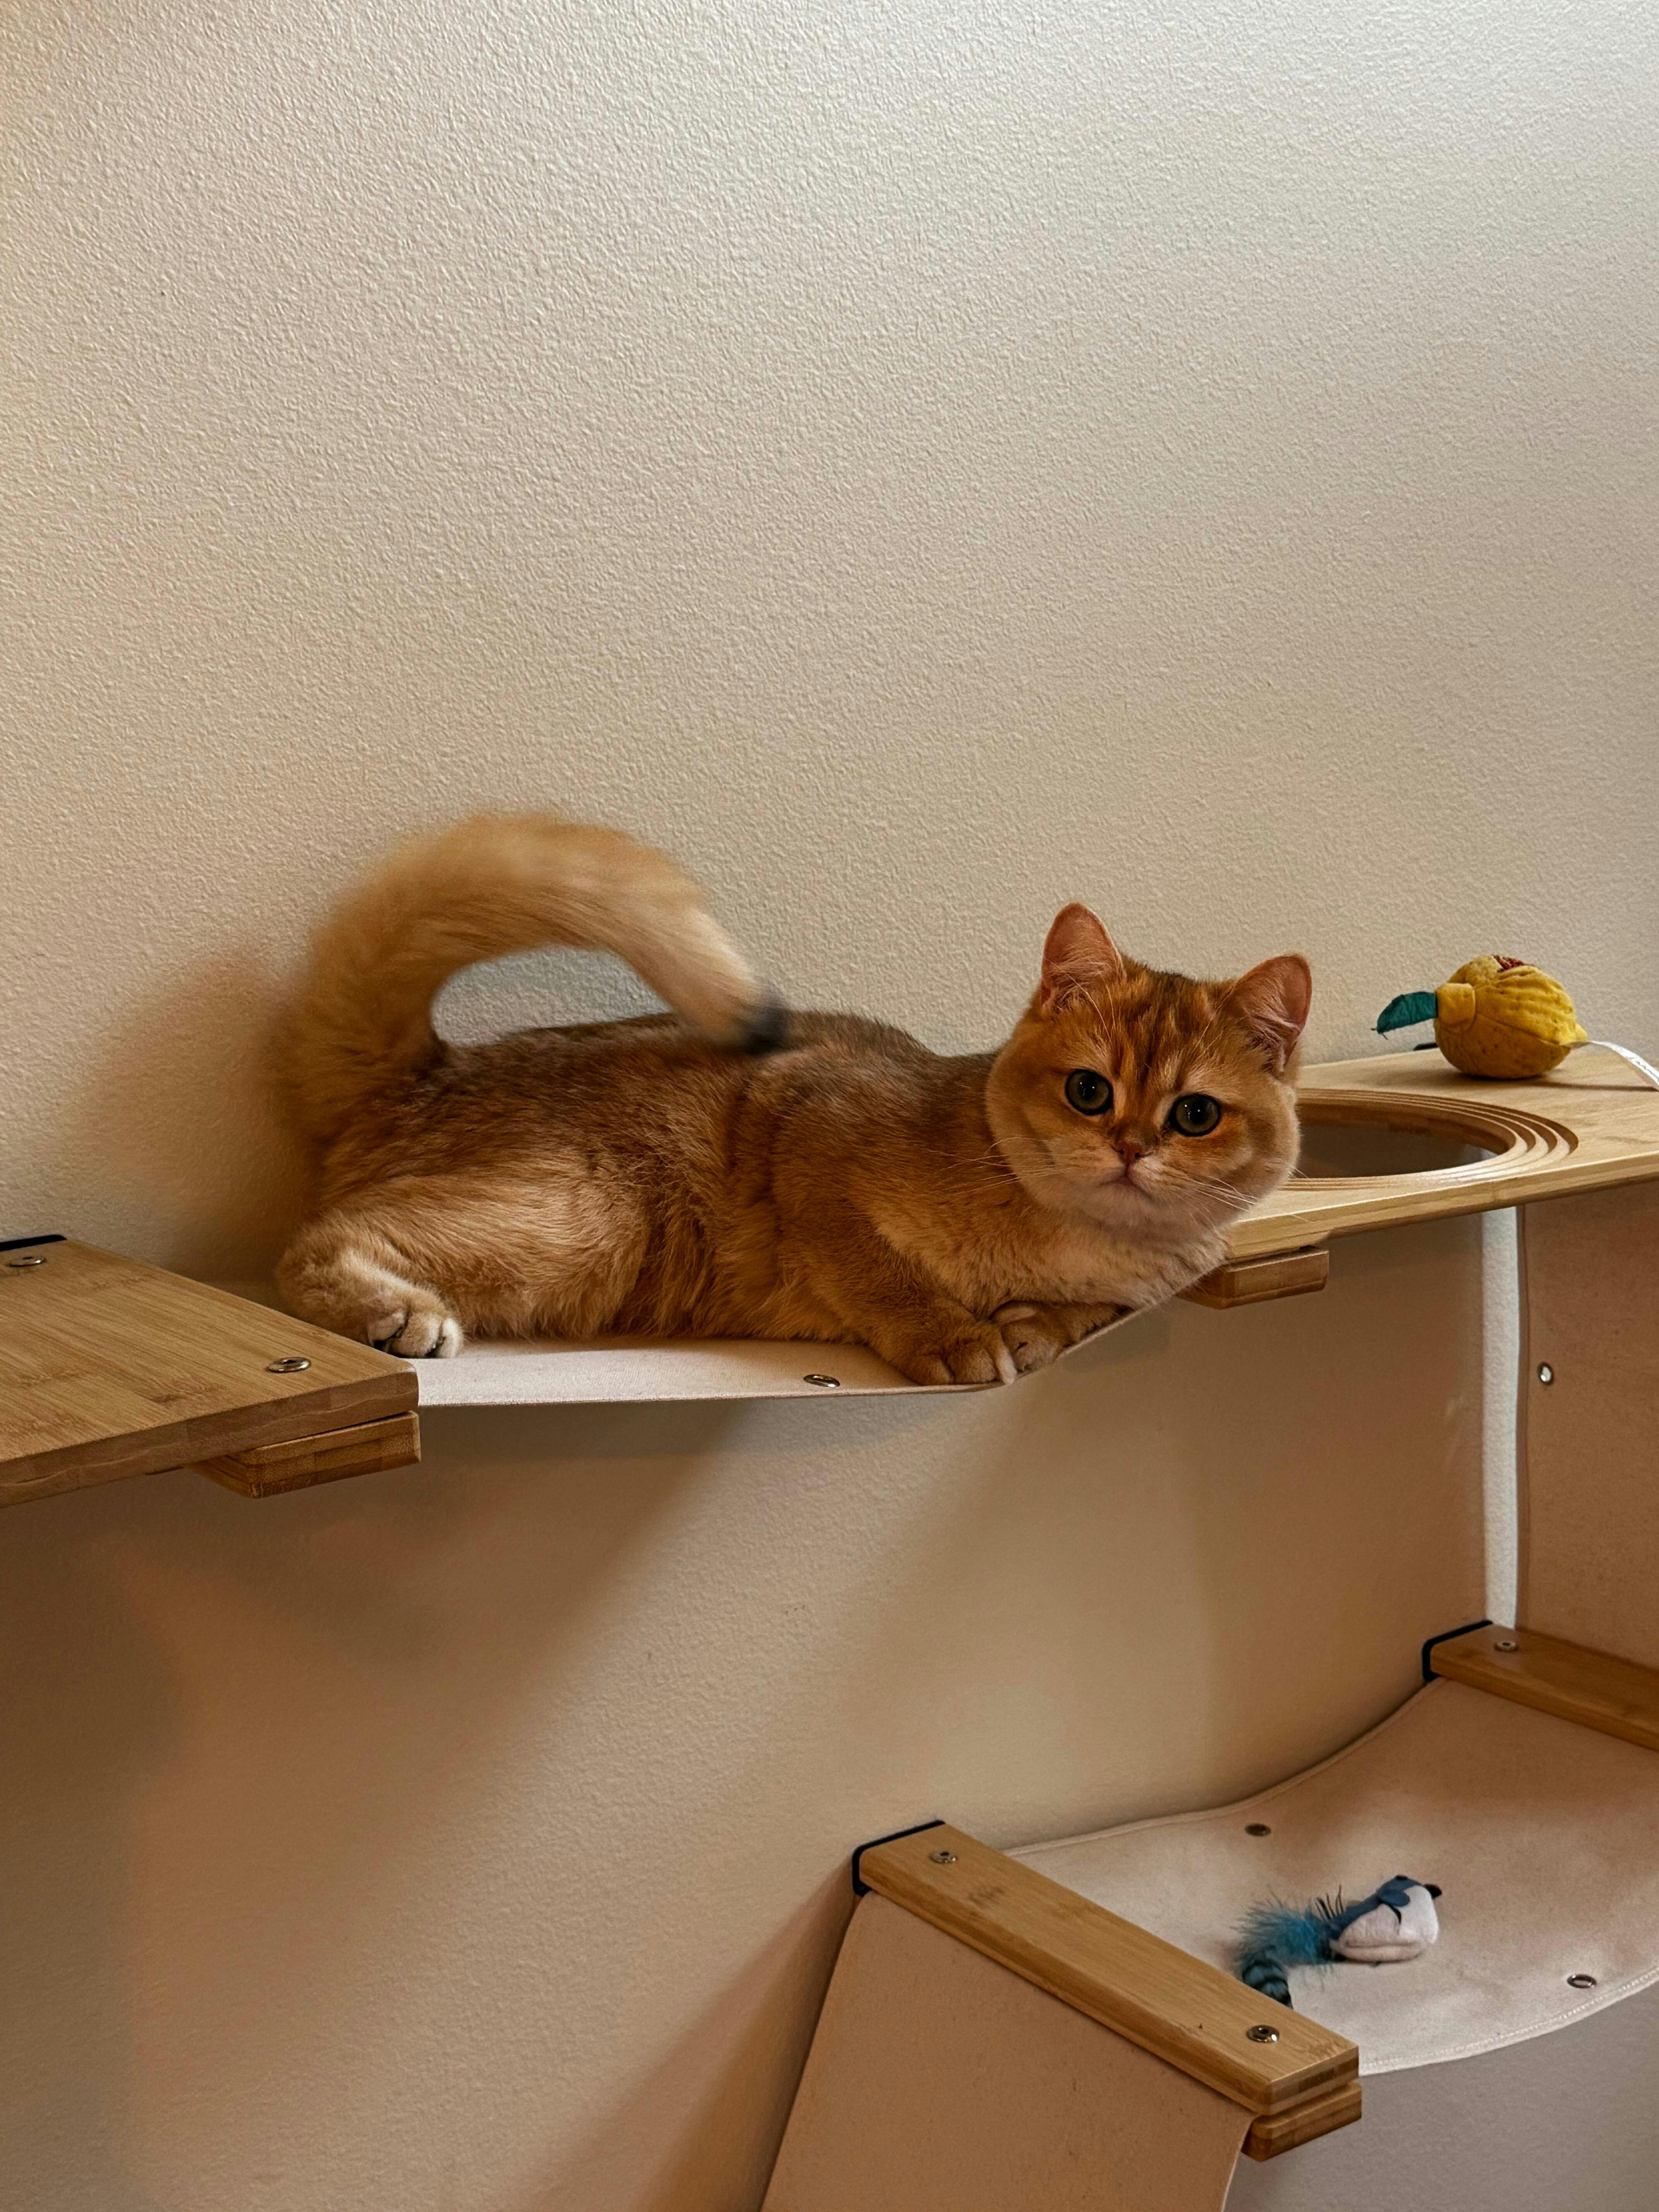
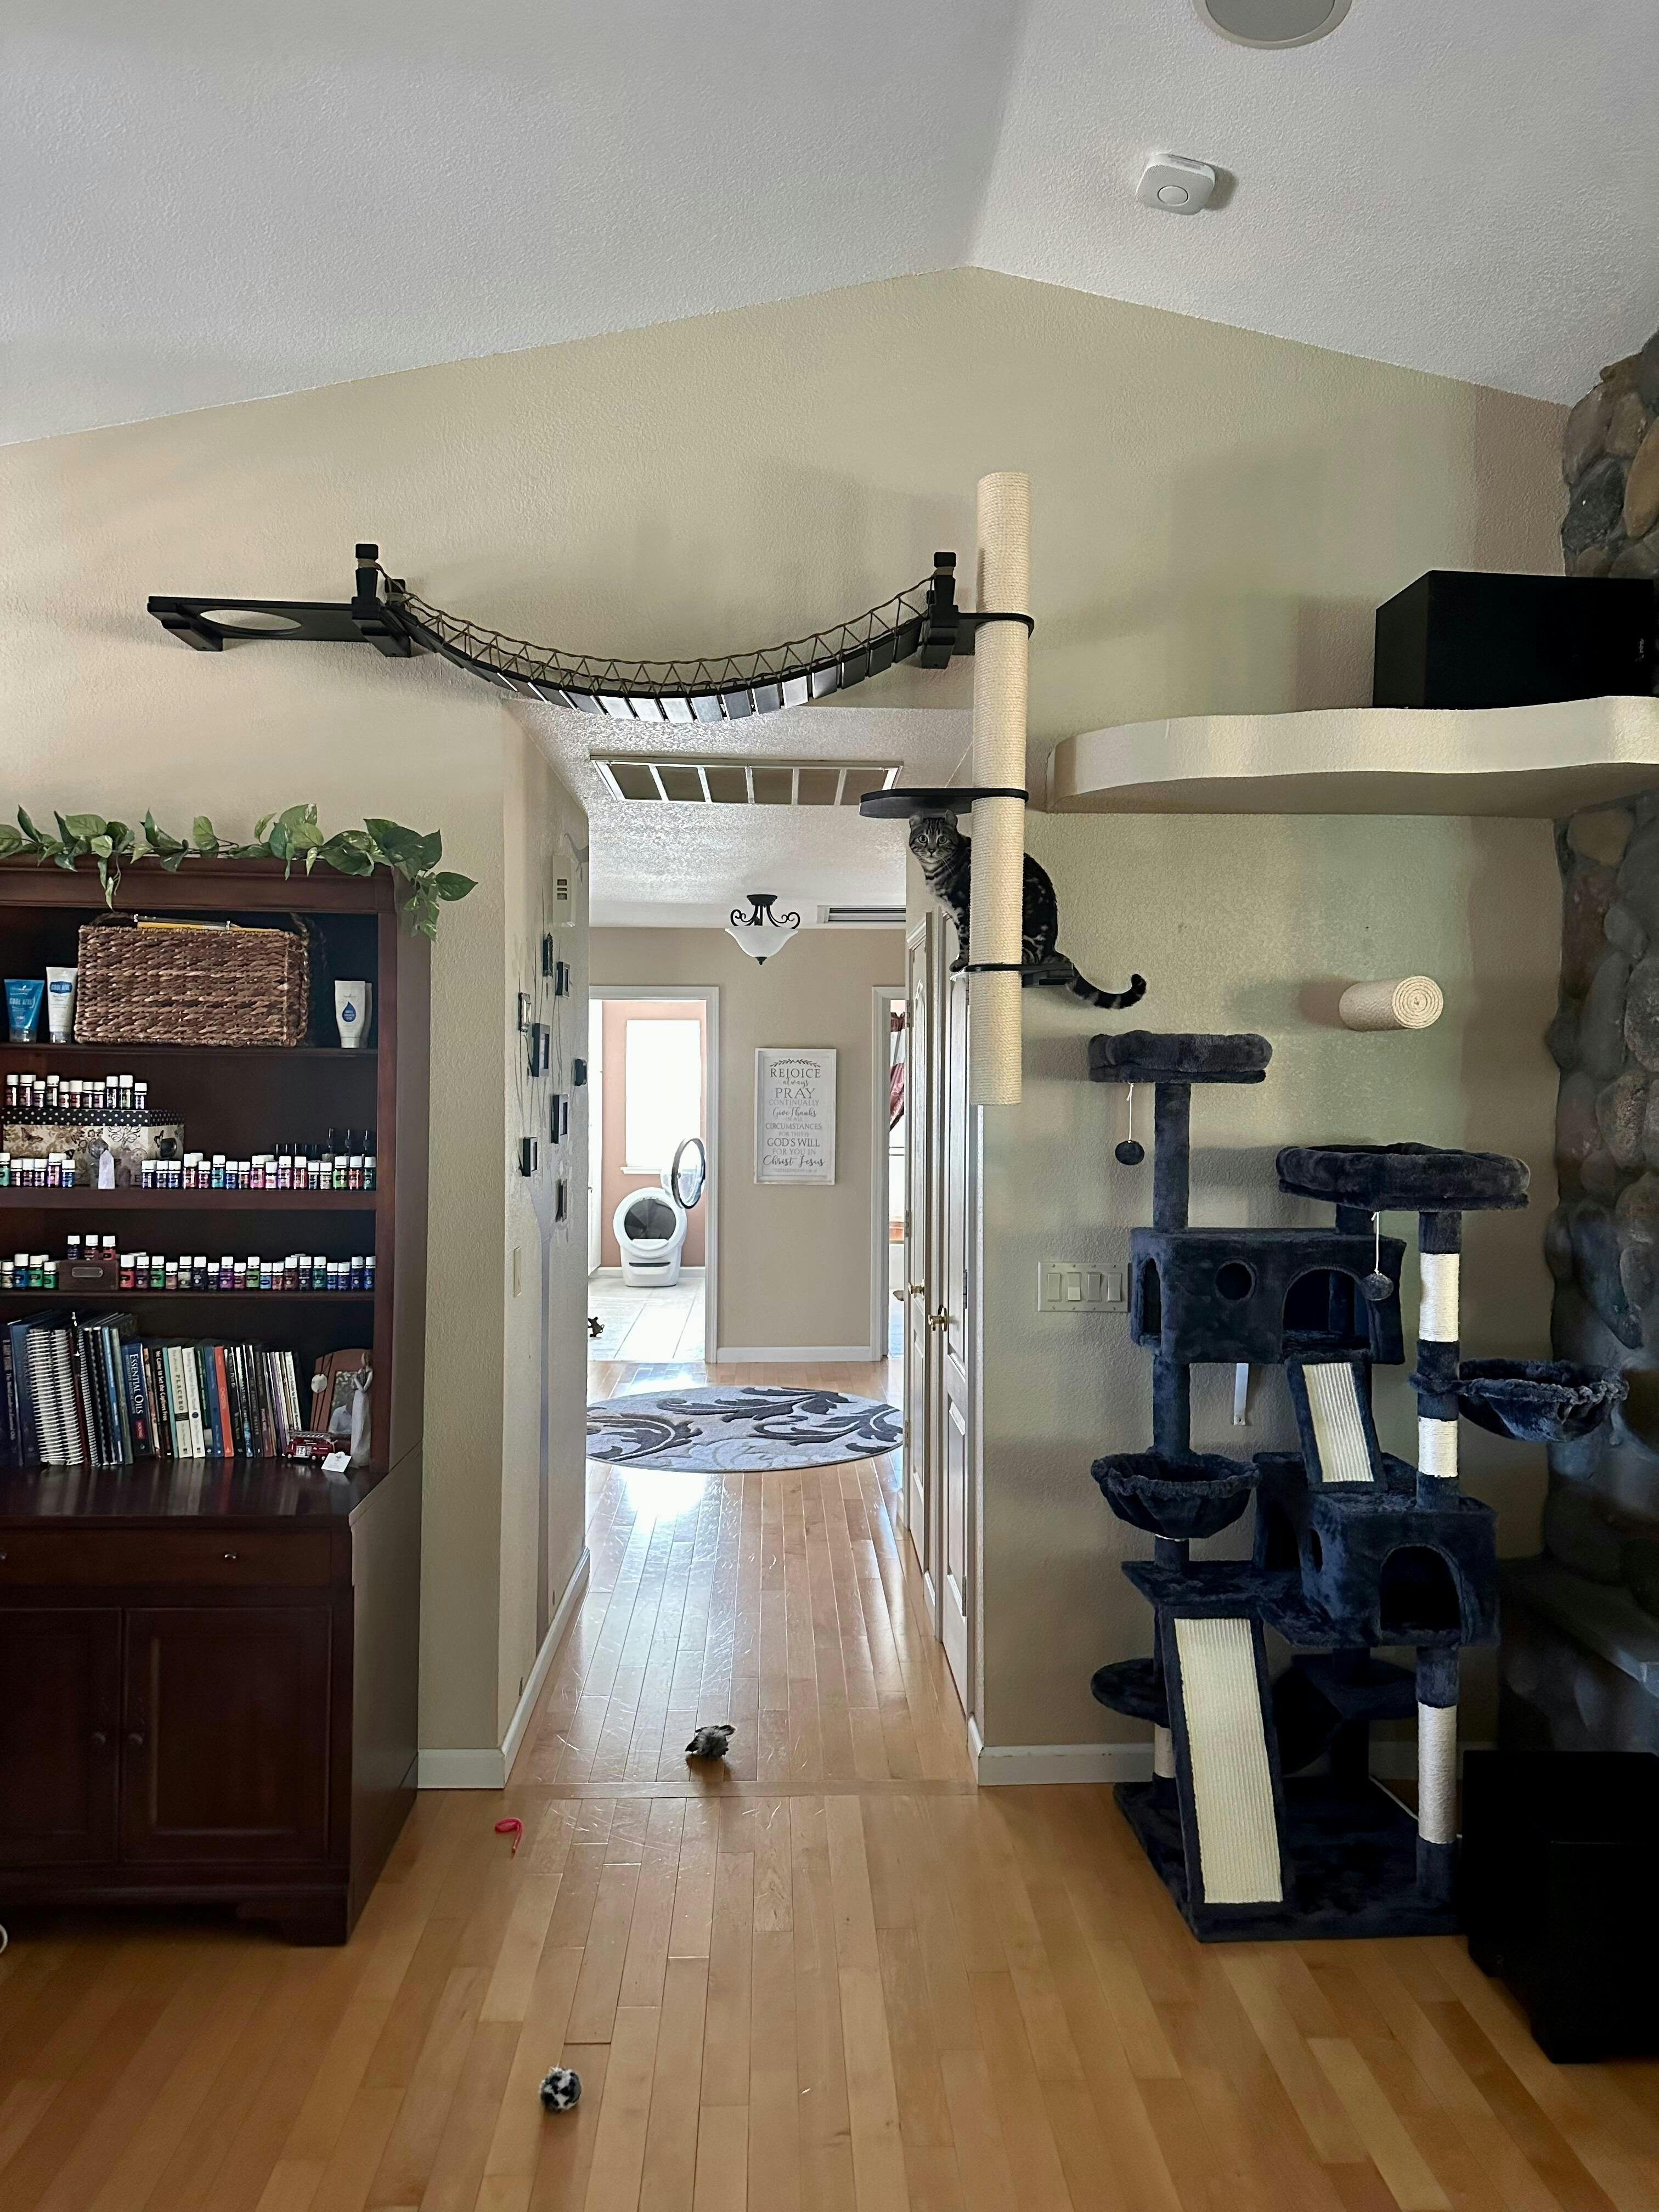
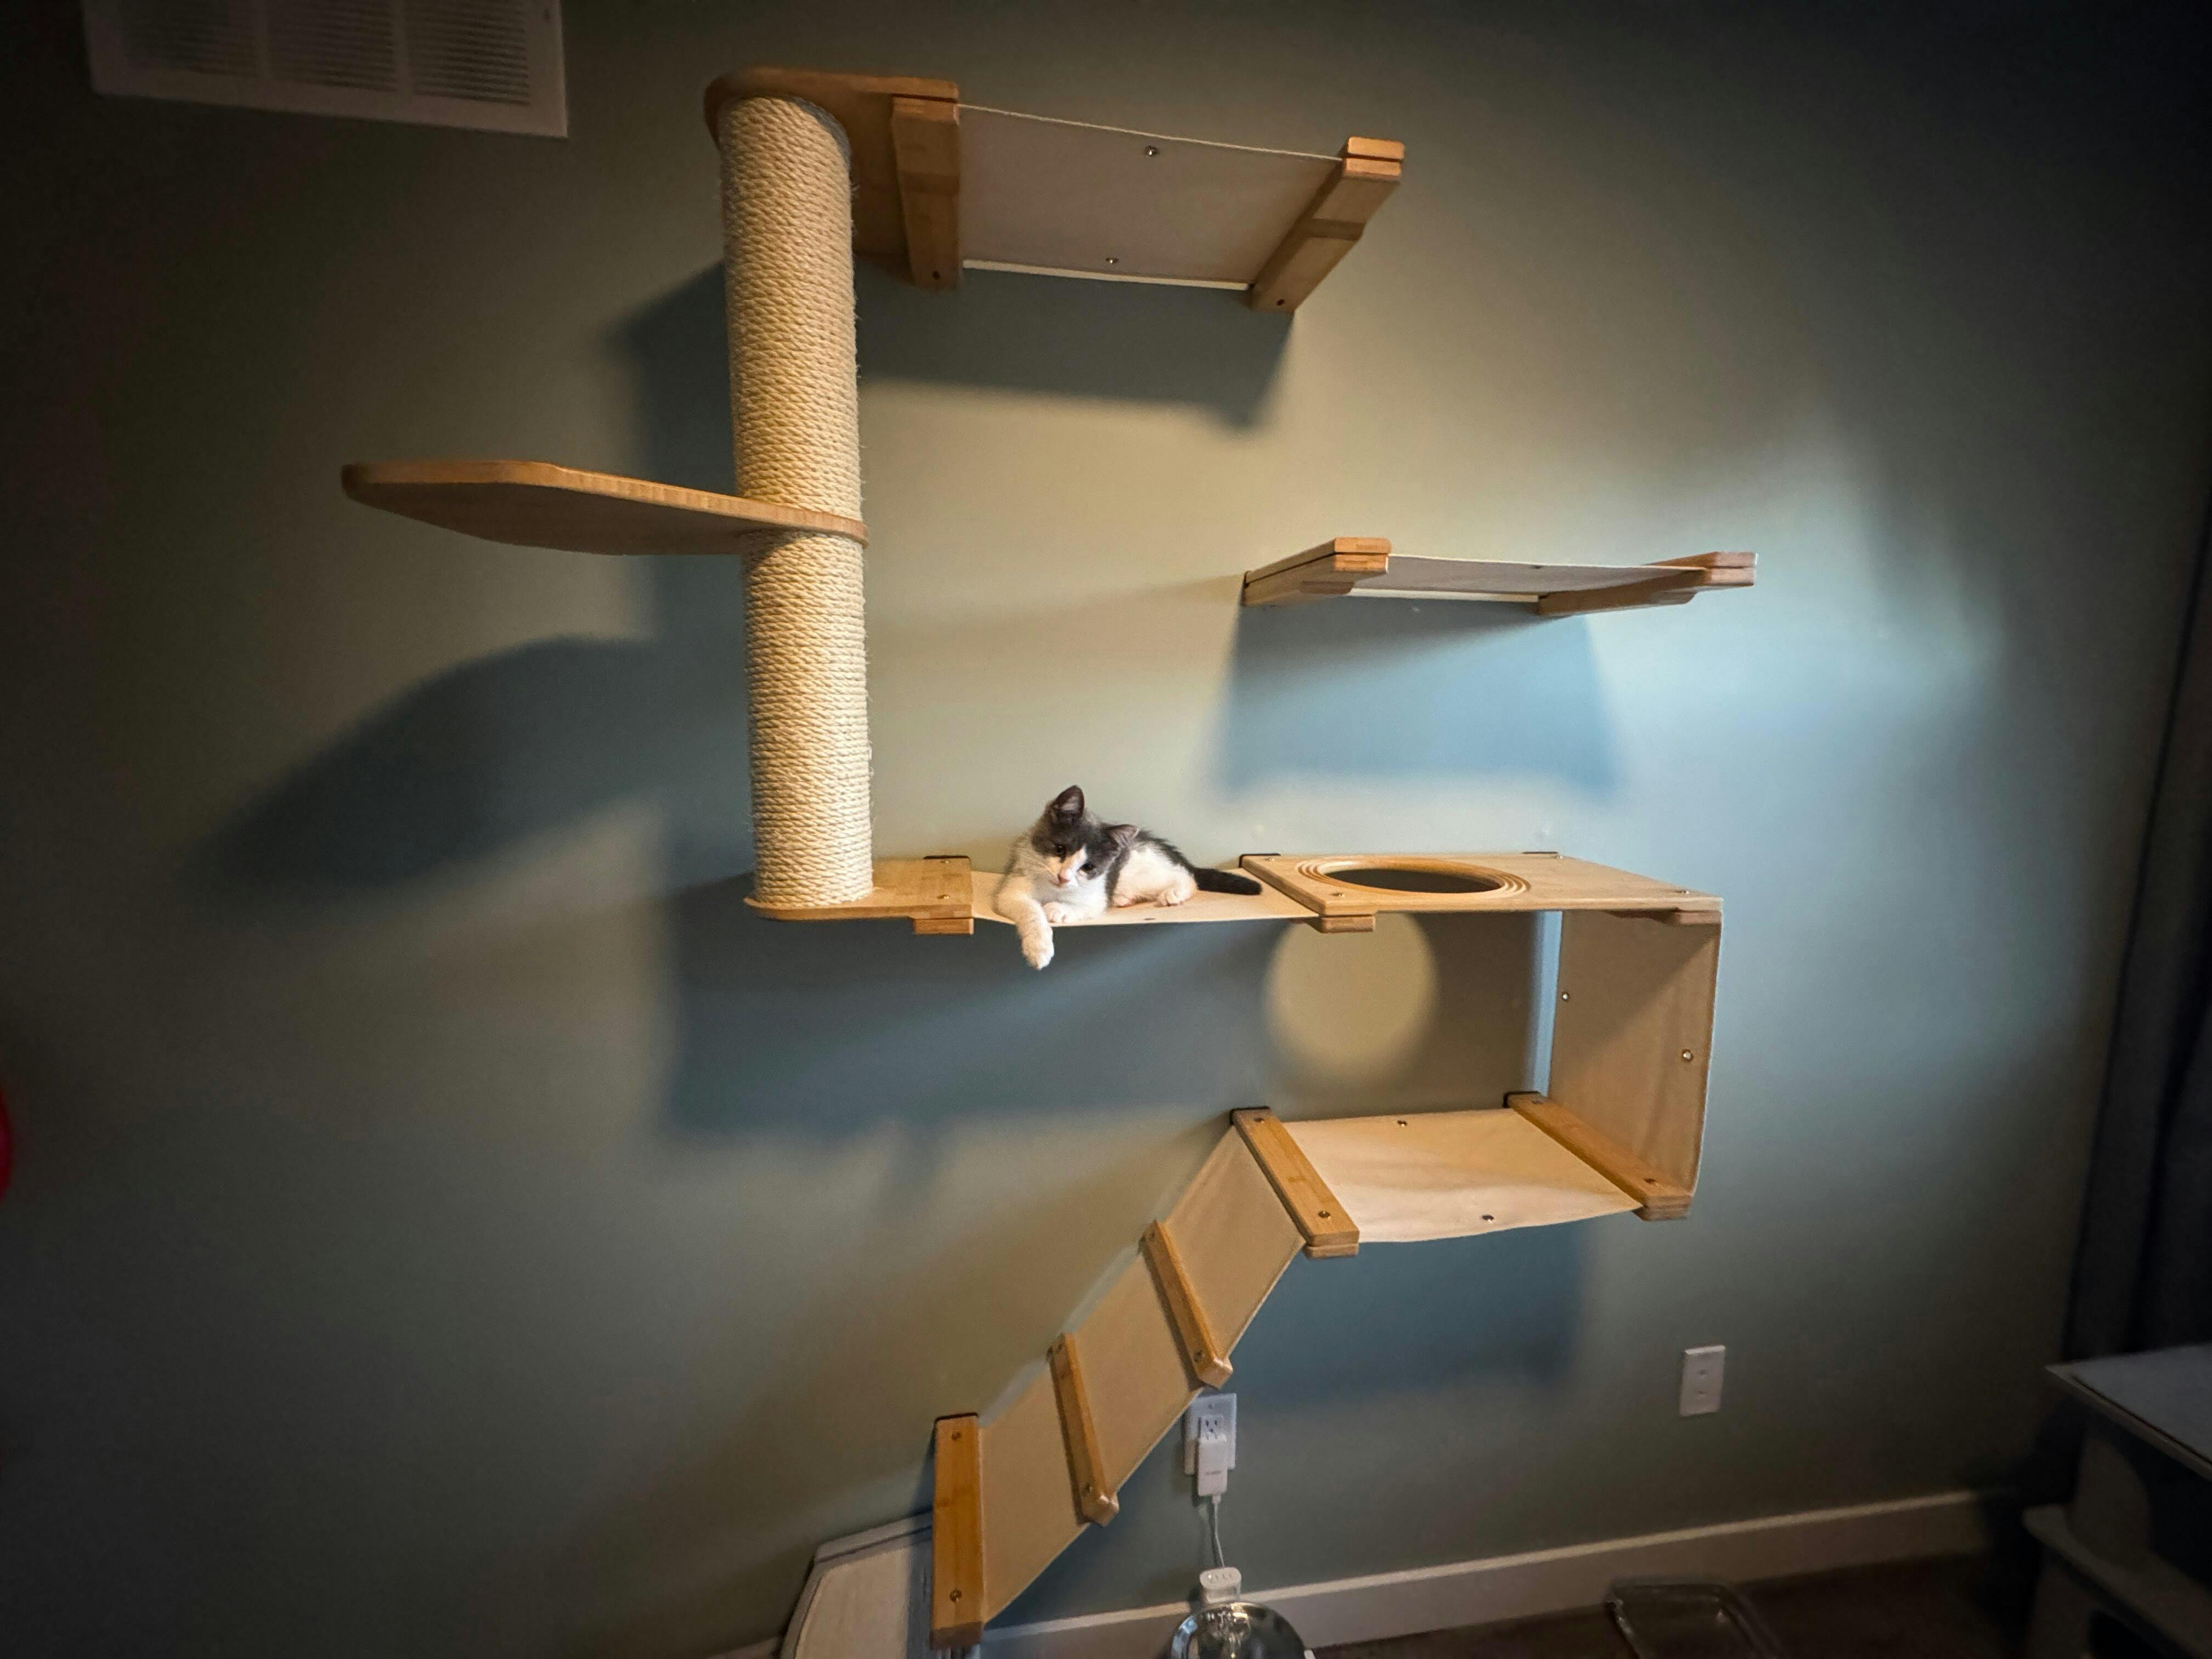
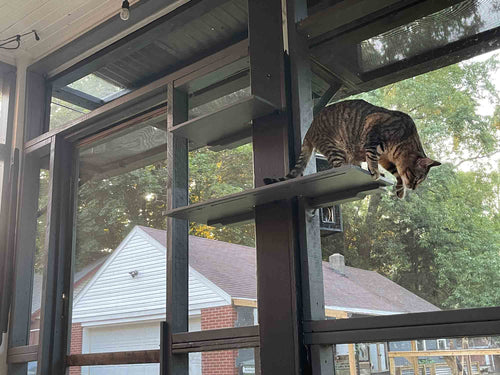
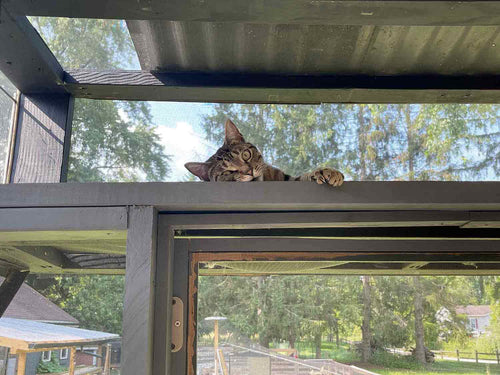
I’ve built my own cat jungle gym using Catastrophic Creations shelves in my office. Check out these parts of my build for inspiration for your own cat wall. If you’d like to learn more about my process for designing this cat room, you can check out my blog post here.
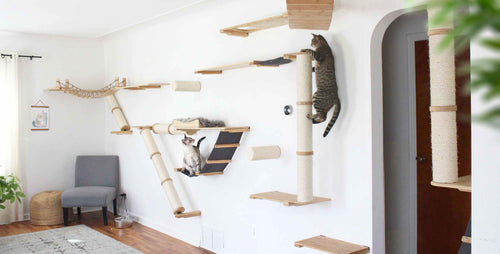
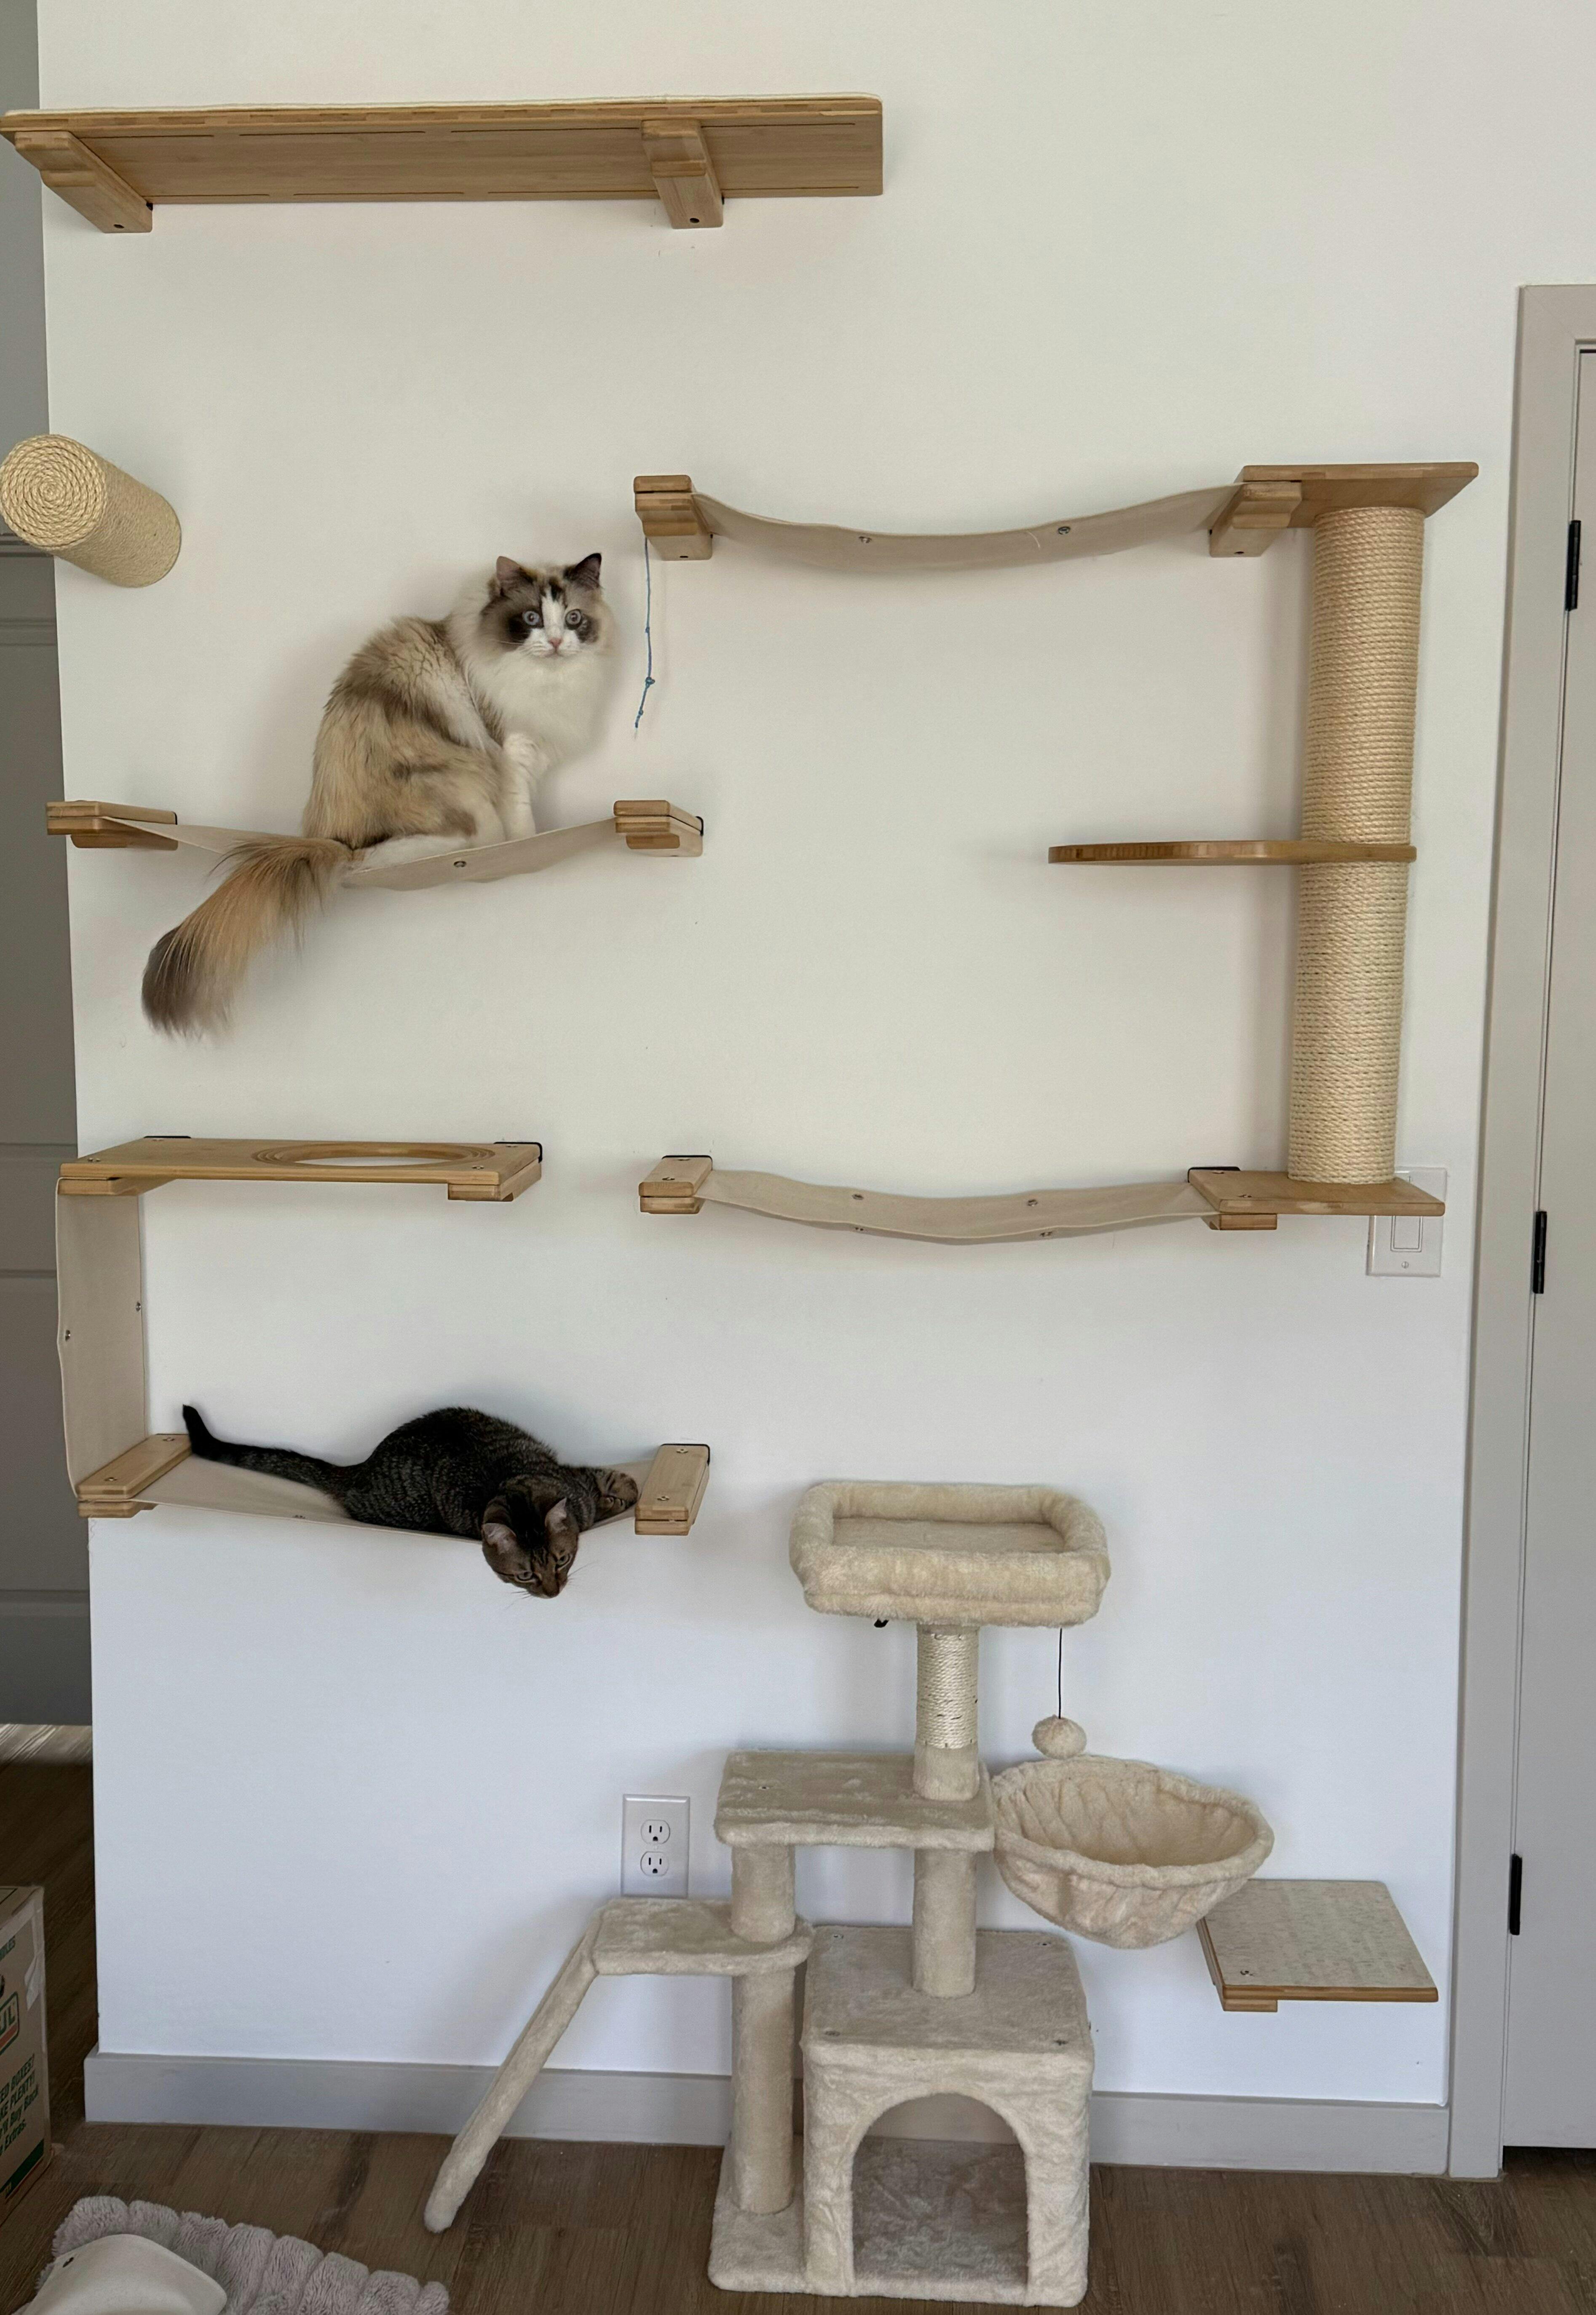
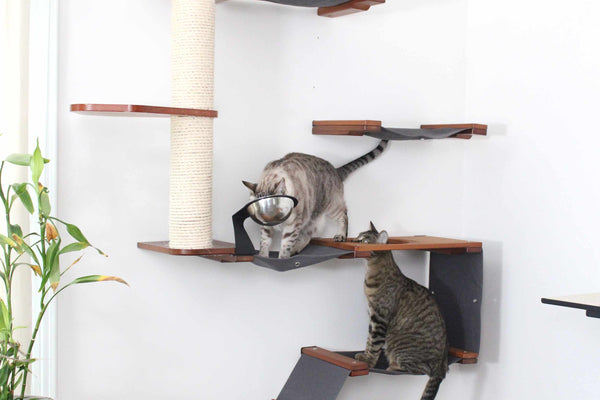
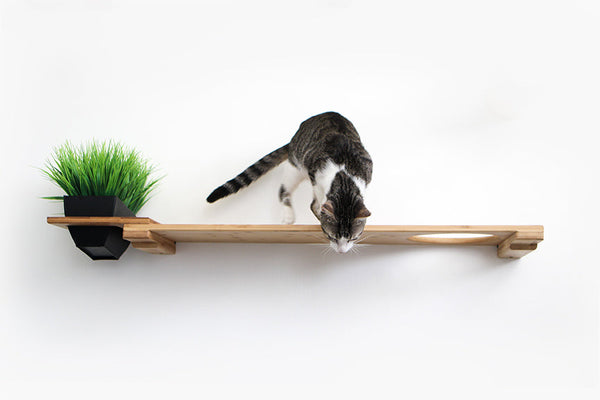
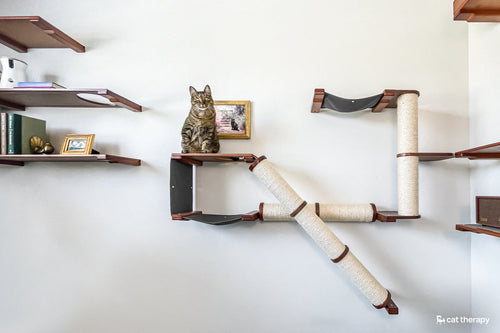
Wall-Mounted Cat Shelves
Catastrophic Creations Wall-Mounted Cat Shelves are very versatile when it comes to building a modern cat playground with options for adding hatches, planters, cat bowls, fluffy beds, and more.
Products Used in This Project:
Wall-Mounted Cat Shelf - 18” Wall-Mounted Cat Shelf - 34” Wall-Mounted Cat Shelf - 34” Hatch The Nest - A Plush Wall Cat Bed - 34” Solid Shelf Planter Cat Shelf - for Cat Safe Plants - 34” with Hatch
The Crossroads Wall Cat Scratcher - Cat Tree Condo
If designing a custom cat wall feels overwhelming, consider this pre-designed cat condo called The Crossroads. It has everything your cat needs to scratch, lounge, and explore in a compact space.
Products Used in This Project:
The Crossroads Wall Cat Scratcher - Cat Tree Condo
FAQs on Cat Indoor Playgrounds & Jungle Gyms
What makes a great indoor cat wall playground?
A great indoor cat wall playground is all about building it with variety. Consider it your cat’s complete at-home gym for scratching, climbing, sleeping, playing, and even eating. You also want it to be multi-level to keep it interesting.
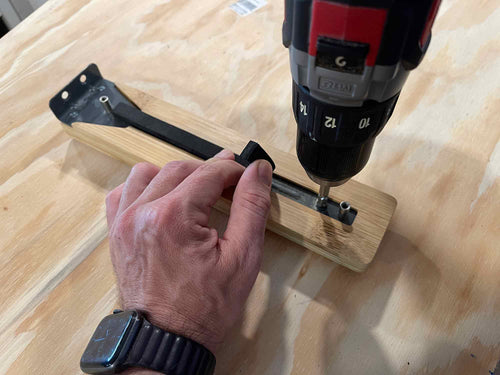
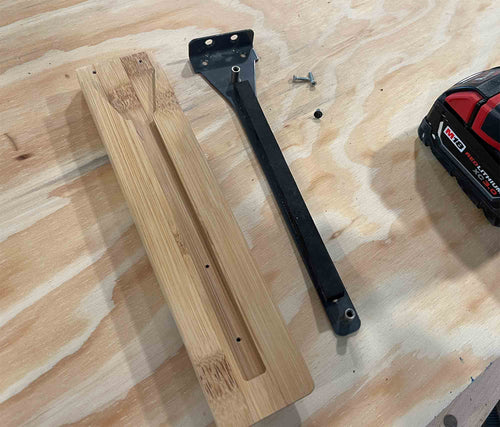
Is it cheaper to build a DIY cat jungle gym than to use products to craft one?
In general, yes, building a DIY cat jungle gym is cheaper than buying a pre-made one. However, you also have to consider the time, skills, tools, and space required for DIY. I’ve done my share of DIY shelves, and in my experience, the quality and convenience of buying pre-made shelves over time usually outweigh the cost.
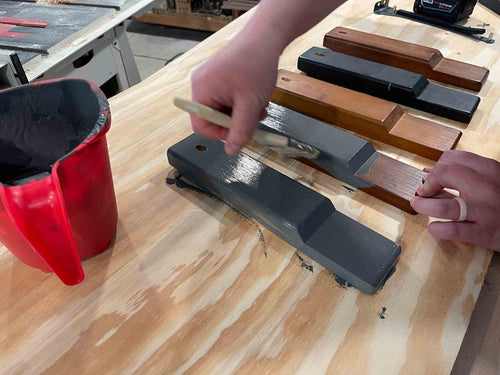
What is the best material for a high-quality cat wall playground?
One of the best and most durable materials for a high-quality cat shelf and wall is wood. Catastrophic Creations also uses materials like sisal, cork, and heavy-duty canvas to enhance their wood products.
Cat Walls Designed for You
Many cat guardians feel overwhelmed on where to start building their dream cat playground, which is why I created my virtual cat wall design service. Having personal experience creating some custom cat walls using Catastrophic Creations products, I'm happy to help if you’re still stumped on what to purchase and how to design it.