
Creating a DIY cat wall playground is one of the best ways to give your feline a fun, safe, and enriching space indoors. Not only does it help prevent boredom, but it also keeps your cat active, supports their natural climbing instincts, and saves your furniture from their sharp claws. A well-designed cat obstacle course wall can turn any room into a cat's paradise, which is especially helpful for apartments where floor space is limited. See our article linked here about How to Build the Best Cat Playground & Jungle Gym.
Whether you’re looking to build a full indoor cat obstacle course DIY cat wall playground or just want to start small with a few shelves, the possibilities are endless. Below, I’ll walk you through planning your layout, choosing furniture, and picking the right wall for your design.
How to Build a Cat Obstacle Course
Designing a cat wall obstacle course doesn't have to feel overwhelming. With a bit of planning, you can create a setup that challenges your cat's agility while keeping your home stylish. Here’s a simple step-by-step plan to get you started:

1. Choosing the Best Room or Wall for your Cat
The best spot for your cat playground on wall is where your cat likes to spend time, such as: the living room, a home office, or bedroom. Does your cat like to lounge in the sun or watch birds out the window? If so, then I’d suggest choosing a wall that has a window you can work into the design.
For small apartment DIY cat wall playgrounds, go vertical. Tall shelves and climbing furniture make the most of the limited floor space. See our blog about Where to Put a Cat Tree: Best Spots for Happy Active Cats for more suggestions.
2. Measure Your Walls
After picking which wall or walls you would like to use, it is time to measure your wall space and determine the wall type.
Knowing your wall dimensions will help you in choosing products that will fit in your space. As for the wall type, most walls in the U.S and Canada are made of drywall attached to wall studs.
Cement or brick walls are also common. Any of our furniture can be installed on cement or brick walls. These surfaces offer more flexibility since you can mount pieces anywhere. If you have this type of wall, you’ll need a ⅛” masonry bit and screws for installation.
3. Locate and Mark Wall Studs
If you’re installing a wall mounted cat playground on drywall, the first step is identifying where the studs are, and marking them. You can choose to outline the edges of each stud, or place strips of painters tape to get a clearer picture of their spacing, which makes mapping out your installation much easier. Below are some helpful resources:
4. Choosing Furniture
Now that you know the size of your wall, and what you are working with, the fun part begins, picking out the pieces for your cat agility course! Our modular cat furniture is designed to be flexible, so you can either go with one of our ready-made layouts or mix and match pieces to create your own unique cat playground wall.
If you’d like a little guidance while planning, take a peek at our Design Tips, where we share useful tips on arranging furniture so everything works together seamlessly. You can also explore our pre-kitted condos for an easy starting point.
5. Building a Custom Cat Wall
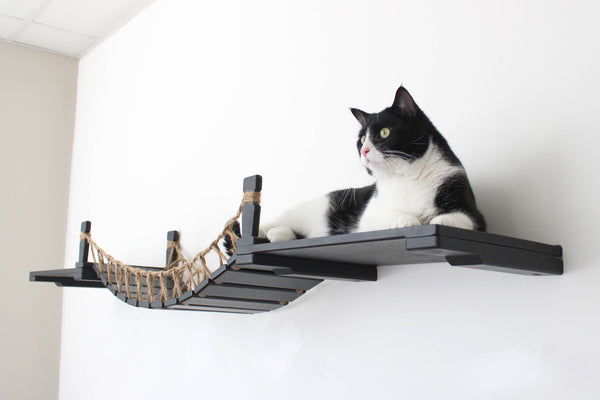
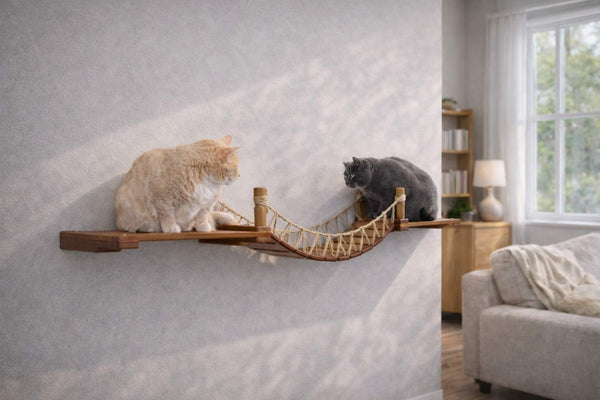
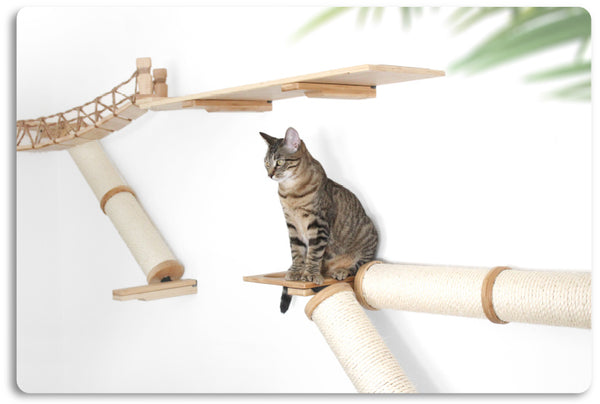
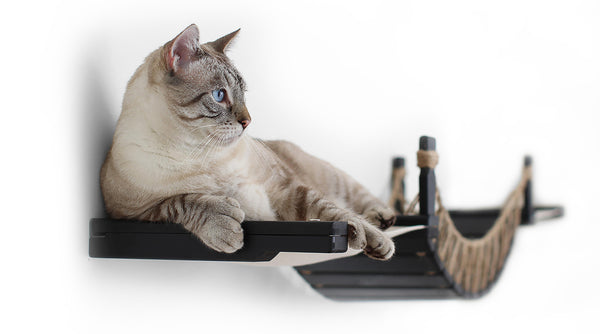
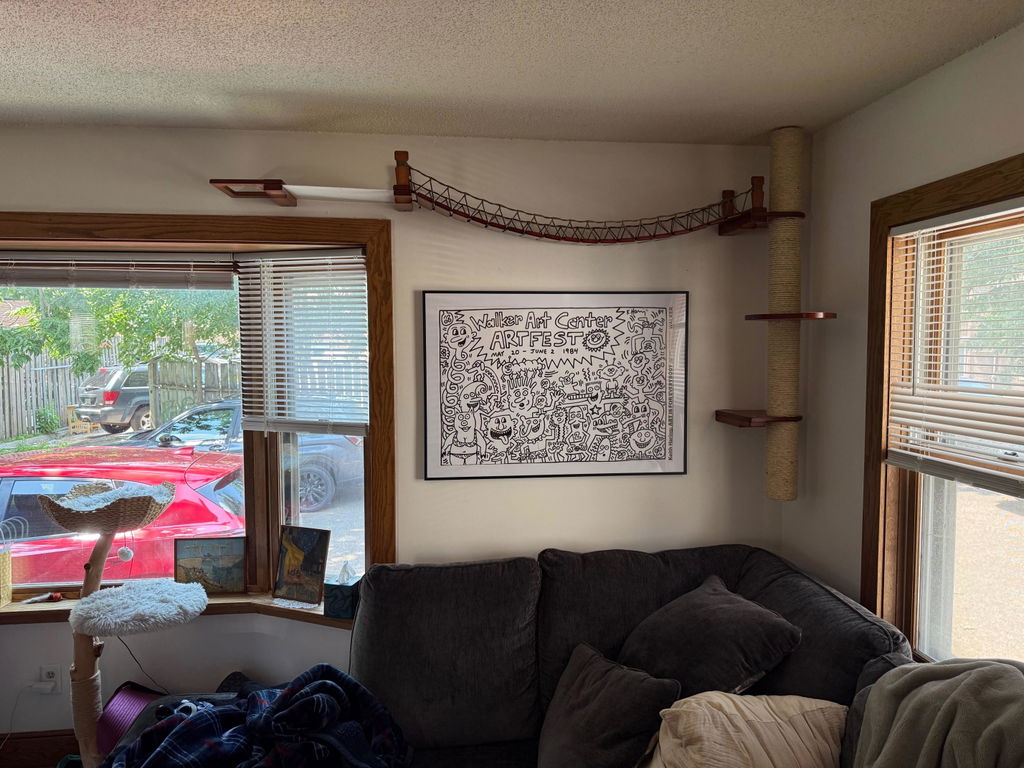
Another fun route is creating a fully custom setup with our modular pieces, turning your wall into a DIY cat agility course. A good place to start is with an easy-access entry point, like a Cat Ladder, and then build out the path from there. You can add shelves or hammocks to give your cat cozy lounge spots or “highways” that connect different parts of the wall. Bridges are especially nice for spanning across window sills, giving your cat the perfect place to sunbathe or watch the birds. Adding Sisal Poles not only creates a built-in scratching zone, but also gives your cat the chance to climb vertically, bringing your cat playground wall ideas to life. For more inspiration and tips for creating a cat wall obstacle course on wall, check out the design blogs we’ve linked below.
Helpful Design Blogs
Need more guidance?
We’re happy to offer a free custom cat wall design to help bring your ideas to life. All you need to do is share a few details about your space, your budget, your cat's personality, and the style of furniture you like. From there, we’ll put together a layout that’s tailored just for you.
Because our team is small, we can’t provide multiple revisions, but we’ll take extra care to create a thoughtful design we believe will work best for your home. Once it’s finished, you’ll receive a layout image along with a walkthrough video where we explain the design choices we made.
If you’d like one, just fill out the form linked here with your details, and we’ll send your personalized design within 3-5 business days!
DIY Cat Wall Playground Ideas
1. David’s Wall

|
Difficulty Level |
Moderate |
|
Space Needed |
12 ft. wide, and 9ft tall space |
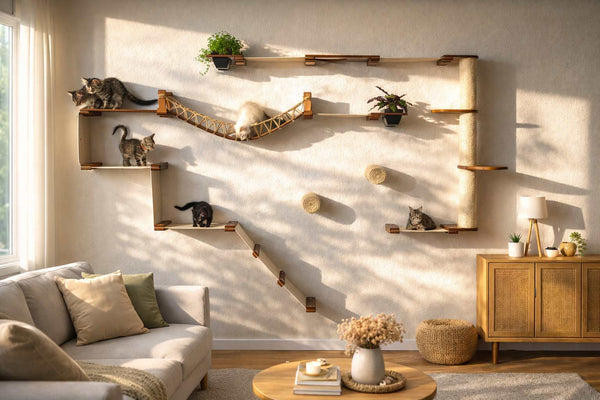
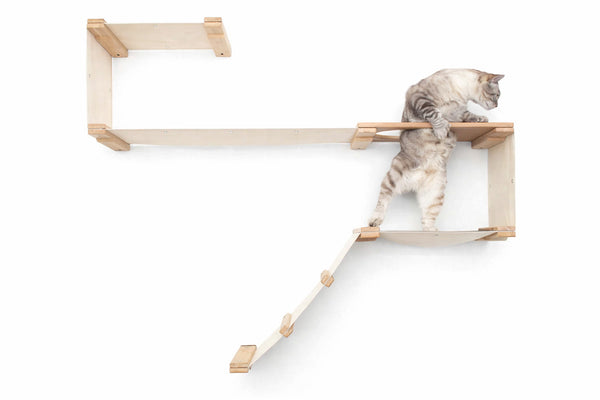
David’s build creates a fun and functional climbing wall for his cats, starting with an Angled Scratcher that offers easy access to multiple routes. One path leads to a cozy custom Cubby, giving his cats a private spot to relax. Usually our Cubbies come with Canvas on the top, but in this case, David chose to connect it to a 34” Shelf instead. The setup also includes a 4-tier Sisal Pole with a Floating Sisal Segment add-on at the top, paired with a Leaf Shelf that doubles as a sturdy perch. Our Sisal Poles can be customized with or without Leaf Shelves. To round out the design, David added a 34” Bridge and two 34” Nest, each paired with a Plush Bed for ultimate comfort, and finally, a 9” Cat Climbing Shelf placed by the window gives his cats the perfect lookout for bird watching.
Products used in this design:
- 4-tier Scratching Pole
- Angled Scratcher
- 34" Slotted Planter Shelf
- 18" Hammock
- 34" Bridge
- 18" Planter Hammock
- 18" Shelf
- 34" Slotted Escape Hatch Shelf
- Floating Post
- 9" Cat Climbing Shelf
- 18" Nest
- 34" Escape Hatch Nest
- Cubby parts: Canvas for Cubbies, 18" Hammock to use for the bottom portion. The Shelf above the Cubby will act as the top, so the Mounting Planks for the 34" Shelf will need to be installed 16" apart, by using the slots on the Shelf.
2. Lynnette’s Living Room

|
Difficulty Level |
Moderate |
|
Space Needed |
Roughly 11 ft wide and 7 ft tall |
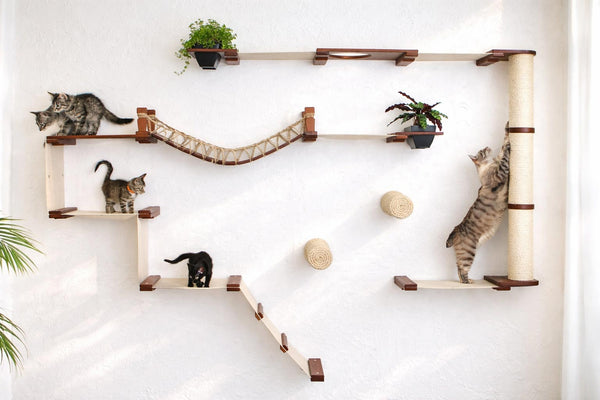
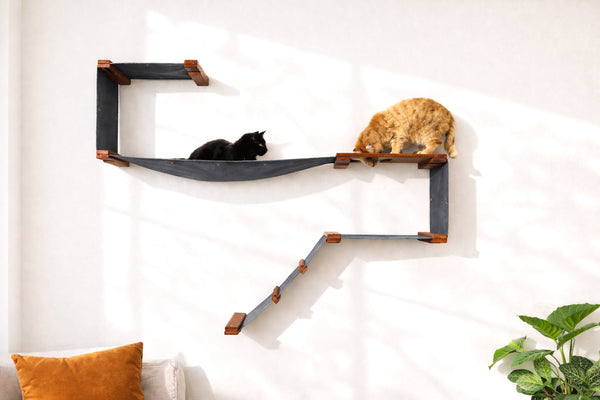
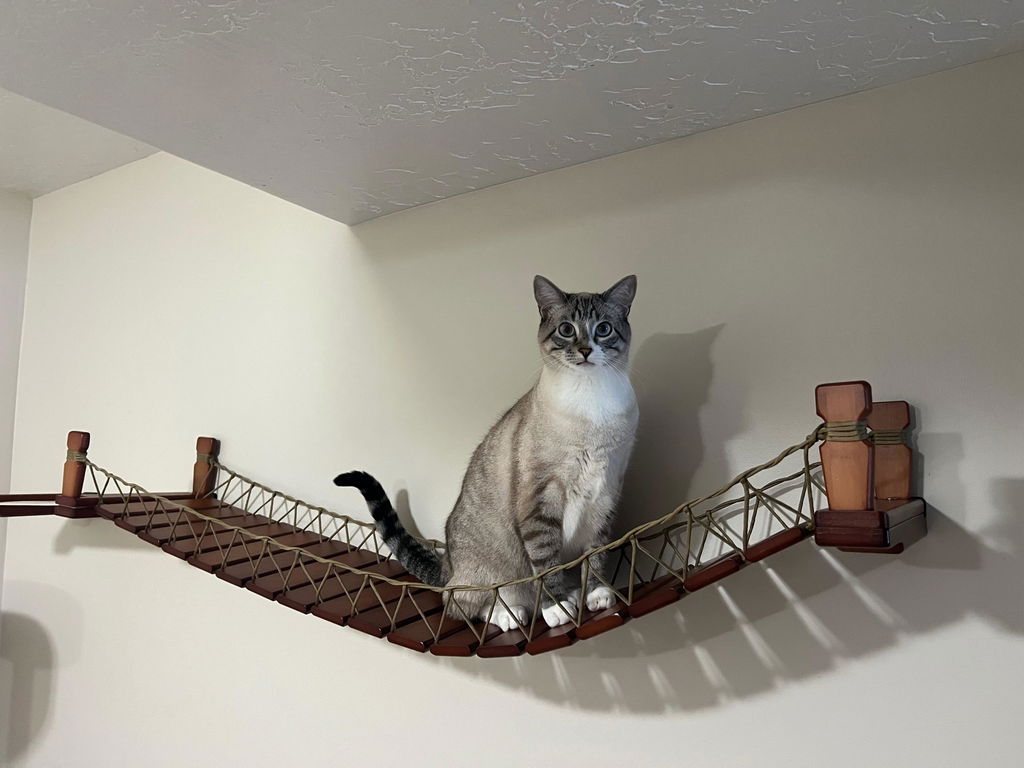
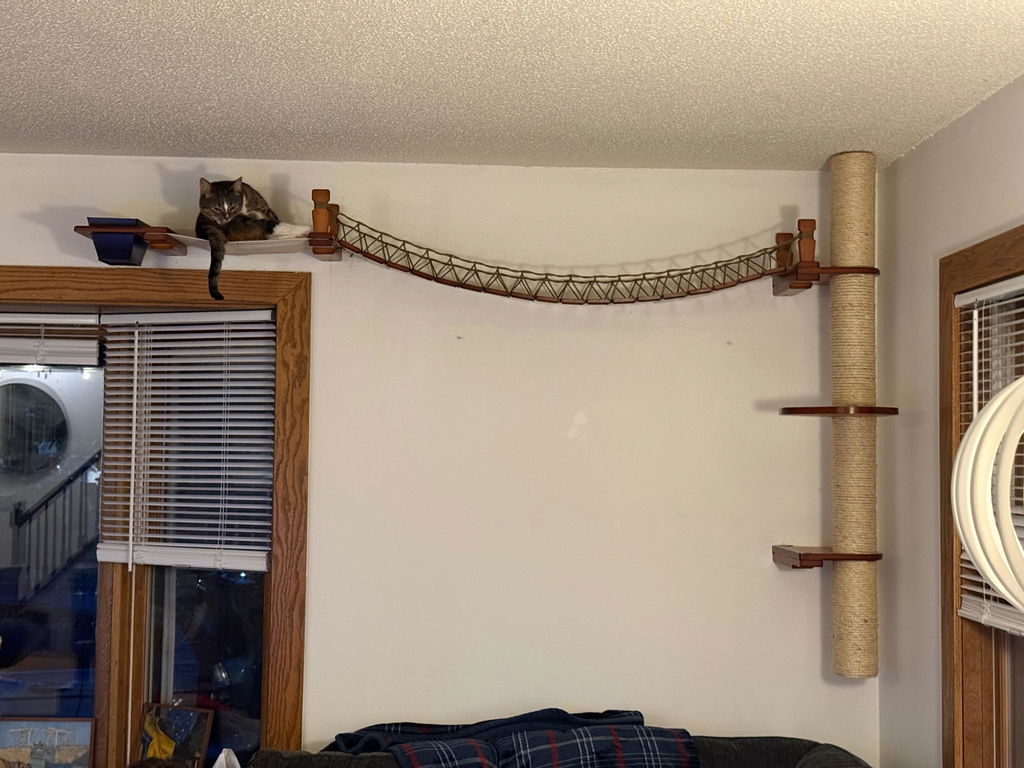
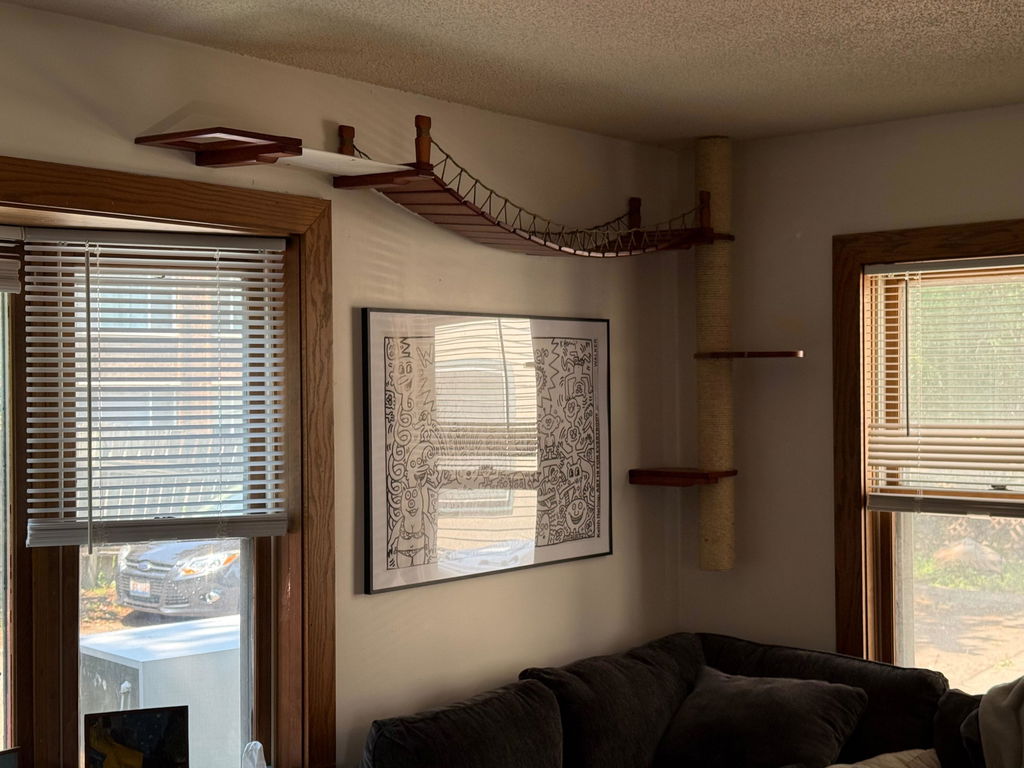
Lynette's design gives her cats two different ways to start their adventure. On the left, three staggered Cat Climbing Shelves create a playful climbing route, while on the right, a floor-standing cat tree offers an alternate entry point. Connecting the two sides is a 34” Bridge, sandwiched between a cozy 18” Hammock, and a 1-tier Double Angled Pole on either side. Just above her chair, she added a Planter Hammock giving her cats not only a comfy perch, but also some extra greenery for enrichment and stimulation.
Products used in this design:
3. Lynette’s Office

|
Difficulty Level |
Easy |
|
Space Needed |
Roughly 11 ft wide by 7 ft tall |
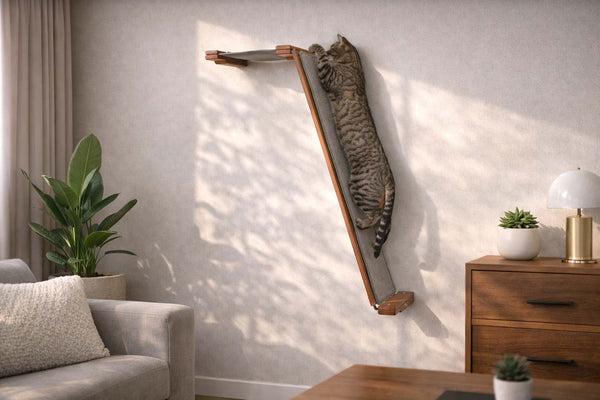
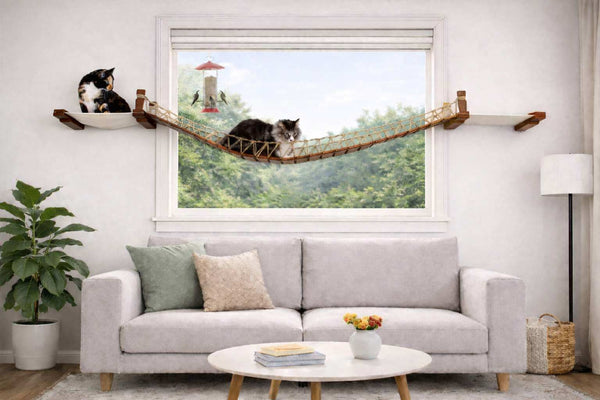
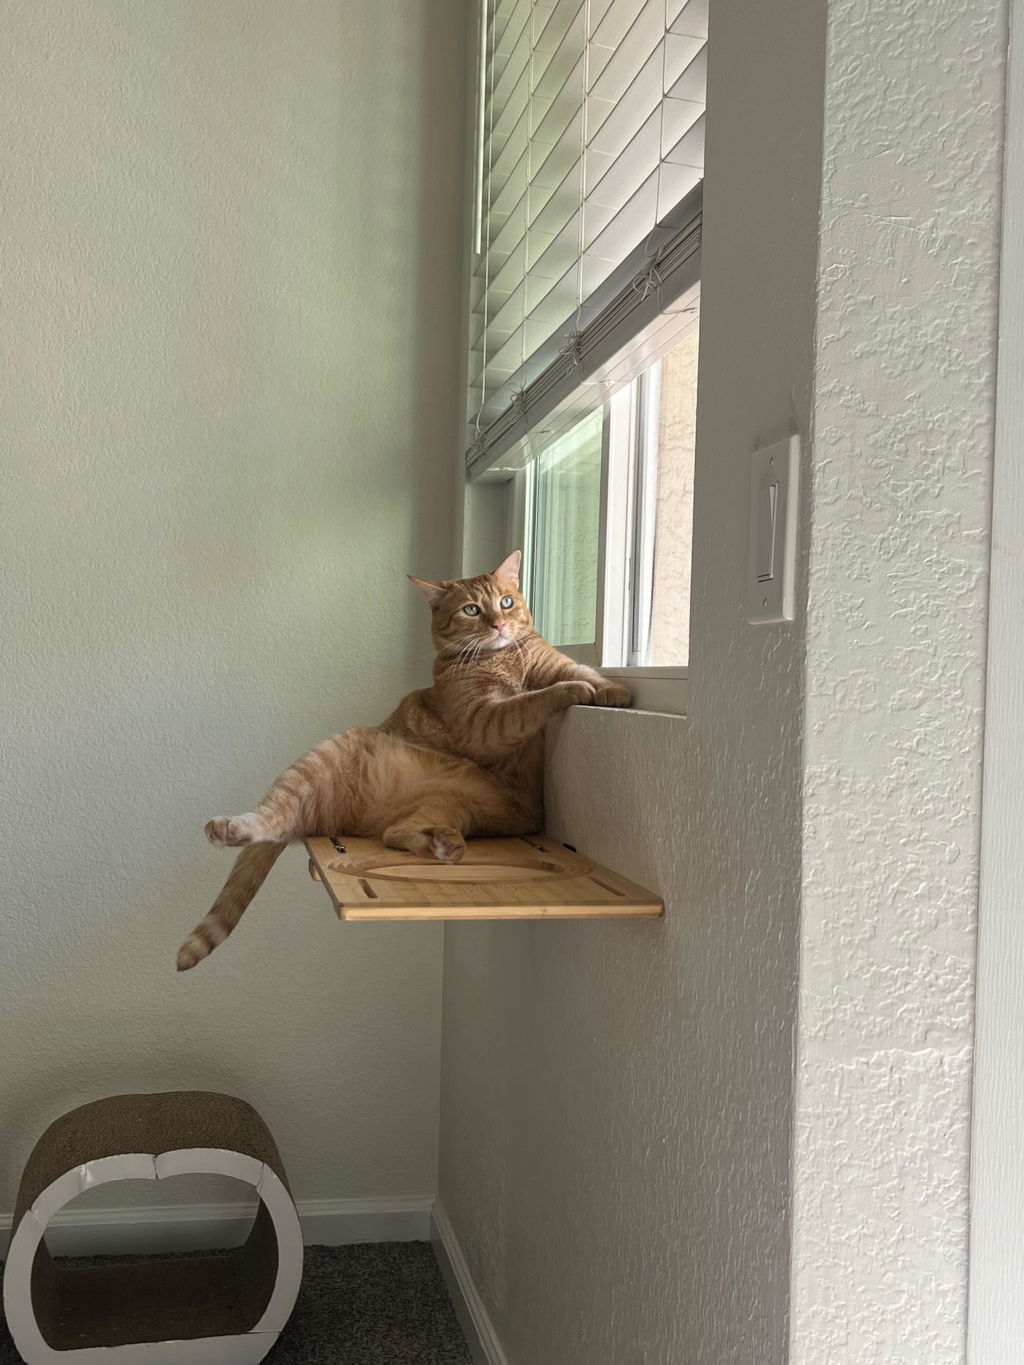
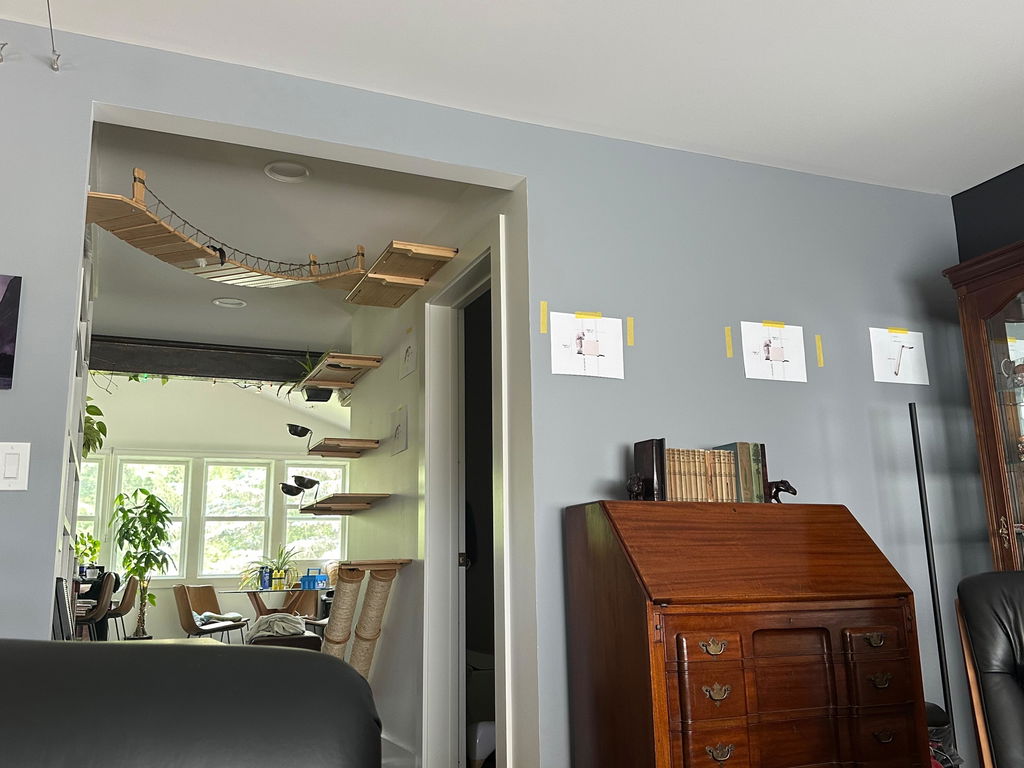
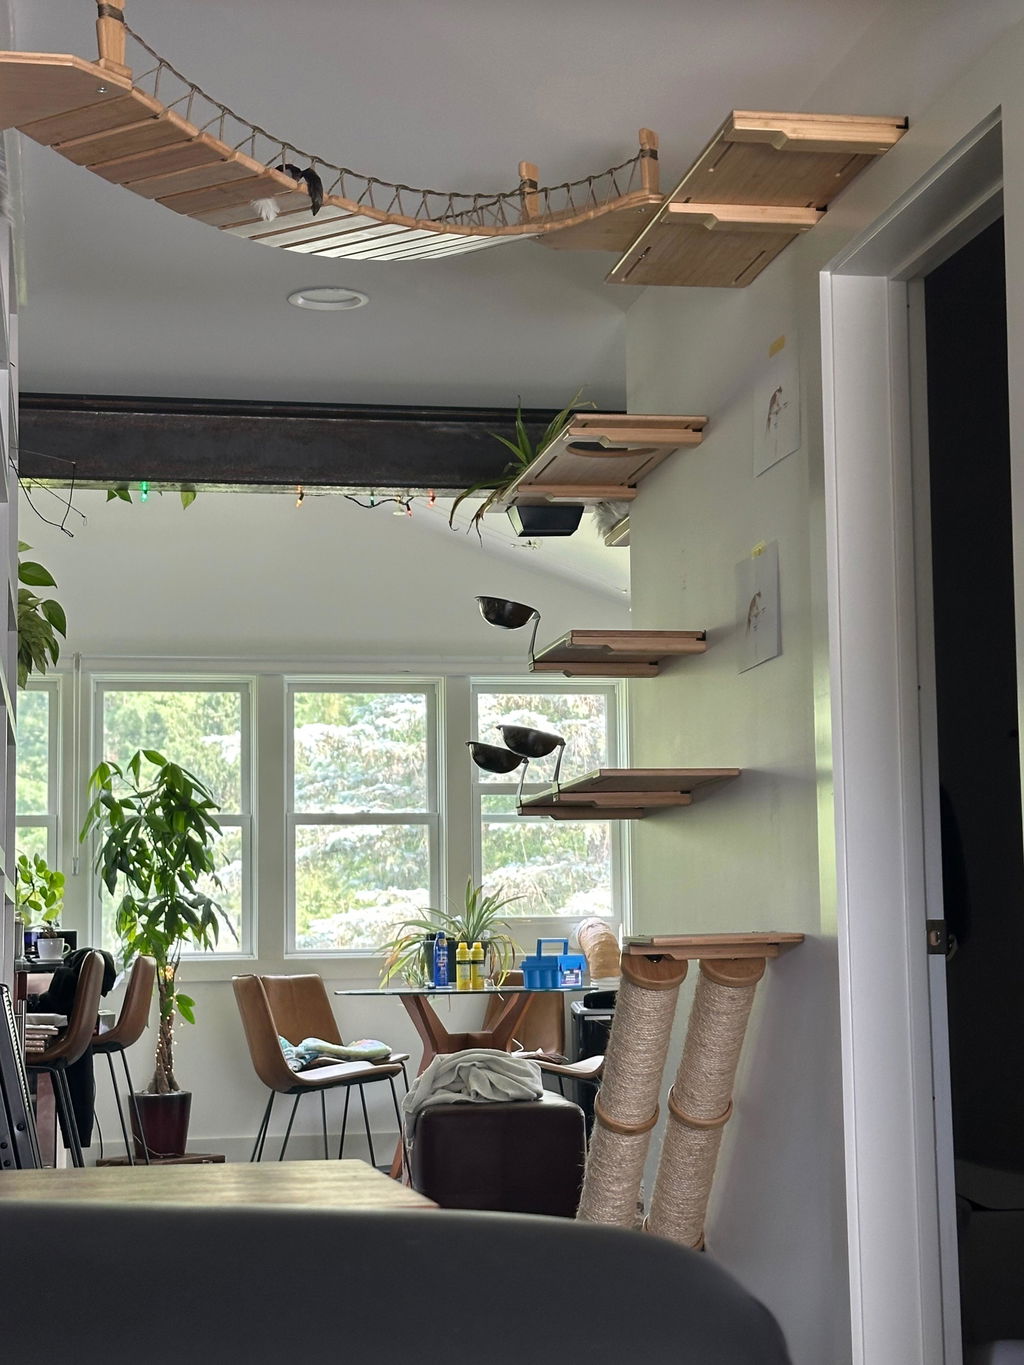
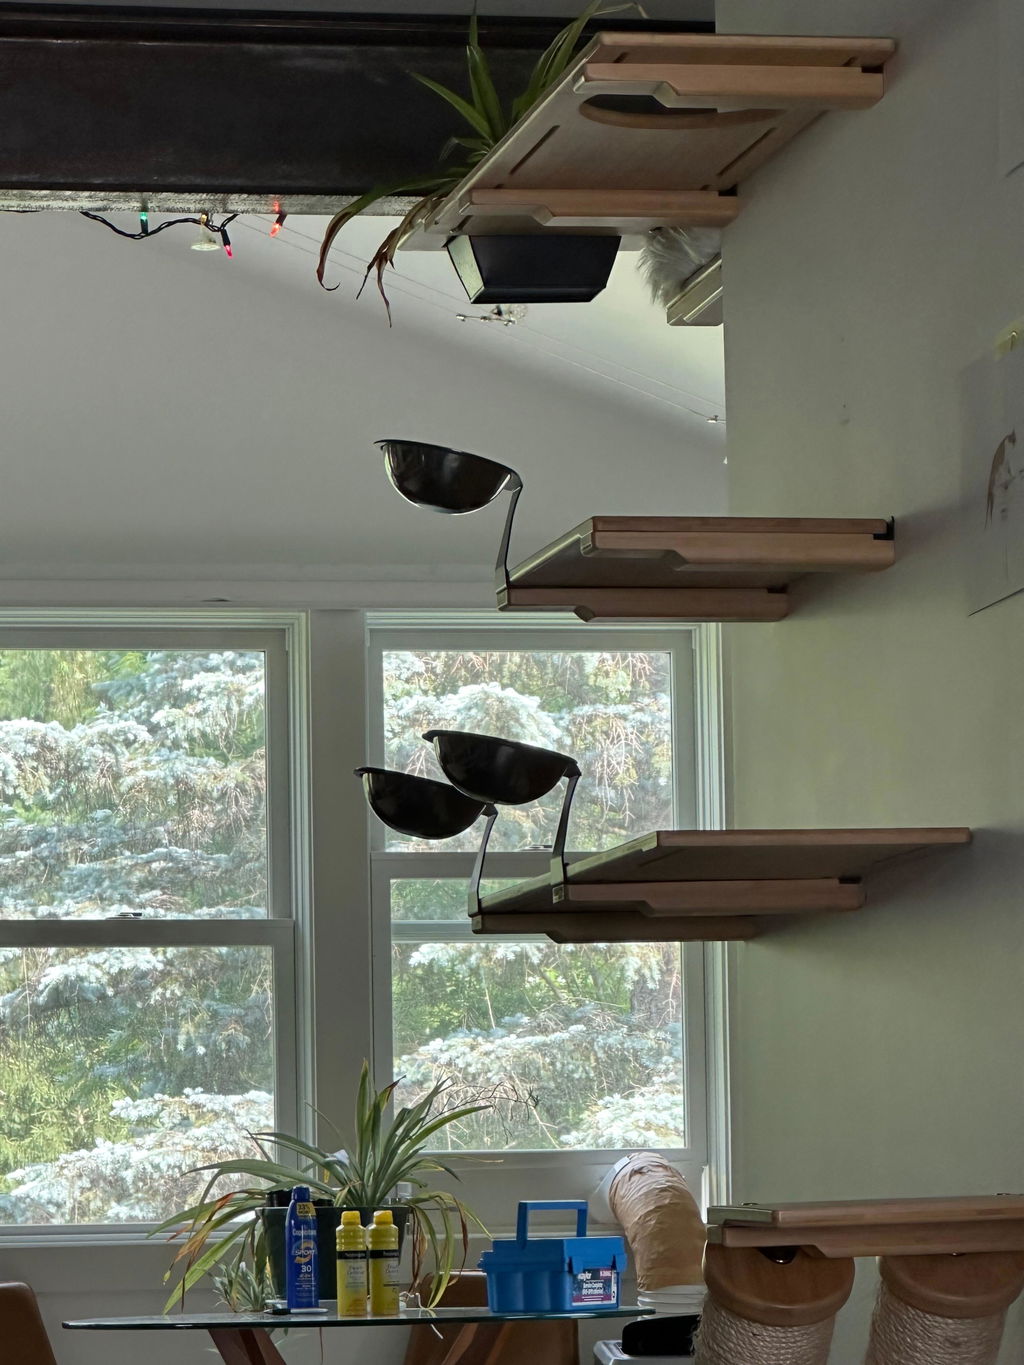
Lynette even created a smaller setup in her office, so her cats could keep her company while she works. They can climb up from the floor using a Cat Climbing Shelf, which leads them to a cozy 18” Hammock for lounging. Then they can slip through the escape hatch hole in the 34” Escape Hatch Planter Shelf, and make their way across the 50” Double Cat Hammock Bridge that stretches right over the window.
Products used in this design:
4. Lindsey’s Setup
|
Difficulty Level |
Medium |
|
Space Needed |
Roughly 12 ft wide by 9 ft tall |
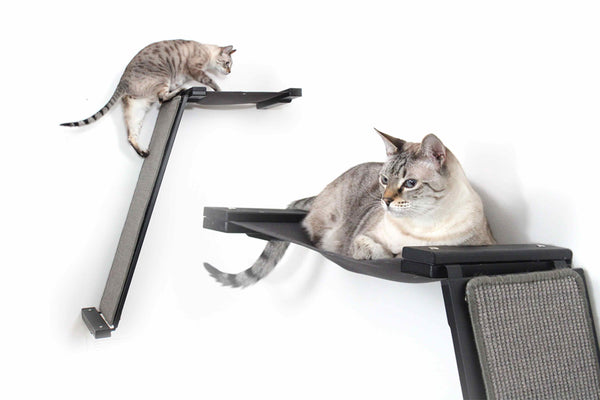
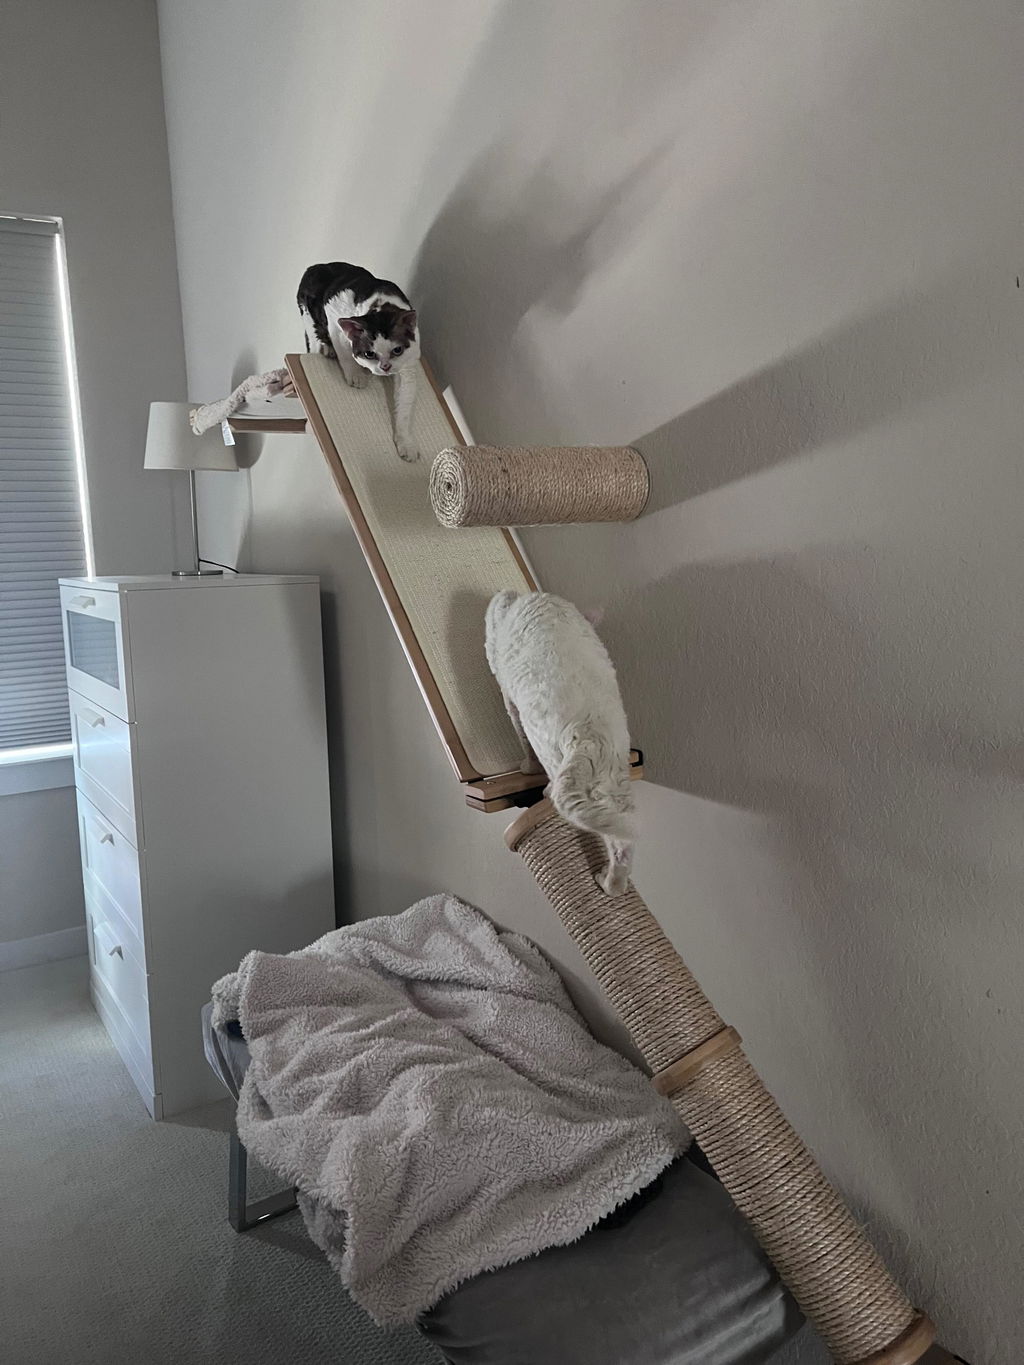
Lindsey’s custom build gives her cats plenty of options, with three different ways to hop on: a 3-tier Sisal Pole on each end, and The Lift in the middle. From there, they can take a few different routes, like climbing The Lift up to a cozy 34” Nest for a nap, or scaling one of the Sisal Poles to reach the second level of the wall. At that level, they get to choose between relaxing in Hammocks, curling up in Nest Beds, or tucking away into a Cubby for some quiet time.
Products used in this design:
- 3-tier Scratching Pole
- 34" Nest
- 34” Escape Hatch Nest
- 18" Nest
- The Lift
- 34" Hammock
- 18" Escape Hatch Shelf
- Cubby with Shelves
- Floating Post
5. Victoria’s Custom Build


|
Difficulty Level |
Medium |
|
Space Needed |
Wall one roughly- 14 ft wide and 9 ft tall Wall two roughly- 8 ft wide and 9 ft tall |
Victoria’s custom build was designed with her whole family in mind. We started about 5 feet off the ground to keep it out of reach of their toddler, while still making it fun and accessible for the cats. Normally, we suggest starting an entry point around 10” - 15” from the floor, but this adjustment worked perfectly for her space.
On wall 1, the cats hop to the Floating Post, then onto The Lift, which takes them to the top level. Up there, they can pick between perching on Shelves, stretching out in Hammocks, or curling up in Nest Beds for a nap. Wall 2 connects seamlessly from wall 1, or the cats can reach it directly by climbing the staggered Floating Posts. Once there, they can slip into the cozy Cubby to relax or scratch away on the Sisal Pole.
Products used in this design:
Wall 1:
- Floating Post
- The Lift
- 18" Escape Hatch
- 34" Bridge
- 18" Shelf
- 34" Shelf
- 18" Canvas
- 34" Escape Hatch Nest
- 34" Nest
Wall 2:
Tips for Building an Adjustable Cat Wall Playground
How to make a platform safe for a cat?
When looking for a cat platform, safety should always come first. Make sure that the base is sturdy, and can hold your cat’s weight without wobbling. If you’re attaching it to the wall, anchor it securely into wall studs, not just drywall. Cover the surface with a non-slip material like cork or sisal to give your cat more traction when jumping or landing.
What is the best material for cats to climb?
Cats love surfaces that mimic the textures they’d find in nature. Sisal rope, and sisal fabric are favorites for climbing and scratching, since they are rough enough to dig claws into, but durable enough to last. Carpet is another popular choice, though it can wear out more quickly.
How tall should a cat obstacle course be?
The height depends on your cat’s age, agility, and confidence. Most cats enjoy courses that range from a few feet off the ground to near ceiling height. A good rule of thumb is to start lower if your cat is new to climbing, then gradually build higher levels as they gain confidence. Ideally, give them at least a few elevated perches, since cats naturally love surveying their world from above.
What textures and materials can cats not climb?
Cats are excellent climbers, but there are a few surfaces that tend to stop them in their tracks. Smooth metal, slick glass, and polished tile usually don't always give them any grip. Cats also dislike walking on sticky or crinkly textures, like aluminum foil or double-sided tape.
A DIY cat wall playground is one of the most rewarding projects you can take on as a cat parent. See our article about Cat Wall Benefits for more cat knowledge! From a simple cat obstacle course on the wall to a fully customized indoor cat agility course, your feline will love having a space designed just for them. Plus, it keeps them active, confident, and out of mischief.
Let Us Design the Purr-fect Setup (For Free!)
Not sure where to start? We offer complimentary design help! Just share your budget, available wall space, and the types of furniture you’re interested in, and our team will put together a custom layout tailored to you and your cat’s needs.