


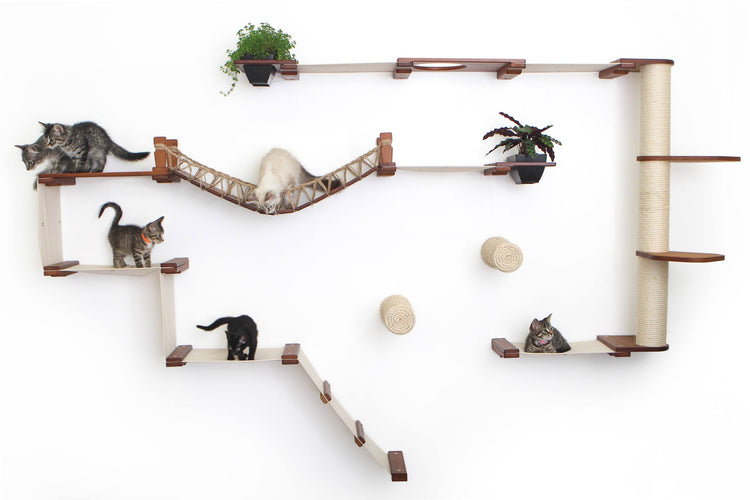


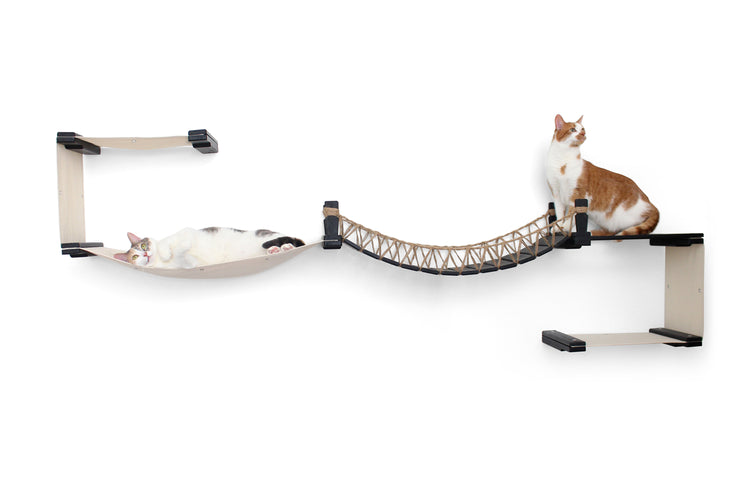


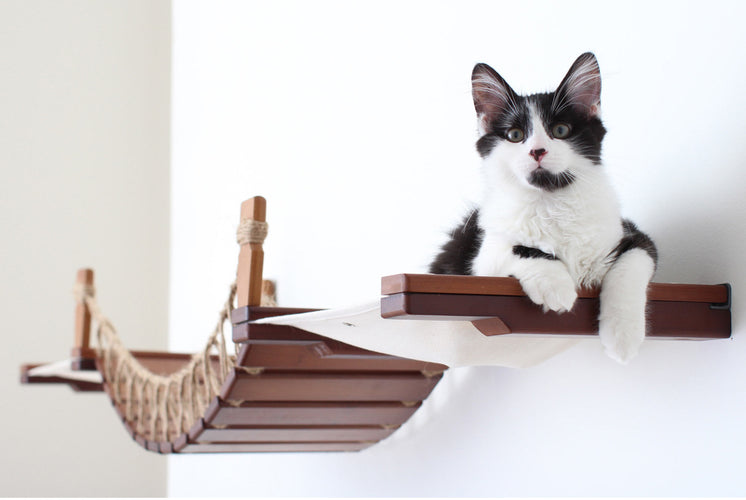
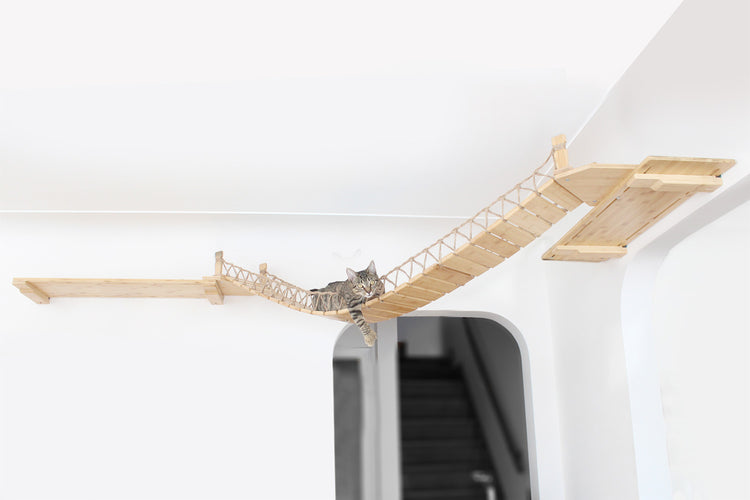

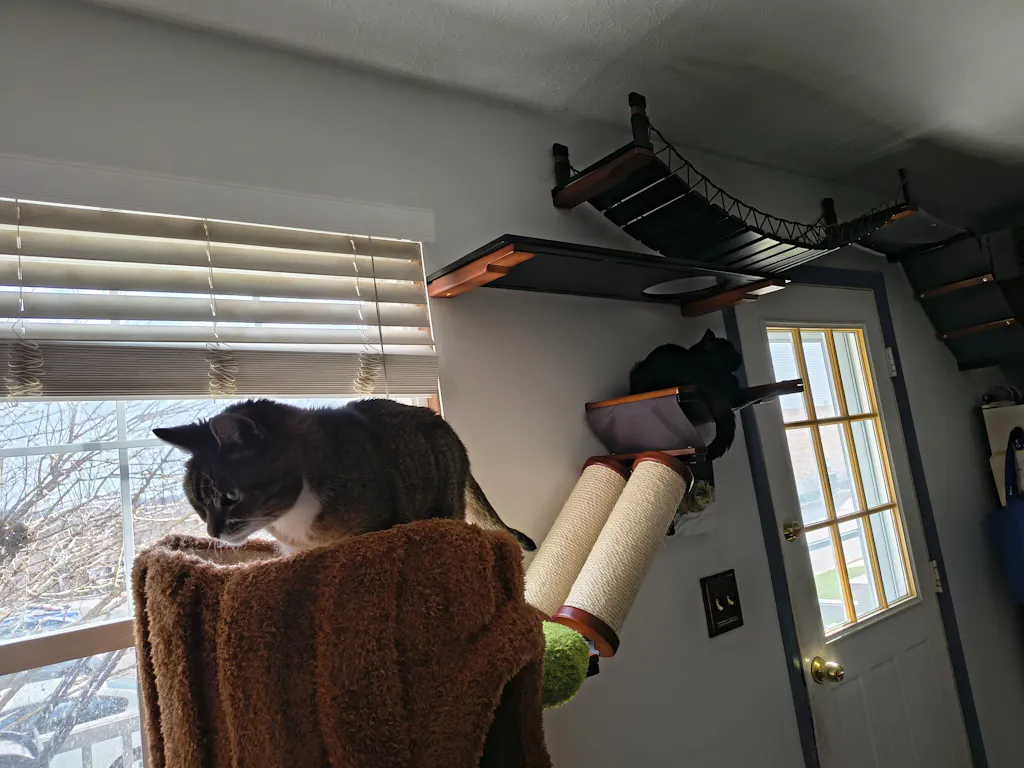
This took my husband and I about an hour to install. Parts on instructions did not match naming convention on parts bags/wrap. In addition, there are parts included not even mentioned in the instructions. It’s as if they updated needed parts but failed to update the instruction book that came with leading to uninstall and reinstall. Cat seems pleased for now but not fully on board with bridge. Seems wildly overpriced.
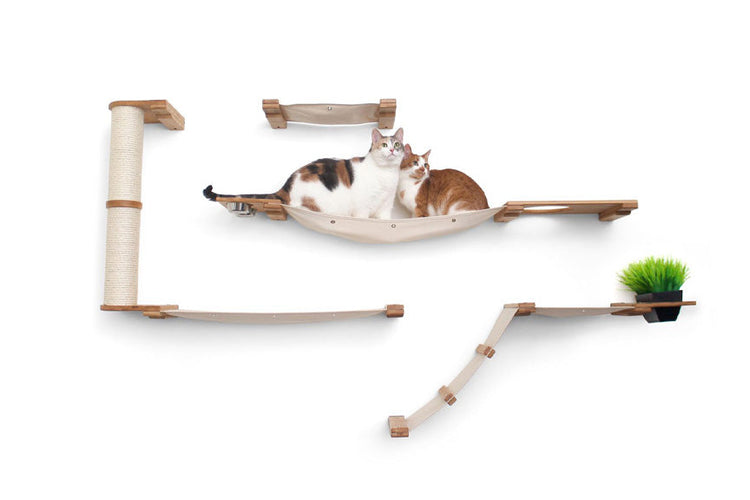
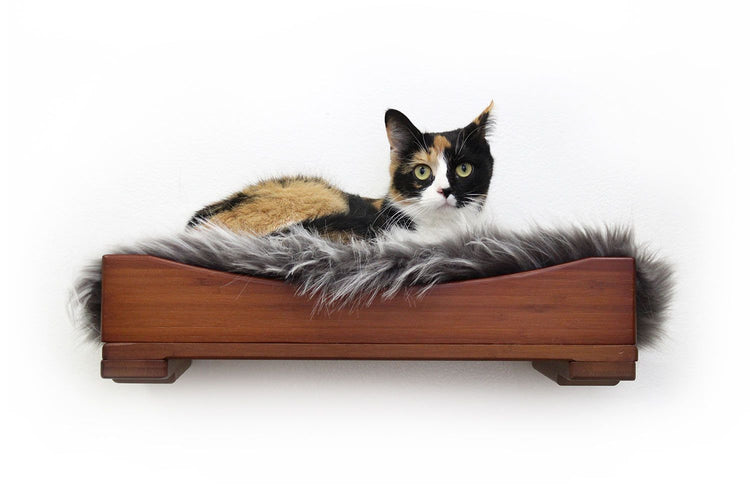
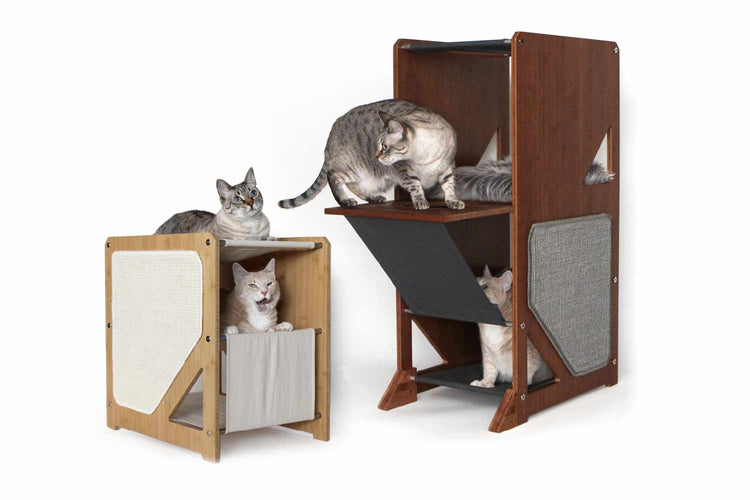
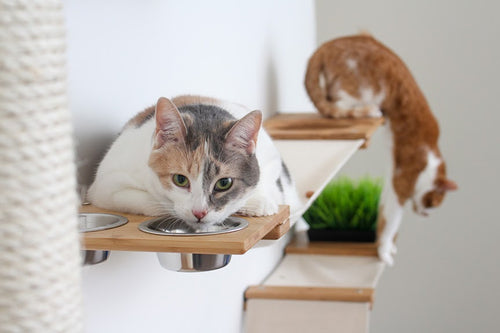
This is an add on purchase to the climb combo. My baby is still very little and sleeps with me every night so far. She does like climbing up high and looking at the area. I am sure she will love this bed when she gets older.
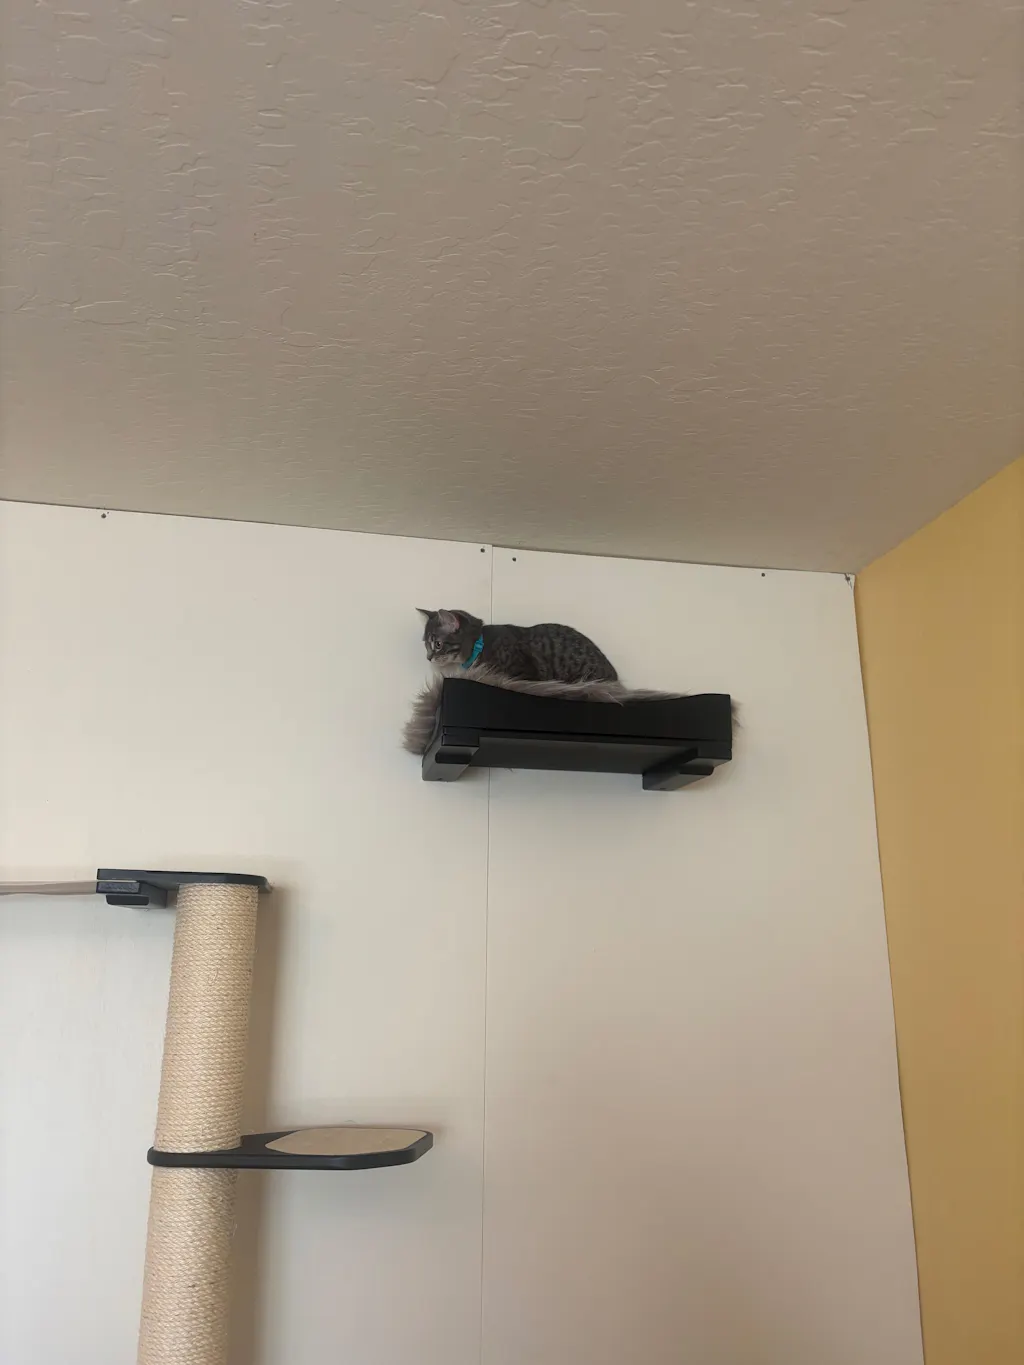
Thank you for your review! We are happy to hear that your little one is enjoying the climb combo. They are adorable! We hope that she will also love the Cat Nest Bed as she gets older. Feel free to reach out if there is anything we can do for you! -Elexis
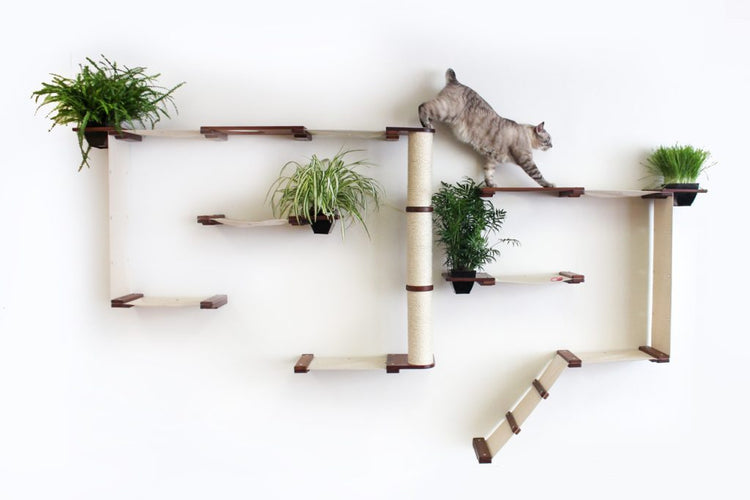
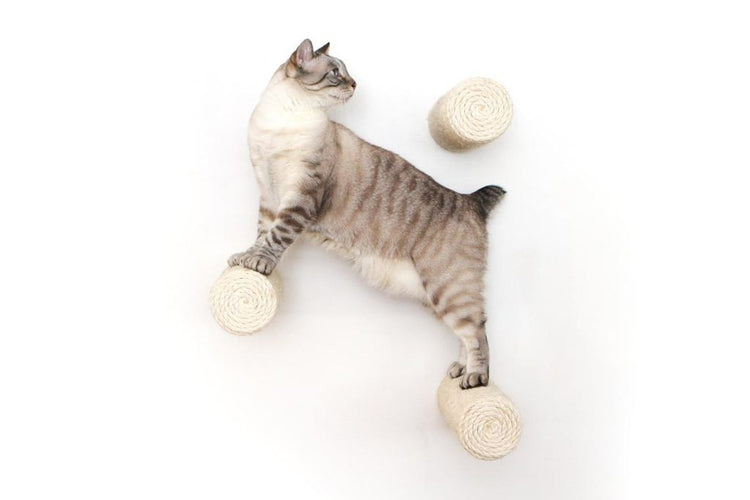
Great quality, used them for steps between my other cat wall pieces
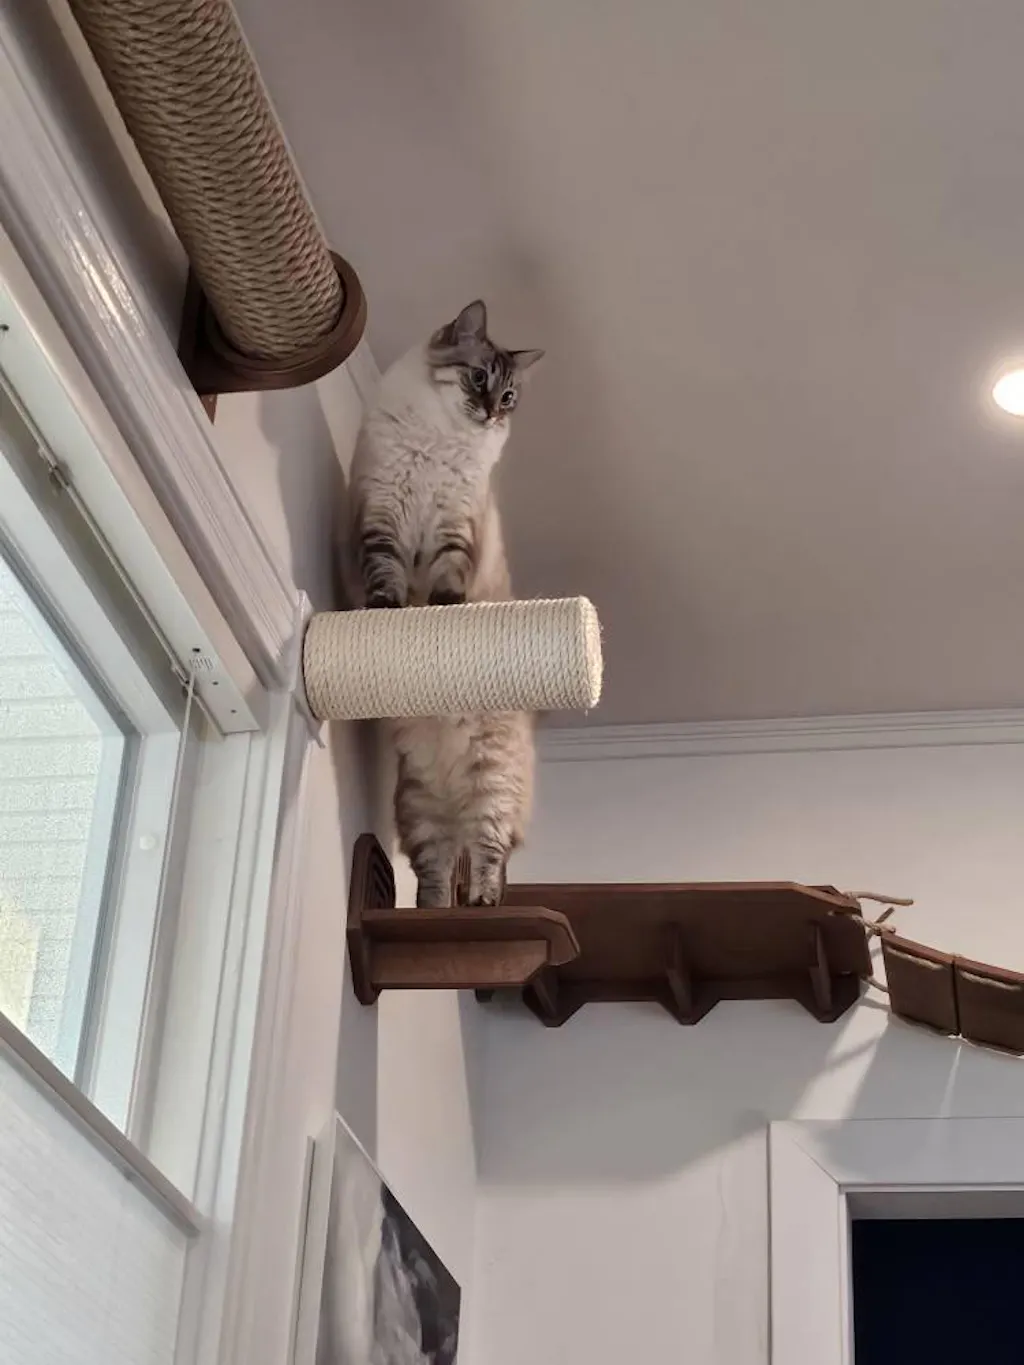
Hi Leila, thank you so much for your positive review! We're thrilled to hear that our scratching pole segments worked well for creating steps between your other cat wall pieces. We appreciate your support and hope your furry friend enjoys their new setup. -Elexis
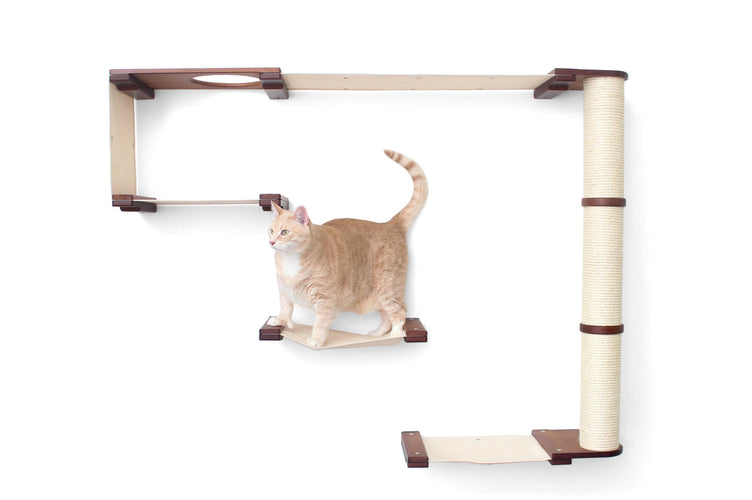
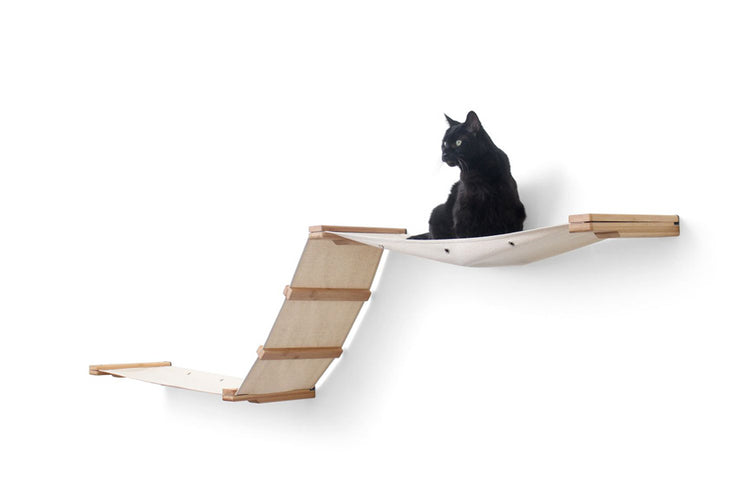
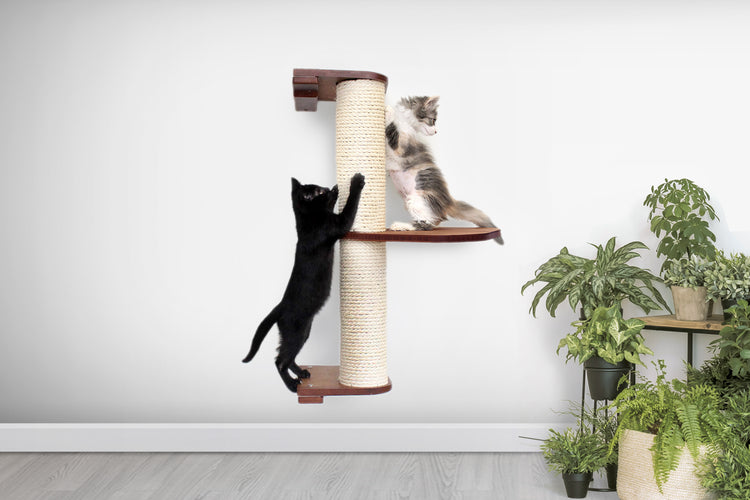
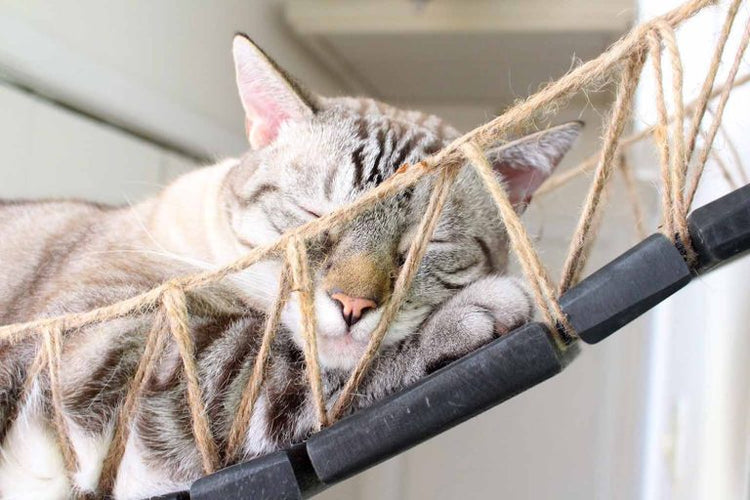
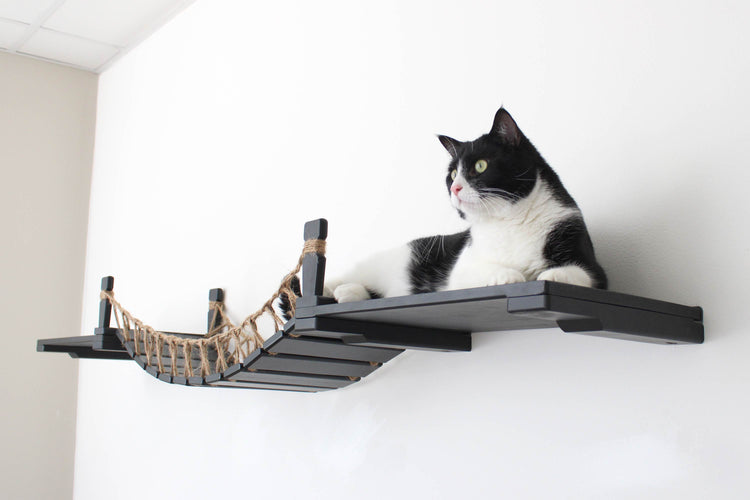
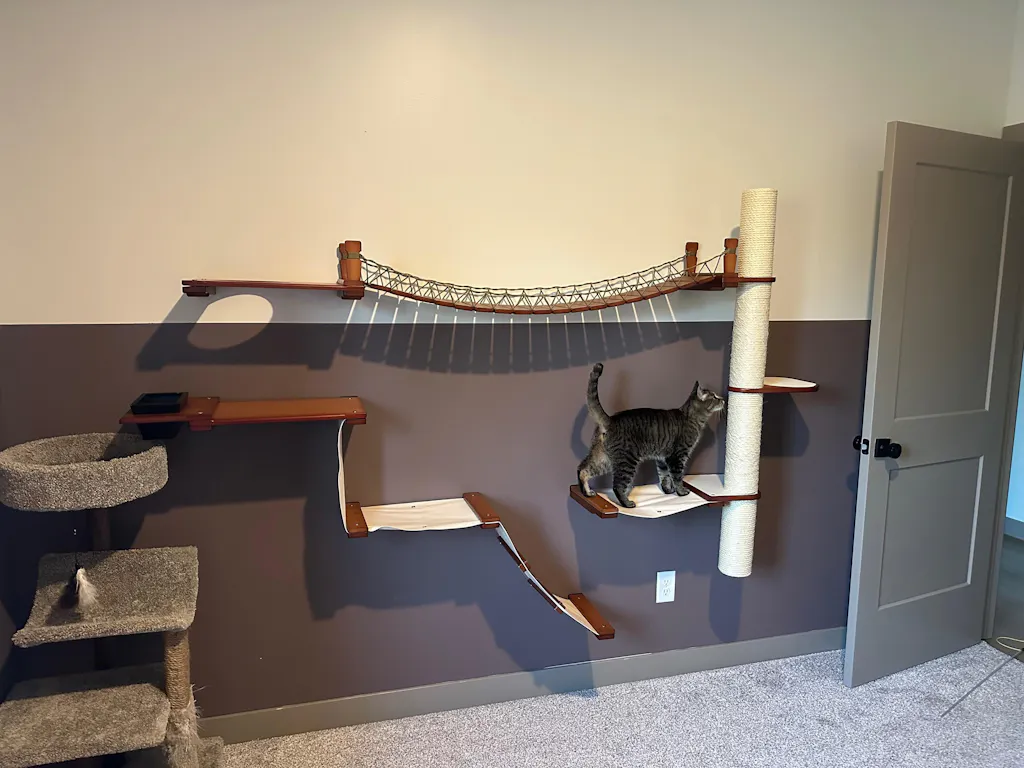
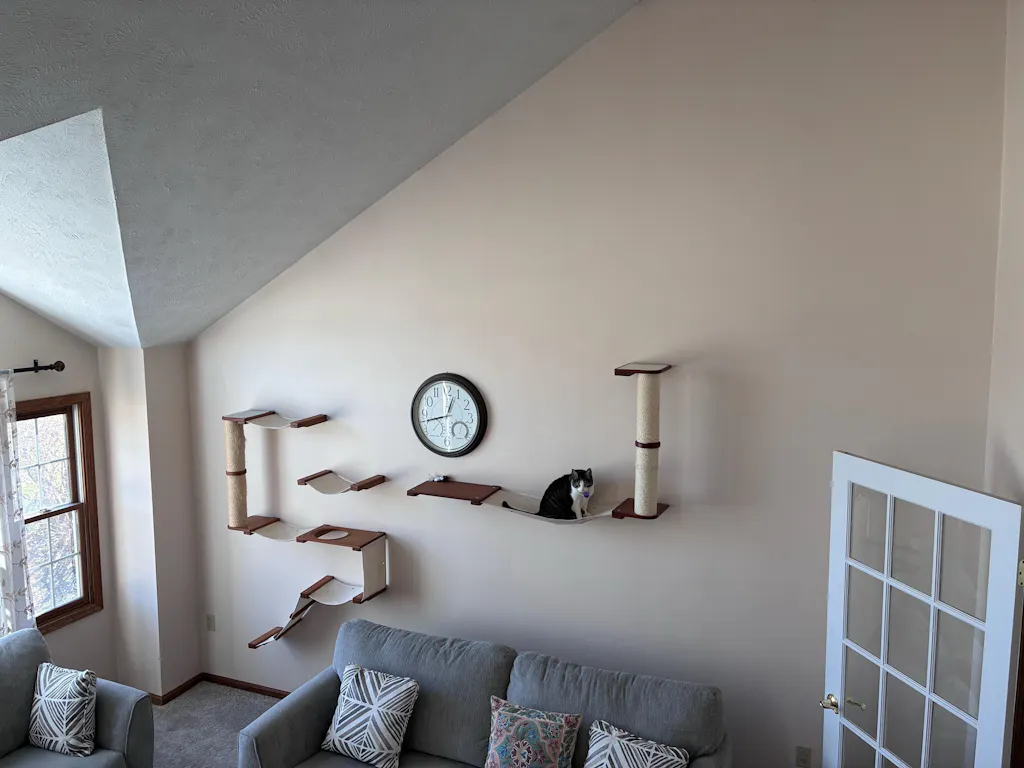
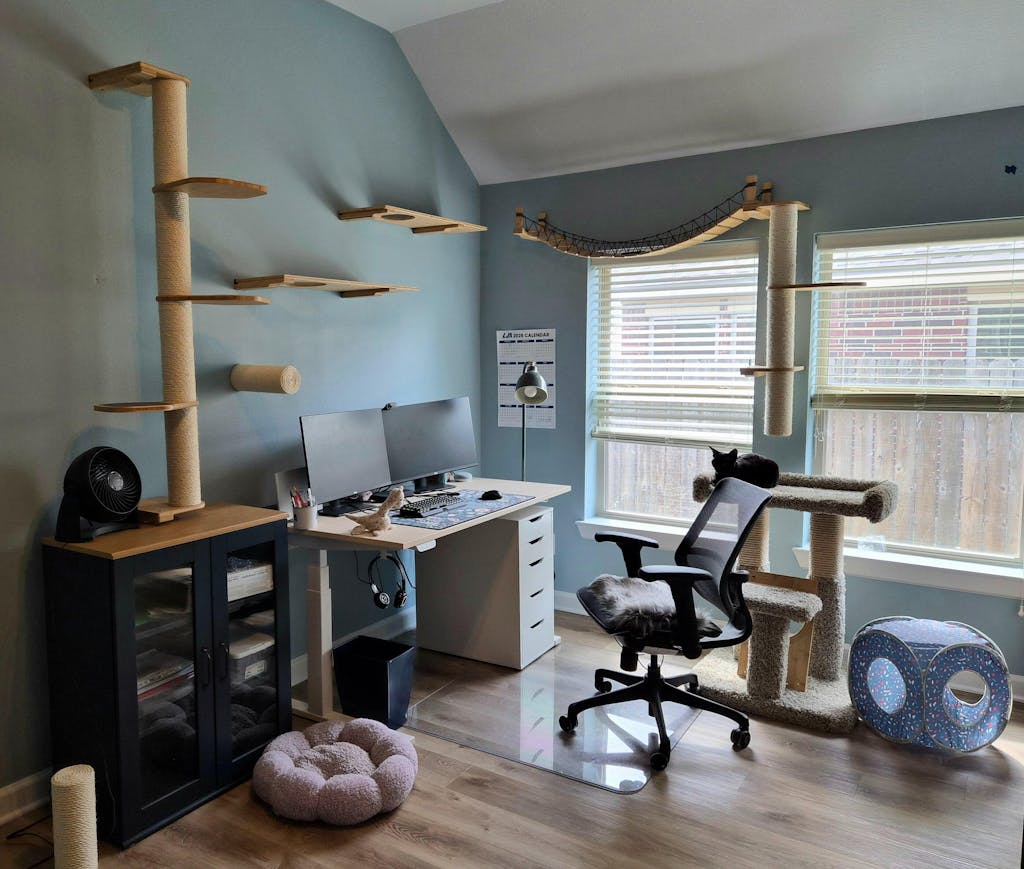
I bought this as a way for my cat, Socks, to get from her cat tree to the cat wall and to try to prevent her from scratching on the hammock part of the cat wall like she had been doing. After it was installed she immediately started scratching on it and has used it to get from the cat tree to her wall hammock. It looks beautiful and is very sturdy.
Hi Christopher! Thank you so much for your kind review. We're thrilled to hear that our Slanted Cat Scratcher has been a hit with Socks and has helped prevent her from scratching on the hammock part of the cat wall. They are adorable! We pride ourselves on creating sturdy and aesthetically pleasing products, so we're glad to know that it has met your expectations. Thank you for choosing our product and for being a loyal customer. -Elexis
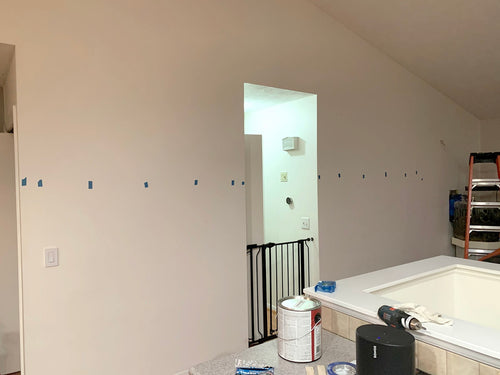
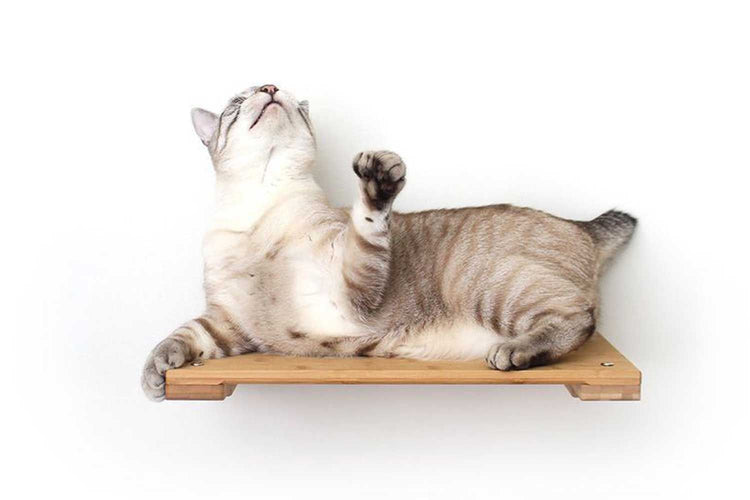
Return customer here. Shipping is fast, items are high quality, packaged carefully, and come with plenty of detailed instructions and most of the tools you need. Install can be tricky - you absolutely need 2 people and should measure four times, but it’s all worth it for the cat!
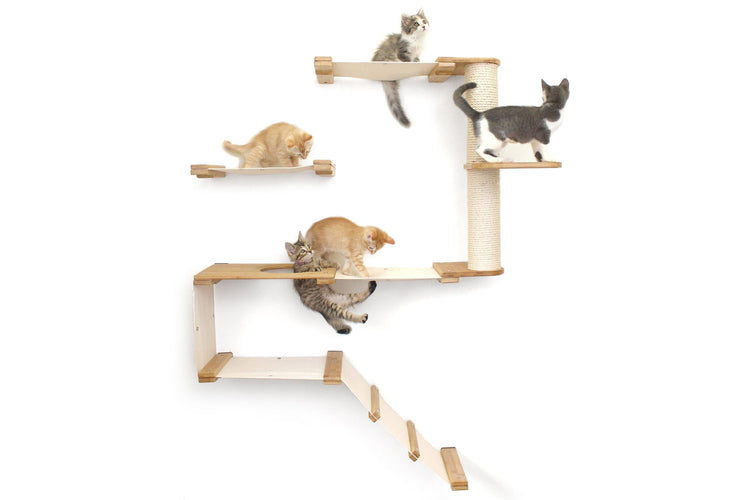
I have 2 Devon's. The one that I thought would love it, does. However, the other one is scared of it? I think that once he sees Lena on it, he will get curious. The furniture is very well built and sturdy. I will eventually build it out more once they get used to the current configuration.
Hi there!
Thank you for taking the time to leave a review for our Wall Mounted Cat Climbing Pole. We're glad to hear that one of your cats is enjoying it already! It's common for cats to be hesitant with new furniture at first, but we're confident that your other cat will warm up to it once he sees his sibling having fun on it. Our product is built to last and we're happy to know that you're planning on expanding it for your feline family. Please let us know if you have any questions or concerns, we're here to help! -Elexis